Transform Your Deck into a Solar Powerhouse with Integrated Pavers
A deck serves as more than a venue for gatherings. It holds the potential to generate electricity for lighting, device charging, and bill reduction. Integrated solar pavers achieve this by embedding photovoltaic technology into durable outdoor tiles, merging functionality with aesthetic appeal. The result offers a seamless surface that produces renewable energy as you enjoy the outdoors.
This comprehensive guide covers the essentials of solar pavers, including their mechanics, installation process, and ongoing care. Readers gain practical knowledge to implement this upgrade effectively, ensuring both performance and longevity.
Understanding Solar Pavers
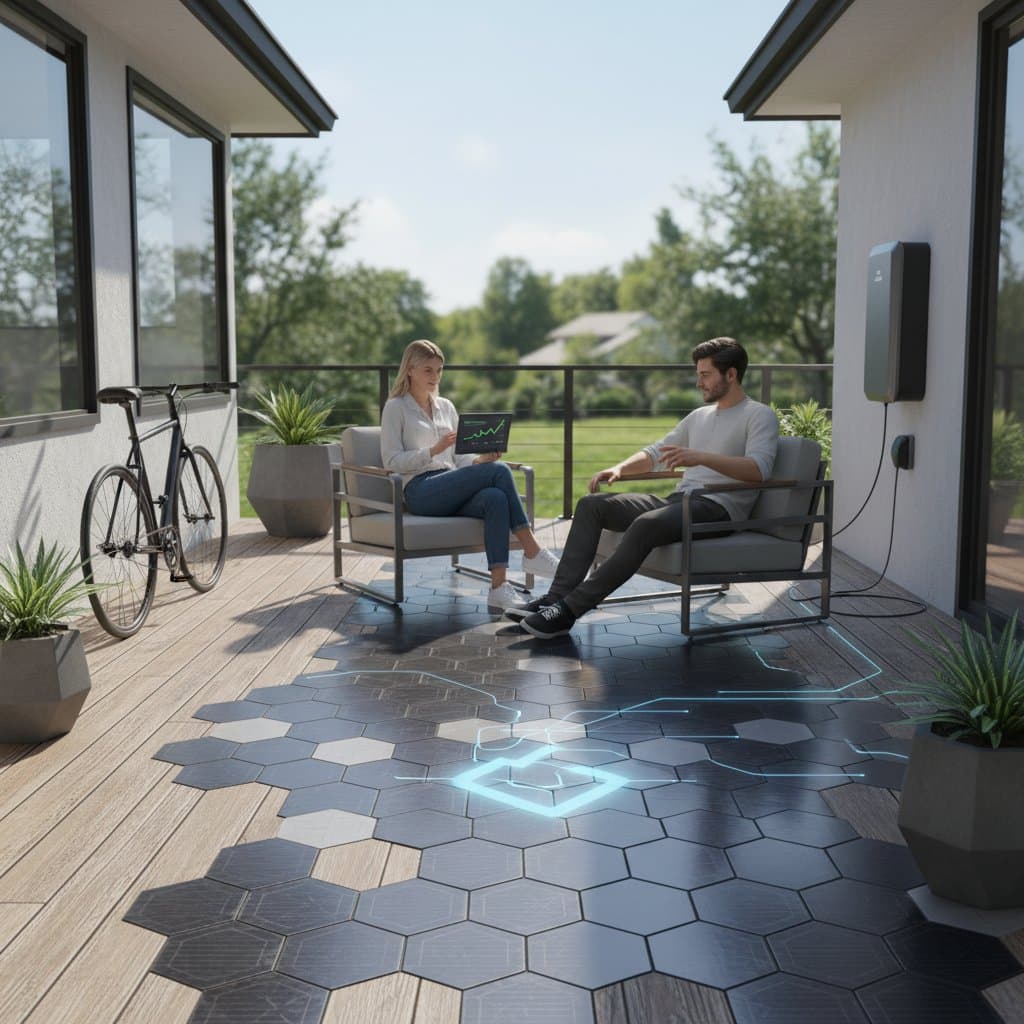
Solar pavers consist of outdoor tiles embedded with photovoltaic cells. These cells absorb sunlight and transform it into usable electricity, which integrates with home systems or storage batteries. Similar to traditional composite or concrete pavers, they withstand foot traffic and environmental exposure while maintaining a low-profile installation.
Key advantages include on-site energy production in sun-exposed areas. The design accommodates loads up to several hundred pounds per square foot and repels moisture through sealed edges. This setup preserves the deck's even surface, avoiding the bulk of conventional solar panels.
For urban homeowners, a 100-square-foot installation typically yields 400 to 600 watts during optimal sunlight periods. This output suffices for illuminating pathways, powering small appliances, or contributing to household consumption. Efficiency ratings often reach 15 to 20 percent, depending on tile quality and orientation.
Essential Tools and Materials
Installation requires straightforward items, often available in modular kits from manufacturers. Begin by selecting pavers sized 12 by 12 inches, constructed from weather-resistant composites. Ensure compatibility with your deck's existing framework to simplify integration.
Additional components encompass mounting frames for secure placement, waterproof wiring harnesses for electrical links, and inverters to convert direct current to alternating current. Safety tools include voltage testers to verify connections and protective gear such as gloves and eyewear. Sealants and flashing tape protect against water ingress.
Verify your deck's structural capacity beforehand, as each paver adds 3 to 5 pounds. Consult load specifications from your deck's original design to confirm adequacy.
Installation Process
Evaluate Sunlight Availability
Observe your deck throughout the day to identify shaded zones. Ideal conditions demand at least six hours of unobstructed sunlight. Remove or prune nearby foliage that casts shadows, prioritizing southern-facing exposures for maximum yield.
Document peak sun hours using a simple shading map or app. This assessment informs the layout, concentrating pavers in high-light areas to optimize energy capture.
Surface Preparation
Remove debris and stains from the deck with a pressure washer or broom. Inspect for damaged joists or fasteners, replacing them to create a level base. Uneven surfaces risk damaging wiring during use.
Apply a protective primer if the deck material requires it, enhancing adhesion for the mounting system.
Position the Initial Row
Align the first row along the deck edge closest to your electrical access point. Secure tiles to the subframe using provided clips or screws, maintaining a 1/8-inch expansion gap for thermal movement and drainage.
Use a level tool to ensure uniformity, adjusting as necessary. This foundation sets the pattern for subsequent rows.
Wire the Components
Connect adjacent pavers via their integrated harnesses, forming a series circuit. Pause to test voltage at each joint with a multimeter, confirming continuity without shorts. Adhere to safety protocols by isolating power sources during this phase.
Route cables along the substructure, avoiding tension points that could lead to wear over time.
Install Subsequent Rows
Proceed row by row, staggering joints like brickwork for stability. Align edges precisely, using spacers to maintain consistent gaps. Monitor wire lengths to prevent pulls or kinks.
Position junction boxes in easily accessible spots, such as under railings, for future inspections.
Apply Protective Seals
Coat perimeter edges and wire entries with silicone-based sealant. Affix flashing tape over connections to form a barrier against rain and humidity. Allow curing time before foot traffic.
This step enhances durability, particularly in regions with heavy precipitation.
System Testing and Activation
Integrate the array with the inverter once fully assembled. Measure output using a power meter to confirm expected wattage. Test functionality by connecting to a low-voltage load, such as an outdoor fixture.
If performance aligns with projections, proceed to grid or battery linkage under professional supervision.
Safety Considerations
Disconnect all power sources prior to electrical work. Select components rated for outdoor use to withstand UV exposure and temperature fluctuations. Elevate junction boxes to avoid flood-prone areas.
For complex integrations, engage a certified electrician to mitigate risks of shock or fire.
Common Issues and Solutions
If energy production falls short, inspect for obstructions like dirt or new shade sources. Clean surfaces gently to restore efficiency without damaging the photovoltaic layer.
Address loose fittings by tightening connectors and rechecking voltage. For moisture accumulation, enhance slope or reapply sealants to redirect water flow.
Monitor for error indicators on inverters, which may signal mismatched components or overloads.
Routine Maintenance Practices
Schedule cleanings quarterly using a microfiber cloth and pH-neutral soap. Rinse thoroughly to remove residues that could reduce light transmission. Steer clear of harsh chemicals or scrubbers that etch the protective coating.
Conduct annual wiring examinations for signs of oxidation or insulation breakdown. Promptly replace fractured pavers to preserve the array's integrity and prevent cascading failures.
Incorporate these habits to sustain output levels over the 20- to 25-year lifespan of quality systems.
Seasonal Handling and Storage
For removable setups, disconnect and label cables before off-season storage. Place tiles in a sheltered, climate-controlled area to shield from extreme cold or heat. Cap unused ports to exclude contaminants.
Reinstall in spring after verifying frame stability, ensuring no settling has occurred.
Cost Analysis and Timeline
Material costs range from 8 to 12 dollars per square foot, covering pavers, wiring, and inverters. A 100-square-foot project totals 800 to 1200 dollars, excluding labor. Factor in potential rebates for renewable installations to offset expenses.
DIY efforts span a weekend for small areas, while professional involvement extends to several days. Return on investment materializes through 10 to 20 percent annual energy savings.
Professional Assistance Indicators
Opt for expert help when interfacing with main electrical panels. Professionals ensure adherence to local building codes, appropriate inverter capacity, and full warranty activation. Request quotes detailing these elements upfront.
Implementing Your Solar Deck Upgrade
Start by dimensioning your deck and mapping sunlight patterns. Research paver options that align with your aesthetic preferences and structural demands. Arrange an electrical audit to confirm compatibility.
These actions position your deck as an efficient energy contributor. It evolves into a sustainable feature that supports eco-conscious living, delivering power with every step.