Silence Street Noise Outdoors Using Acoustic Panels
City living brings energy and excitement along with constant background noise. Street traffic, construction, and nearby voices often make it difficult to relax in an outdoor space. Acoustic panels offer one of the most effective solutions for creating a quieter zone.
The goal is to reduce outdoor noise enough to sit, read, or share a meal in calm conditions. This guide explains what acoustic panels are, how they work, and how to install them safely for lasting results.
Overview
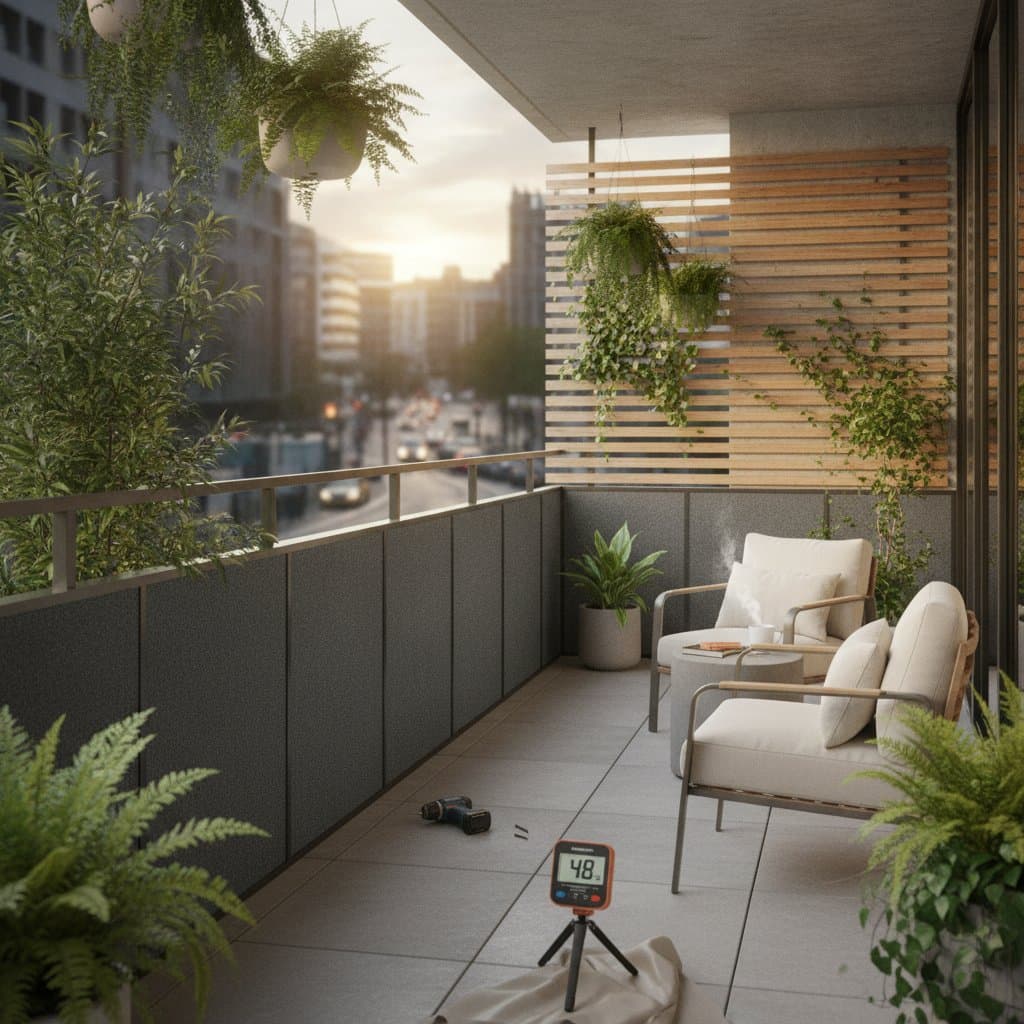
An acoustic panel is a sound-absorbing surface made from dense materials such as mineral wool, fiberglass, or foam. It traps sound waves instead of letting them bounce around. Outdoors, properly placed panels can reduce reflected noise by up to 50 percent.
Open spaces have few natural barriers, so hard surfaces like walls and pavement increase echo. Panels soften those reflections and help create a zone that feels quieter and more private.
Tools and Materials
Only a few items are needed. Most are available at home improvement stores or online. For a small patio or balcony of about 100 square feet, gather these supplies:
- 6 to 8 exterior-grade acoustic panels rated for outdoor use
- 1 tape measure of at least 25 feet
- 1 level
- Galvanized screws and washers
- 1 drill with masonry or wood bits
- 1 pair of work gloves
- Optional weatherproof fabric for extra protection
Confirm that panels are labeled for exterior or semi-exposed areas. Indoor foam panels absorb moisture and break down quickly outdoors.
Installation Steps
Measure and Plan
Measure the area where noise is strongest, usually street-facing walls or open railings. Mark the width and height to cover. Position panels at ear level, roughly 4 to 6 feet high.
Mount Supports
Attach horizontal furring strips to a fence or wall with screws. Space the strips about 16 inches apart vertically to create a sturdy base.
Attach Panels
Place each panel against the supports and secure it with screws and washers. Leave a 1-inch gap between panels for air circulation. Tight seams can trap moisture.
Seal and Protect
Wrap panels that are not fully weatherproof in outdoor fabric or vinyl covers. Secure the material around the edges with staples or clips. This step also improves appearance.
Test and Adjust
Sit in the space and notice sound differences. Add panels along adjacent surfaces or near ground level if low-frequency traffic noise remains.
Safety Guidelines
Wear gloves when handling fiberglass or mineral wool. Use a ladder only on level ground. Avoid installing near open flames or grills, since some materials can warp.
Common Issues and Fixes
Minimal noise reduction usually stems from gaps larger than 2 inches, panels placed too high or too low, or missing corner coverage. Adding a second layer or combining panels with plants or solid fencing improves results.
Care and Storage
Wipe panels with a damp cloth every few months to remove dust. Inspect for water damage or mold after heavy rain. Replace warped or cracked panels promptly. Store removed panels flat in a dry area with air circulation.
Cost and Time Expectations
Expect to spend between 250 and 500 dollars on panels and mounting supplies for a small outdoor area. Larger yards require more coverage. Two people with basic tools can complete installation in 2 to 4 hours.
When Professional Help Is Needed
Hire a professional for masonry or concrete walls or when integrating panels with electrical lighting. Request a quote that includes weatherproof sealing and warranty coverage.
Planning Your Panel Placement
Select one wall or fence line where noise is most distracting. Measure the space, plan the layout, and install a few panels. Consider adding tall planters or hedges, which improve appearance while absorbing additional sound energy. Regular seasonal care preserves both quiet and panel quality for years of city living.