
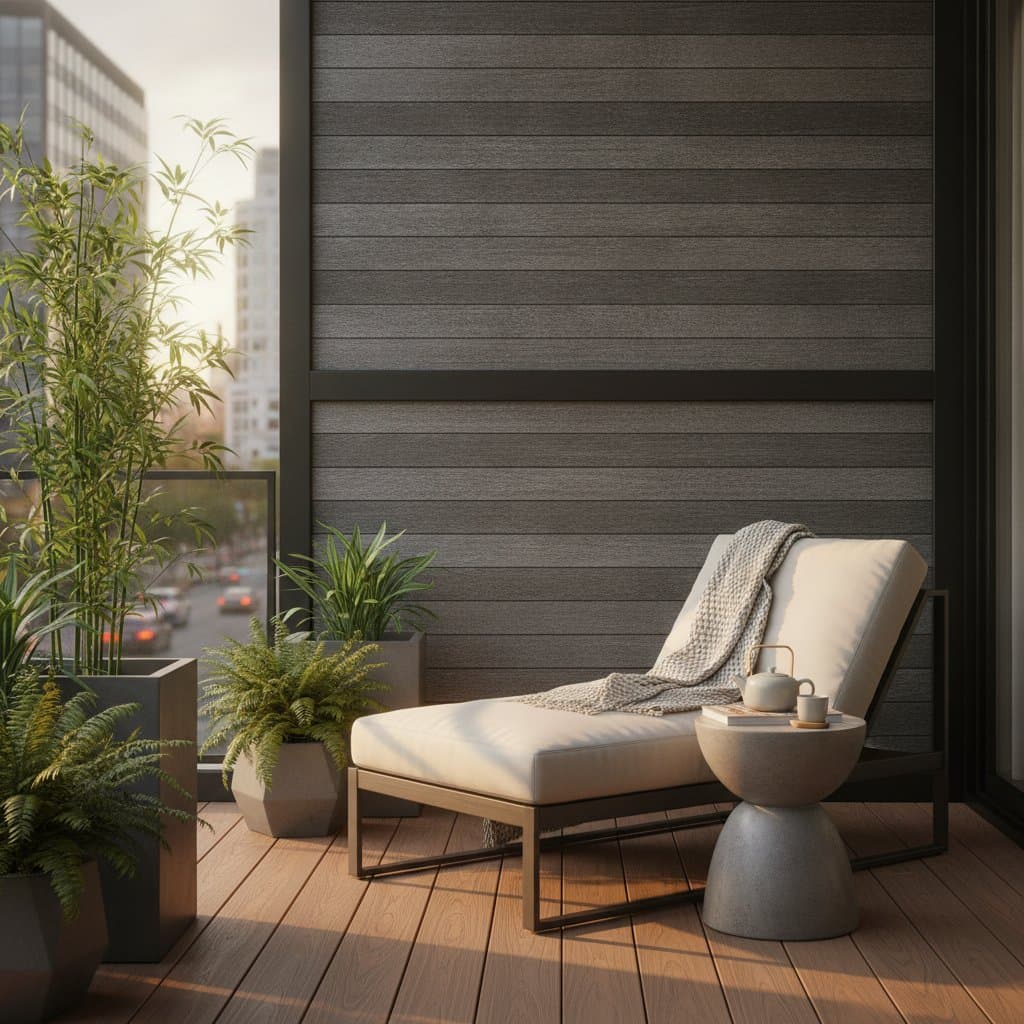
Reduce Street Noise on Your Deck Using Acoustic Panels
City living offers convenience and vibrancy. Yet traffic, sirens, and neighboring conversations often disrupt relaxation on an outdoor deck. Acoustic panels provide a practical solution for softening these intrusions without eliminating the urban environment entirely.
This guide covers how outdoor acoustic panels function, which materials perform best, and the precise steps for safe installation. Readers will also find maintenance routines and troubleshooting methods that support year-round performance.
How Acoustic Panels Work Outdoors
Acoustic panels absorb sound waves and limit reflections from hard surfaces such as railings and walls. On a deck they reduce echo and blunt sharp noises from the street. They do not create complete silence, yet they establish a noticeably calmer area for seating and conversation.
Effective coverage typically requires panels on at least 60 percent of the primary reflective surface. Placement on side walls or privacy screens yields the strongest results. Many panels also introduce texture that complements outdoor design.
Required Tools and Materials
Gather supplies before beginning to keep the process efficient and safe.
- Four to six outdoor-rated acoustic panels measuring roughly 2 by 4 feet each
- Two mounting brackets or Z-clips per panel
- Weather-resistant screws 1.5 to 2 inches long
- Outdoor caulk or sealant
- Power drill, measuring tape, level, and safety gear
Budget options use polyester fiber or PVC. Midrange panels feature fabric-wrapped fiberglass. Premium selections include marine-grade finishes.
Installation Steps
Plan the layout
Measure the target wall or railing. Mark bracket locations with at least one inch of space between panels for airflow. Confirm that brackets will attach to solid framing rather than thin trim.
Secure the brackets
Drill pilot holes and fasten brackets level. Each bracket should support a minimum of 15 pounds. Position one near the top edge and one near the bottom of a standard panel.
Attach the panels
Lift each panel into the brackets. Handle fabric surfaces by the edges to prevent marks. Tighten screws until the panel sits flush without compressing the core material.
Seal against moisture
Apply a thin bead of outdoor caulk along top and side seams. Remove excess immediately. This step prevents water intrusion that leads to mold or warping.
Verify performance
Sit in the treated area and note changes in sound. Add panels to opposite surfaces if reflections remain strong. Paired placement across from each other improves overall absorption.
Safety Considerations
Wear gloves and eye protection during drilling. Position ladders on stable ground and avoid work during rain or high wind. Shut off power to nearby outlets before drilling.
Common Issues and Solutions
Panels that rattle require tighter brackets or rubber washers to reduce vibration. Water stains indicate failed sealant; reapply caulk and clean fabric with mild soap. Minimal noise reduction improves when panels combine with vertical gardens or outdoor curtains.
Fading from sunlight calls for UV-resistant sprays or lighter-colored coverings that reflect heat.
Ongoing Care
Clean surfaces every few weeks with a soft brush. Inspect brackets seasonally for corrosion. Reseal edges annually. Replace fabric or entire panels when cores begin to crumble after five to ten years of use.
In regions with severe winters, detach panels, dry them thoroughly, and store upright in a climate-controlled space. Avoid flat stacking that compresses the acoustic material.
Cost and Time Expectations
Four budget panels plus hardware typically total 150 to 400 dollars. Planning requires about 30 minutes. Installation of four to six panels takes two to three hours. Sealing and testing add another 30 minutes.
Professional Assistance
Contact a deck contractor when walls need reinforcement or load limits are uncertain. An acoustic specialist can address complex sources such as HVAC units and recommend combined barriers that include mass-loaded vinyl.
Practical Next Actions
Measure the surfaces where noise enters most. Purchase four outdoor panels and basic hardware. Install on one wall first, then evaluate results before expanding coverage.