
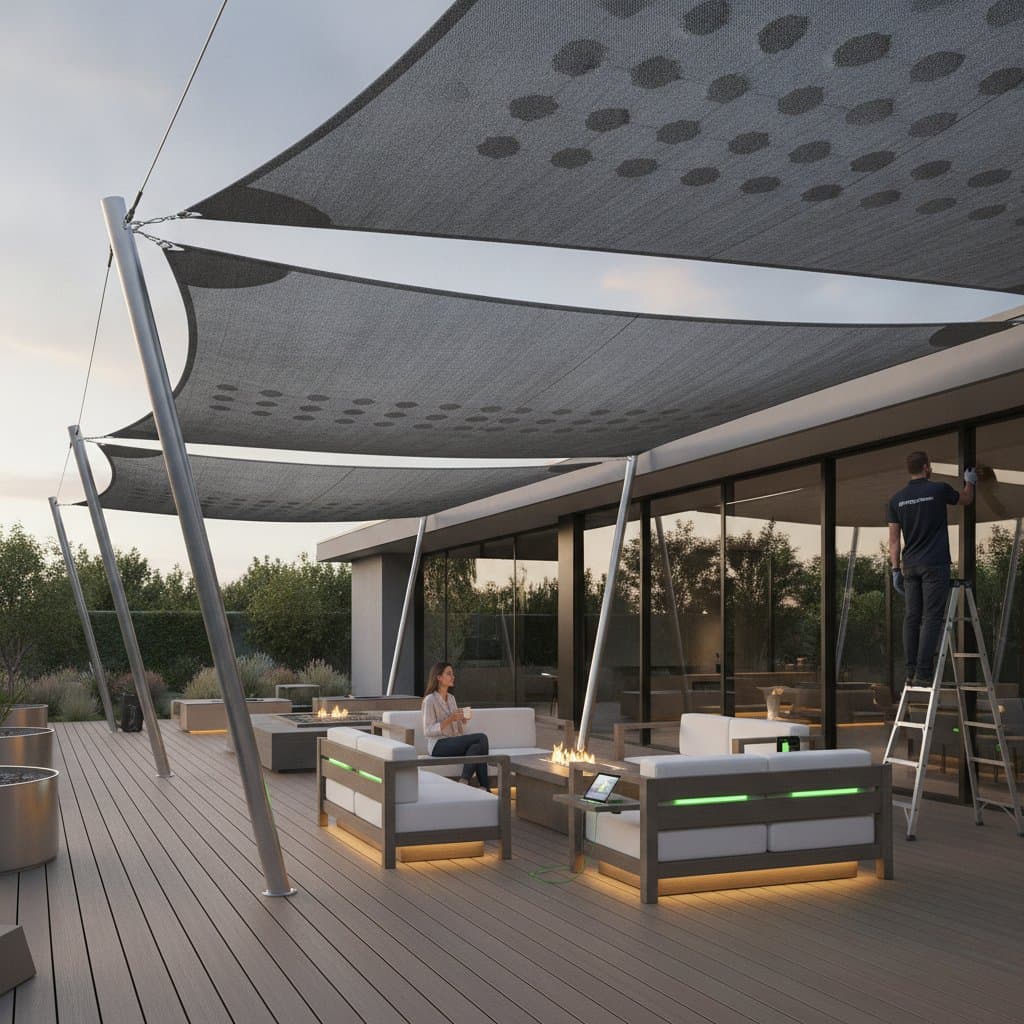
Power Your Deck With Innovative Solar Shade Sails
Your deck should be a place to relax. The sun should not drive you back indoors. Traditional shade sails block heat and glare. New solar shade sails perform the same task while collecting energy for lights, chargers, and small appliances. They bring both comfort and function to your outdoor space. With a few tools and some planning, you can install one in a weekend.
Overview
A solar shade sail is a tensioned fabric canopy with flexible solar panels built into its surface. It blocks sunlight while producing power through photovoltaic cells. The energy can charge a battery pack or feed a small inverter for direct use. The result is shade that pays you back in stored energy. You gain comfort, lighting, and reliable outdoor power without running new wires from your house.
These sails suit decks, patios, or small yards where roof mounted panels are not an option. They come in triangles or rectangles, commonly 10 by 10 feet or 12 by 12 feet. Output ranges between 100 and 200 watts depending on panel size and sunlight conditions.
Why It Matters
Outdoor living spaces often lack outlets or lighting. A solar sail solves both problems at once. It cuts glare, protects furniture from fading, and powers low voltage lighting or a portable speaker. It also reduces strain on your home electrical system during long sunny hours. You stay cooler, your devices stay charged, and your deck becomes more usable for gatherings or quiet breaks.
Tools and Materials
Gather these before you start:
- Solar shade sail kit with integrated panels and mounting hardware
- Support posts or existing anchor points such as walls or sturdy beams
- Measuring tape and level
- Wrench set and drill with masonry bit if attaching to brick or concrete
- Stainless steel turnbuckles and carabiners for tension adjustment
- Charge controller and battery pack rated for at least 12 volts
- Weatherproof cable conduit and mounting clips
Keep a ladder, gloves, and safety glasses nearby. Each sail corner should attach to a secure anchor that can handle at least 100 pounds of tension.
Steps
- Measure your space. Mark where each corner of the sail will attach. Leave 12 to 18 inches of clearance between the sail edge and each anchor point for tensioning hardware.
- Install your anchors. Use posts set 24 inches deep or heavy duty wall anchors. Check that each mount is angled slightly outward to handle tension safely.
- Attach the sail. Clip one corner at a time using carabiners and turnbuckles. Tighten until the fabric is firm and wrinkle free. A taut sail sheds rain and resists wind better.
- Connect the solar wiring. Route cables from the integrated panels to the charge controller. Mount the controller in a shaded, dry area under the deck rail or near a post.
- Link the battery pack. Use the correct polarity and fuse protection. Check that current flows smoothly before plugging in lights or devices.
- Test and adjust. Verify that the sail produces power under direct sunlight. Adjust the tilt angle by 5 to 10 degrees if output seems low.
Safety Tips
Avoid setting up in strong winds or storms. Do not climb on the sail or lean tools against the fabric. Use only weather rated cables and connectors to prevent shorts. Keep the charge controller dry and protected from direct spray. If wiring feels unfamiliar, a licensed electrician can connect the battery and controller for about one hour of labor.
Troubleshooting
Low power output often stems from shading by trees or buildings. Clean the panels with mild soap and water. Dust and pollen can cut efficiency by 20 percent. Uneven tension requires loosening one corner, adjusting turnbuckles evenly, and retightening. Water pooling calls for increased tension or lowering one corner slightly so rain runs off. No charging at all means inspecting the fuse and polarity at both the controller and battery terminals.
Budget and Time
Expect to spend between 350 and 700 dollars for a mid size system, including the sail, hardware, and a basic battery pack. Higher output sails can reach 1000 dollars but may power small appliances or string lights for hours. Installation usually takes 4 to 6 hours with one helper. Most homeowners complete the setup in a single afternoon.
Maintenance
Wipe panels monthly with soft cloths to remove dust. Tighten turnbuckles once each season to maintain tension. Check electrical connections twice per year to prevent corrosion. Store the sail indoors if heavy snow or severe wind is predicted. A well kept sail can last five to seven seasons before fabric replacement.
Smart Storage Moves
Keep spare clips, fuses, and cables in a small labeled bin near your deck. Coil extra wiring neatly using Velcro straps. If you use portable string lights or USB fans, store them in a weatherproof box under a bench. Simple organization saves time when you set up or take down the system.
When to Call a Pro
Call a licensed electrician if the wiring layout involves tying into household circuits or if local codes require permits for permanent outdoor electrical work. A structural engineer can assess anchor points on older decks or masonry walls before installation begins.
Seasonal Reminders
In spring inspect all anchors after winter and clean panels before the sun gets strong. In summer check that the controller ventilation remains clear because heat can reduce performance. In fall remove leaves or debris that collect on top. In winter detach the sail if heavy snow is common and store it dry and rolled, not folded, to prevent creasing.
Pro Tips for Success
Choose pale fabric to reflect heat while still letting light filter through. Angle the sail toward the sun midday position for best energy gain. Add motion sensor LED lights powered directly from the battery for easy nighttime use. Keep one spare carabiner and tension screw on hand in case of wear.
Enjoying Your Upgraded Outdoor Space
A finished solar shade sail turns an ordinary deck into a self powered retreat. You gain shade, lighting, and usable energy from a single weekend project that continues to deliver value season after season.