Choosing the Right Location
Select a level surface on your deck that allows at least three feet of clearance on all sides. This distance keeps heat away from railings, furniture, and overhead structures. Verify that the spot offers easy access to a gas line or a safe path for fuel storage.
Consider wind patterns before final placement. Strong gusts can affect flame stability and increase the risk of embers drifting toward plants or seating areas. A sheltered corner often works best for consistent performance.
Selecting Plants and Materials
Choose heat tolerant species such as lavender, rosemary, or succulents that tolerate warmth without wilting. Position taller plants toward the outer edges of each planter box so they shield more delicate foliage from direct heat. Fill the remaining space with soil formulated for outdoor containers.
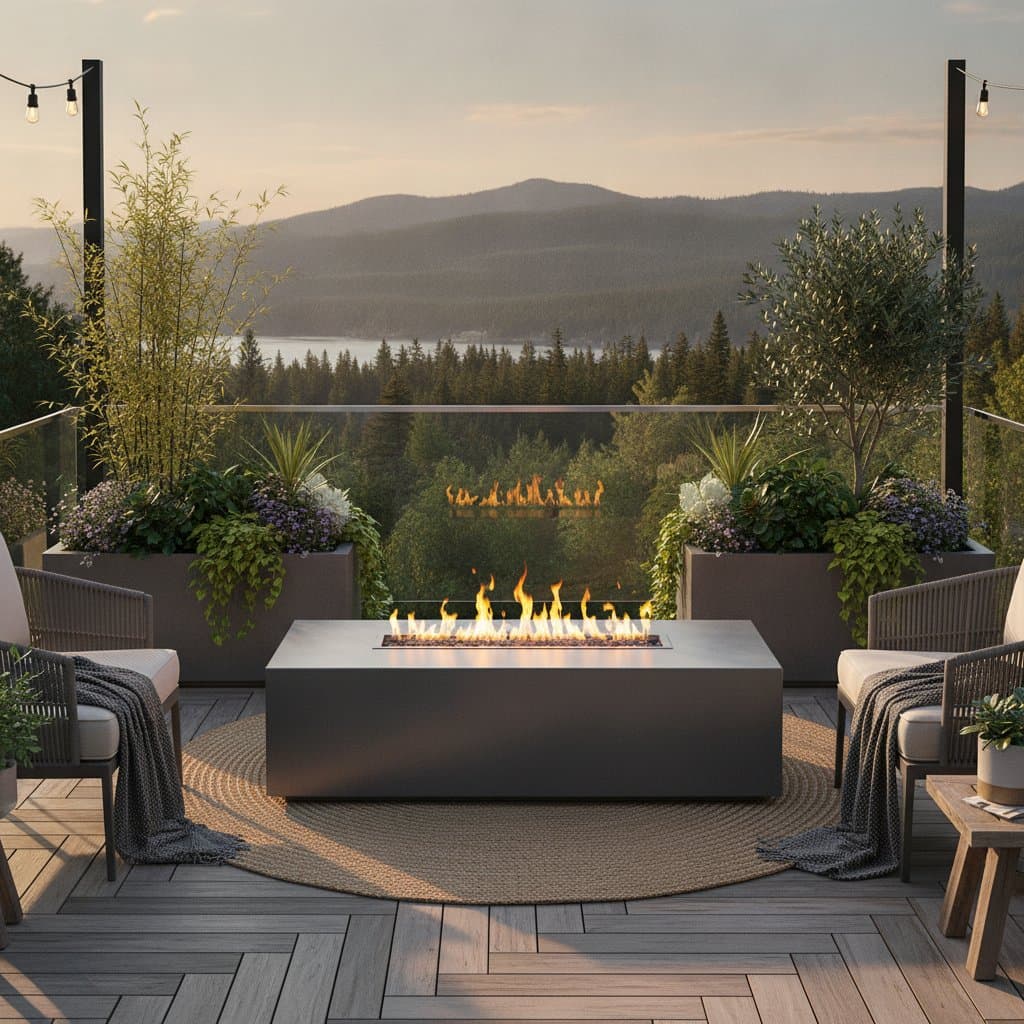
Select filler stones or glass media rated for fire use. These materials reflect light and protect the burner assembly. Avoid lightweight fillers that may shift or crack under repeated heating cycles.
Lighting the Unit
Turn on the gas or pour ethanol fuel as directed by the manufacturer. Use a long lighter to ignite the burner. Adjust the flame height to a low, steady burn. Sit back and notice how the plants reflect the light, creating depth and texture around the table.
Storage Practices
Keep fuel containers stored in a cool, dry place away from direct sunlight. Coil hoses neatly after each use. For planters, trim dead leaves often so debris does not fall into the burner.
Many owners store removable planters indoors during colder months to protect roots from freezing. If the table has a cover, use it every time the fixture cools down. This keeps dust and moisture from affecting the ignition system.
Common Issues and Fixes
Weak flame often results from blocked burner ports or low gas pressure. Clear debris with a soft brush and check the supply line. Uneven burn improves after removing filler stones, cleaning the tray, and replacing the stones evenly.
Plants that wilt benefit from relocation farther from the flame or shorter burn periods. Soot buildup on glass or metal surfaces responds well to weekly cleaning with vinegar and water. Avoid harsh chemicals that could react with fuel residue.
Cost and Installation Time
A good quality gas fire table with planters costs between 600 and 1200 dollars. Building your own with a burner kit can save about 30 percent if you already have materials. Setup takes about two to three hours for a ready made model and one weekend for a custom build.
Plan for small extras such as soil, filler stones, and fuel at a total of 50 to 100 dollars. A low cost swap involves placing a group of solar lanterns at the center and building planter edges around them. This approach delivers the layered effect of light and greenery with no ongoing fuel expense.
Professional Assistance
Call a licensed gas technician if you plan to connect to a main gas line or leave the table outdoors year round. Request leak testing, a pressure check, and confirmation that deck ventilation meets local code. A short inspection fee often prevents expensive repairs later.
Ongoing Care
At the start of each warm season, inspect burner parts for rust or loose fittings. Empty and refresh planter soil every few months to prevent compaction. In wet climates, tilt the table slightly so rainwater drains through the planters instead of pooling near the burner.
When cooler weather arrives, drain water from planters, cover the fire pit, and store cushions indoors. Clean glass media before the next use so it stays bright.
Putting the Design to Work
Keep these steps in mind. Pick a safe spot with enough clearance. Choose hardy plants that can handle warmth. Test connections before every light. These habits help the unit deliver reliable warmth and greenery throughout the seasons.