Shade Your Deck and Power Your Home with Solar Pergolas
Your deck should be a place to relax, not a space that overheats every time the sun climbs high. A solar pergola gives you shade and produces clean electricity at the same time. It acts like a traditional pergola but replaces the standard roof slats with solar panels. You gain a cool retreat and reduce your utility bill with one project.
This guide explains how solar pergolas work, what materials you need, and how to plan, install, and maintain one. You will learn what to expect in cost and time, how to decide between DIY and professional help, and how to keep the system running safely.
Overview
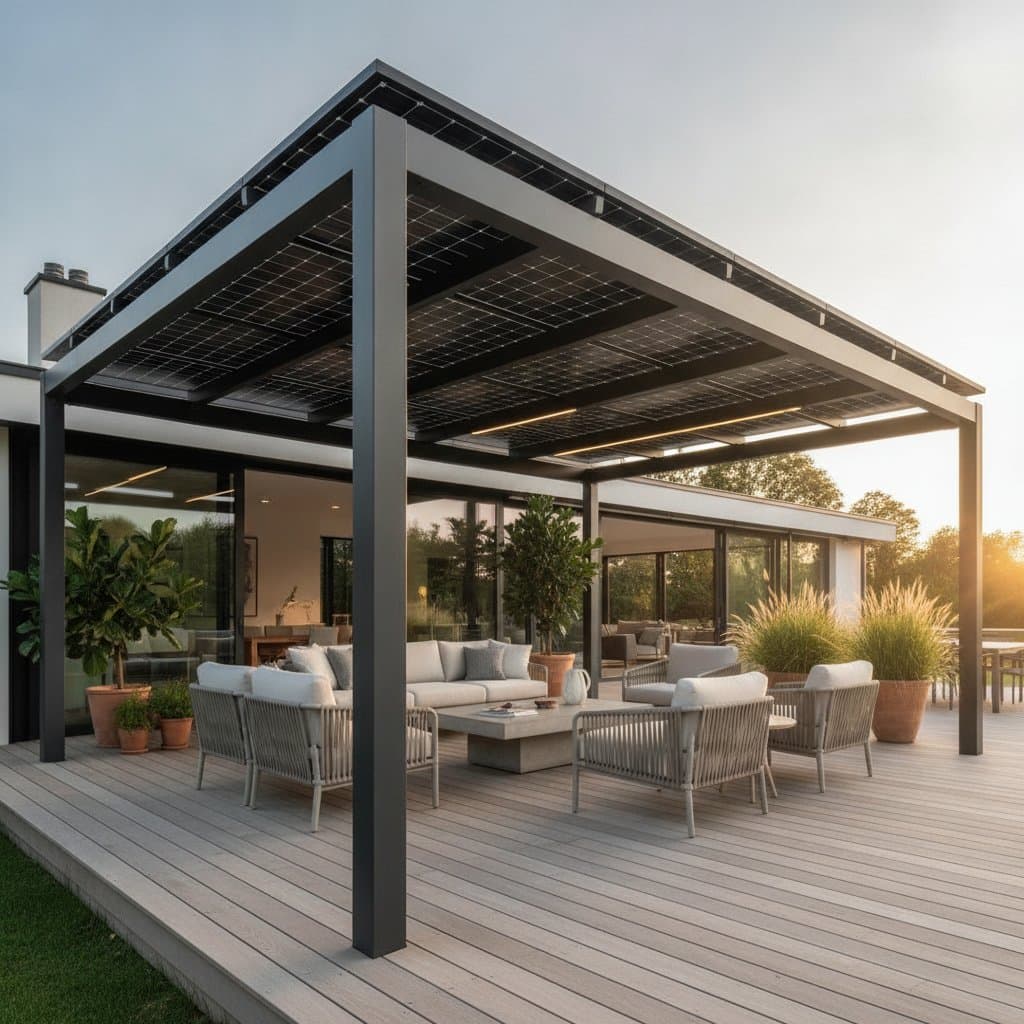
A solar pergola is a freestanding or attached outdoor structure that supports photovoltaic panels. The panels convert sunlight into power, which can feed your home or charge a battery system. The frame provides shade for seating, dining, or gardening.
These systems fit well on decks, patios, and rooftop terraces where open sunlight is abundant. They deliver both a design upgrade and an energy source. A well-placed solar pergola can generate between 1 and 3 kilowatts of power, enough to offset a noticeable portion of household consumption.
The goal is to create a shaded area that earns its keep every day. You get cooler afternoons, less glare, and a smaller energy bill.
Tools and Materials
For a standard deck-size solar pergola, gather the following:
- Structural materials: pressure-treated lumber or aluminum beams, galvanized brackets, and concrete anchors
- Solar components: photovoltaic panels, inverter, charge controller, and conduit wiring rated for outdoor use
- Hardware and tools: circular saw, drill with bits, level, tape measure, ladder, and safety gear including gloves and goggles
- Optional features: LED string lighting, weatherproof outlets, or climbing plants for a softer look
Always check local building codes before you buy materials. Some areas require a permit for any solar installation, even small-scale ones.
Steps
1. Measure and plan the layout
Measure the deck and note the main sun path. The longest beam should run east to west to give the panels maximum exposure. Mark four post locations for a typical 10 by 12 foot frame. Keep at least 7 feet of clearance under the lowest beam for comfort.
2. Anchor the posts
Drill into deck framing or concrete footings and use metal post bases. Tighten all bolts firmly. A single loose post can twist the structure when wind hits the panels.
3. Build the frame
Attach beams and rafters with corrosion-resistant screws. Check level on each side. A slight slope of about 5 degrees helps water run off and keeps panels cleaner over time.
4. Install the solar panels
Place the panels face up on the rafters. Secure them with manufacturer-approved clamps. Run conduit along the beams and route wiring toward the inverter location. Keep wires tight against the frame to avoid snagging or heat damage.
5. Connect the system
Mount the inverter on a nearby wall or post. Connect the panel wiring according to the diagram that came with the equipment. Always turn off power at the main breaker before tying into your home circuit. Use a licensed electrician if you are not experienced with electrical work.
6. Test and finish
Once connected, turn on the system and check the output reading on the inverter. A steady green indicator light means the panels are generating power. Add trim boards or decorative elements to finish the structure.
Safety Tips
- Wear gloves and goggles when cutting or drilling.
- Never work on the roof or frame during wet or windy conditions.
- Use insulated tools when handling electrical parts.
- Confirm that all wiring is rated for outdoor and UV exposure.
- Label shutoff switches clearly for emergency use.
A solar pergola adds weight to your deck. Make sure the joists and posts can carry at least 10 pounds per square foot beyond the usual load. Reinforce if needed before installation.
Troubleshooting
Low power output: Check for dirt or shade on the panels. Even one dirty panel can drop performance by 20 percent. Clean with mild soap and water using a soft brush.
Flickering lights or inverter errors: Inspect wiring connections. Loose terminals can cause voltage drops. Tighten or replace damaged connectors.
Water pooling on panels: Verify the slope. Adjust brackets or add spacers to lift the low edge slightly.
Noise from the frame: Recheck bolts and brackets. Temperature changes can loosen metal joints. Retighten at least once per season.
Budget and Time
A small pergola with four panels may cost around 4000 to 6000 dollars if you build it yourself. A larger setup with ten or more panels can reach 12000 dollars or more. The main cost drivers are panel capacity, inverter quality, and structural material.
Expect to spend about two weekends on construction if you already have a deck and tools. Electrical connection may take another half day with a professional.
You can save money by using treated lumber instead of metal framing, though aluminum requires less maintenance. Avoid cutting corners on the electrical hardware or fasteners since these protect your system from fire and corrosion.
Maintenance
Clean panels every two to three months, especially if you live near trees or dusty roads. Inspect brackets and wiring twice a year. Look for corrosion or loose fittings.
Reapply wood sealant on lumber every two years to resist moisture. For metal frames, check painted surfaces for chips and touch up as needed.
Monitor production through the inverter display or app. A sudden drop of more than 15 percent from normal output may signal a wiring or shading issue that needs attention.
Seasonal Reminders
Spring: Wash panels and check wiring after winter weather. Tighten bolts that may have loosened during temperature swings.
Summer: Trim branches that cast shade. Confirm that ventilation gaps remain open between panels and the frame.
Fall: Clear leaves and debris from around the posts and roof slats. Inspect the waterproof seals around conduit entries.
Winter: Brush off snow gently with a soft broom. Avoid scraping the glass surface. Confirm that drainage paths are open to prevent ice buildup.
Smart Storage Moves
If your deck has limited space, use storage benches under the pergola for cushions and tools. Mount narrow shelves on the posts for plants or lanterns. Install a small lockbox near the inverter to keep manuals and spare fuses dry.
These touches keep the area tidy and make maintenance easier. A clean, organized deck also improves air circulation around the panels, which helps them run cooler and more efficiently.
When to Call a Pro
Hire a certified solar installer if your roof layout is complex or if you plan to connect the pergola system to the main utility grid. Ask the installer to provide a wiring diagram and confirm that all parts meet local safety standards.
A structural engineer can verify that your deck can handle the added load. This step is especially helpful if you plan to mount more than six panels or use heavy glass modules.
Your Next Steps
Start by sketching your deck and noting where sunlight hits for at least six hours each day. That zone is your prime location. Contact your local building office to learn about permit requirements. Compare quotes for panels that fit your energy target and budget.