
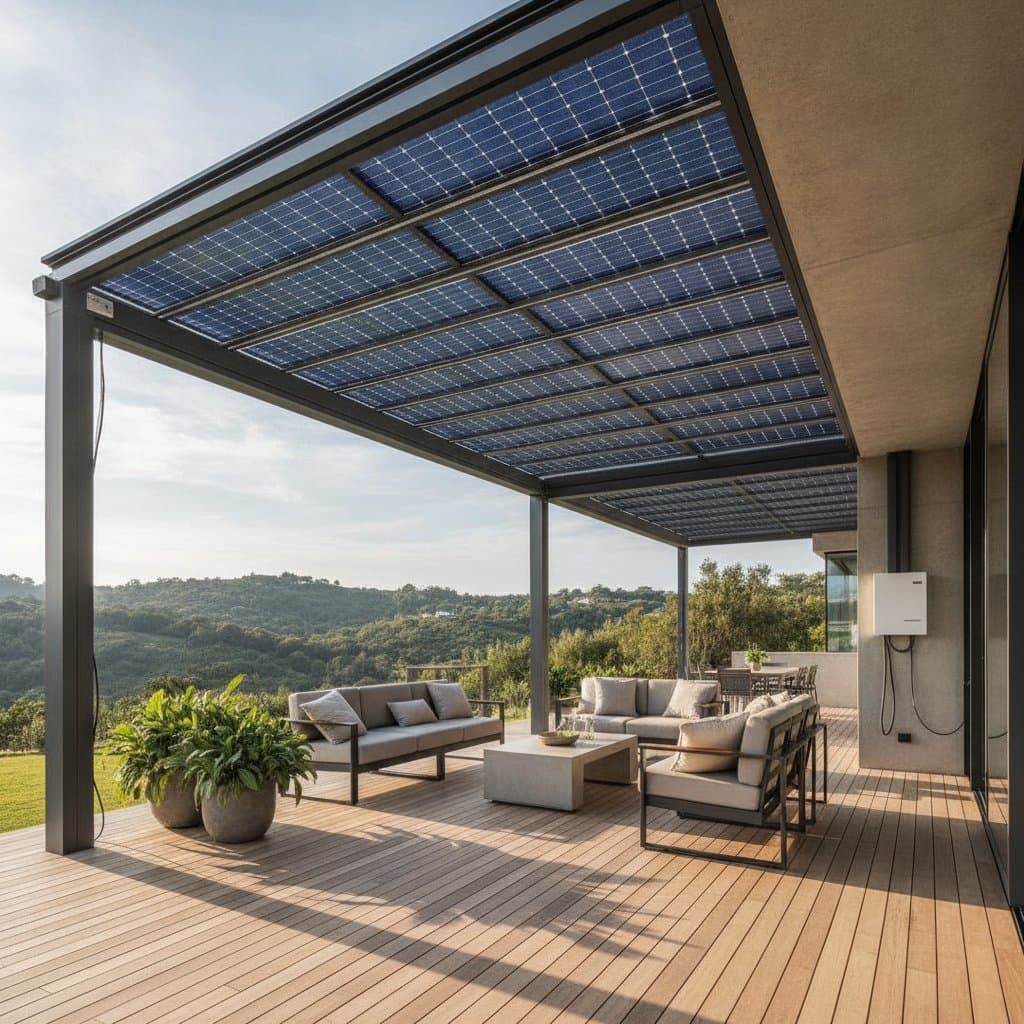
Retractable Solar Roofs Turn Decks into Power Sources
You enjoy your deck for morning coffee or evening meals. Weather and intense sun often limit its use. A retractable solar roof addresses this issue by providing shade and shelter while producing electricity. The result is greater comfort, expanded usability, and lower energy costs.
This guide covers the function of retractable solar roofs, their value for urban properties, and the process for planning, installation, and upkeep.
Overview
A retractable solar roof consists of photovoltaic panels mounted on a motorized track system. The panels move to cover or uncover the deck area as needed. They connect through an inverter to supply alternating current to the home or a battery storage unit.
Flexibility defines the system. Users can retract the panels for open views or extend them for protection from rain and sun. Urban decks gain new purpose as energy producers rather than unused space.
Output ranges from 2 to 4 kilowatts based on panel selection and site conditions. This capacity offsets a meaningful share of daytime household electricity use.
Required Tools and Materials
Prepare the following items before beginning work:
- Measuring tape of at least 25 feet
- Level and chalk line
- Cordless drill with stainless steel fasteners
- Weatherproof wiring and conduit
- Motorized track kit or manual crank mechanism
- Photovoltaic panels rated 250 to 400 watts each
- Inverter and charge controller
- Protective gloves, shoes, and eyewear
Confirm that the deck structure supports an added load of 3 to 5 pounds per square foot.
Installation Steps
Evaluate Sun Exposure
Identify areas that receive six or more hours of direct sunlight daily. South or west orientations perform best. Simple solar path tools help detect obstructions from buildings or trees.
Plan the Frame Dimensions
Outline the coverage area to match the deck footprint or a portion of it. Maintain 12 inches of clearance from walls and railings to allow movement and drainage.
Select Panel Types
Monocrystalline panels deliver higher efficiency. Polycrystalline panels reduce upfront cost. Thin-film options suit curved frames but produce less power per square foot.
Construct the Support Structure
Assemble aluminum or coated steel posts and tracks. Secure anchors to deck joists with lag bolts. Verify level alignment before final tightening. Test that tracks operate smoothly.
Attach and Connect Panels
Fix panels with stainless clamps. Route wiring through sealed conduit to the inverter. Label each connection. Engage a licensed electrician for the final electrical integration.
Verify Operation
Cycle the retract mechanism multiple times. Listen for irregular sounds and adjust tension as required. Confirm automatic stops at full extension and retraction.
Monitor System Performance
Review inverter readings under sunlight. Expect 18 to 22 volts per panel. Track initial output to establish a performance baseline.
Safety Practices
Disconnect power before any wiring work. Work only on dry surfaces. Use assistance when handling large panels. Stop immediately and seek professional help if sparks or unusual odors appear.
Common Issues and Solutions
Panels that produce no power require cleaning and fuse inspection. A slow or stuck roof needs lubrication and debris removal. Leaks around mounts call for resealing and fastener adjustment without excessive tightening.
Ongoing Care
Clean panels several times each year using a soft brush and mild solution. Inspect wiring insulation regularly. Clear snow before retraction in winter. Disconnect the motor and cover tracks during extended storage. Keep spare panels indoors and maintain clean inverter vents.
Cost and Timeline
A system for a 10 by 12 foot deck ranges from 6000 to 12000 dollars with professional labor. DIY efforts reduce expense by up to 30 percent, though electrical work remains the domain of licensed contractors. Completion typically requires two to four days.
A 3 kilowatt system offsets roughly one third of a small home electricity bill. Pairing with efficient appliances accelerates returns.
Situations Requiring Professional Assistance
Engage specialists when tying into the main electrical panel, reinforcing deck framing, or adding battery storage.
Moving Forward
Measure daily sun exposure on the deck. Create a basic layout for panel placement. Schedule a structural and electrical assessment with a qualified installer to begin implementation.