
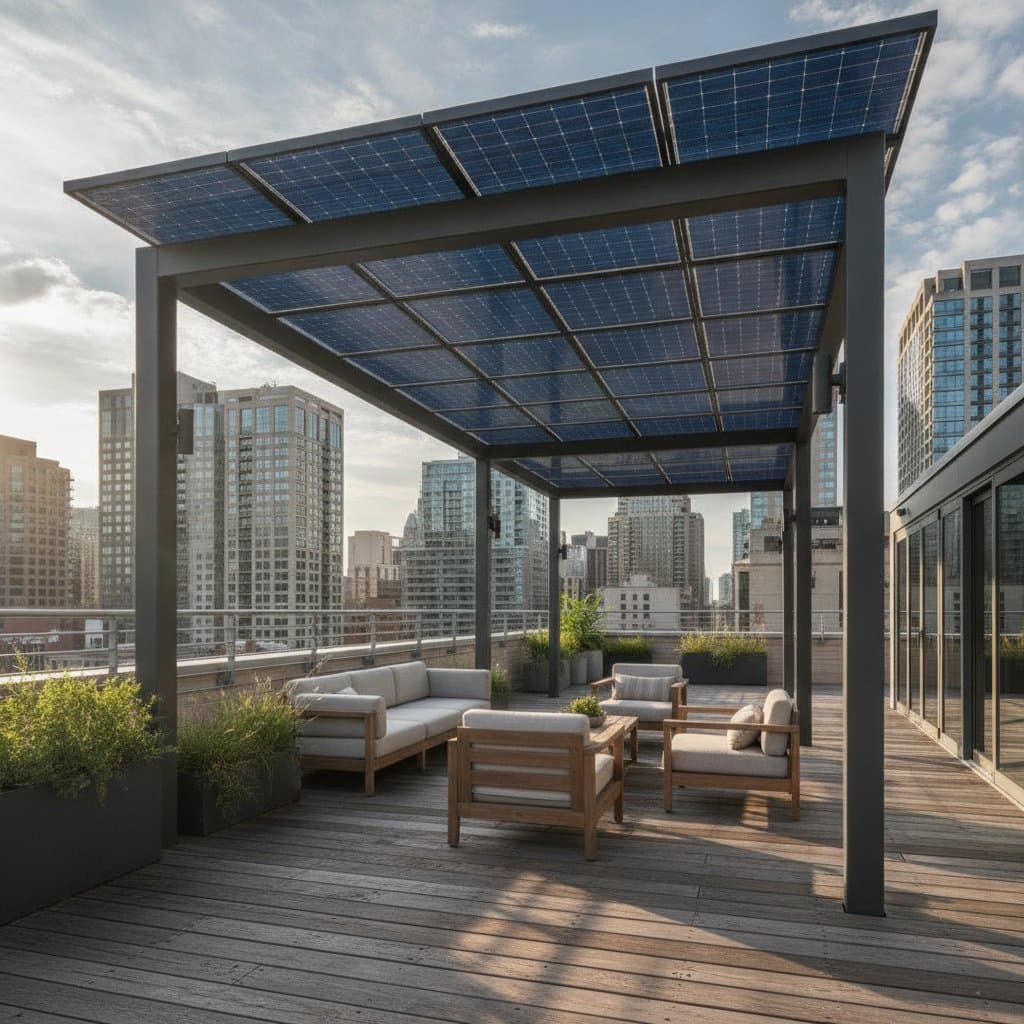
Turn Rooftop Shade into Solar Energy with Pergolas
A sunny rooftop already functions as a power station. The real task is managing heat and glare while preserving access to sunlight. A solar pergola solves this by supplying shade and electricity from the same structure.
This guide shows how to design, install, and maintain a rooftop solar pergola that cools the space and produces clean power.
What a Solar Pergola Provides
A solar pergola uses an open frame of posts and beams topped with photovoltaic panels instead of traditional roofing. The panels filter sunlight for occupants below while converting the rest into electricity. Urban rooftops suit this approach because they offer flat surfaces and unobstructed sky views.
The shade reduces roof surface temperature and can cut building cooling demand by 5 to 10 percent during warm months. Power from the panels can run lights, fans, or feed into the building electrical system.
Key benefits include:
- Dual use of space for seating and energy production
- Lower rooftop heat and glare
- Long-term reduction in electricity costs
- A defined outdoor area for relaxation or plants
Confirm Structural Readiness
Before any work begins, have a licensed engineer or contractor verify that the roof can support added weight. A typical 10 by 12 foot pergola with four to six panels weighs 600 to 900 pounds when complete.
Required Tools and Materials
Tools
- Tape measure, level, and pencil
- Power drill with masonry bits
- Socket wrench set
- Rooftop-rated ladder or scaffolding
- Safety harness with anchor line
Materials
- Pressure-treated 4 by 4 inch posts or aluminum equivalents
- 2 by 8 inch cross beams
- Galvanized brackets and bolts
- 250 to 400 watt solar panels rated for outdoor use
- Compatible mounting rails and clamps
- Conduit, junction boxes, inverter, and UV-rated wiring
Installation Sequence
Assess Sunlight and Roof Conditions
Confirm at least six hours of direct sun daily. Note drainage paths and avoid areas shaded by taller structures.
Verify Load Capacity
Each panel weighs roughly 40 pounds. Obtain written confirmation from a structural professional that the roof framing can accept the total load.
Design the Frame
Space posts eight feet apart. Set beam height at seven to eight feet for standing comfort. Slope the roof surface 10 to 15 degrees to promote runoff and improve panel performance.
Anchor the Posts
Mark base locations, apply waterproof sealant, and secure plates with appropriate anchors. Maintain a one-inch gap around each base for drainage.
Assemble the Frame
Plumb the posts, attach cross beams with brackets, and pre-drill all lumber connections. Wear gloves and eye protection throughout.
Mount the Panels
Install rails across the beams. Clamp panels with one-inch gaps for airflow. Route wiring through conduit to a junction box.
Complete Electrical Work
Position the inverter under cover near the panels. Connect output to the building system or battery storage. A licensed electrician must inspect and approve all connections to meet local codes.
Final Inspection
Test output during daylight hours. Seal all penetrations and secure loose wiring.
Safety Requirements
Use fall protection near edges. Avoid drilling into primary roof supports. Disconnect power before making electrical connections. Work only on calm, dry days.
Common Issues and Fixes
Low output often results from dust or debris. Clean panels with a soft brush and water to restore up to 20 percent of lost production.
Loose fittings after high winds require tightening bolts twice yearly and adding diagonal bracing if needed.
Water at anchor points calls for fresh sealant to protect underlying roof layers.
Inverter error codes usually clear with a reset. Persistent faults require a qualified technician.
Ongoing Care
Clean panels every two months with mild soap and a microfiber cloth. Inspect the frame each season for corrosion or rot. Replace damaged wiring immediately.
Keep the area beneath the pergola clear for airflow. Store cushions indoors when not in use.
Weather Preparation
Remove portable items before snow or storms. Panels tolerate moderate snow loads up to 40 pounds per square foot. Disconnect plug-in devices during severe weather and keep electrical enclosures sealed.
Cost and Schedule
Materials and panels for a 10 by 12 foot structure range from 2400 to 3600 dollars for a do-it-yourself build. Professional installation typically costs 5000 to 7000 dollars. Construction requires two to four days, with additional time for permits and inspection.
Seasonal Tasks
Spring calls for seal inspection and output testing. Summer requires monthly panel cleaning. Fall needs leaf removal from drains. Winter requires careful snow clearance.
When Professional Help Is Essential
Engage an engineer if the roof shows cracks or sagging. Use a certified solar electrician for all wiring and grid connections. Obtain management approval for shared rooftops before starting work.
Practical Next Actions
Measure available roof area and daily sun exposure. Sketch a frame sized for seating and panel count. Secure a structural evaluation. Select 250 to 400 watt panels. Arrange electrical consultation for safe wiring.
A completed solar pergola supplies shade, reduces heat, and generates usable electricity from previously unused space.