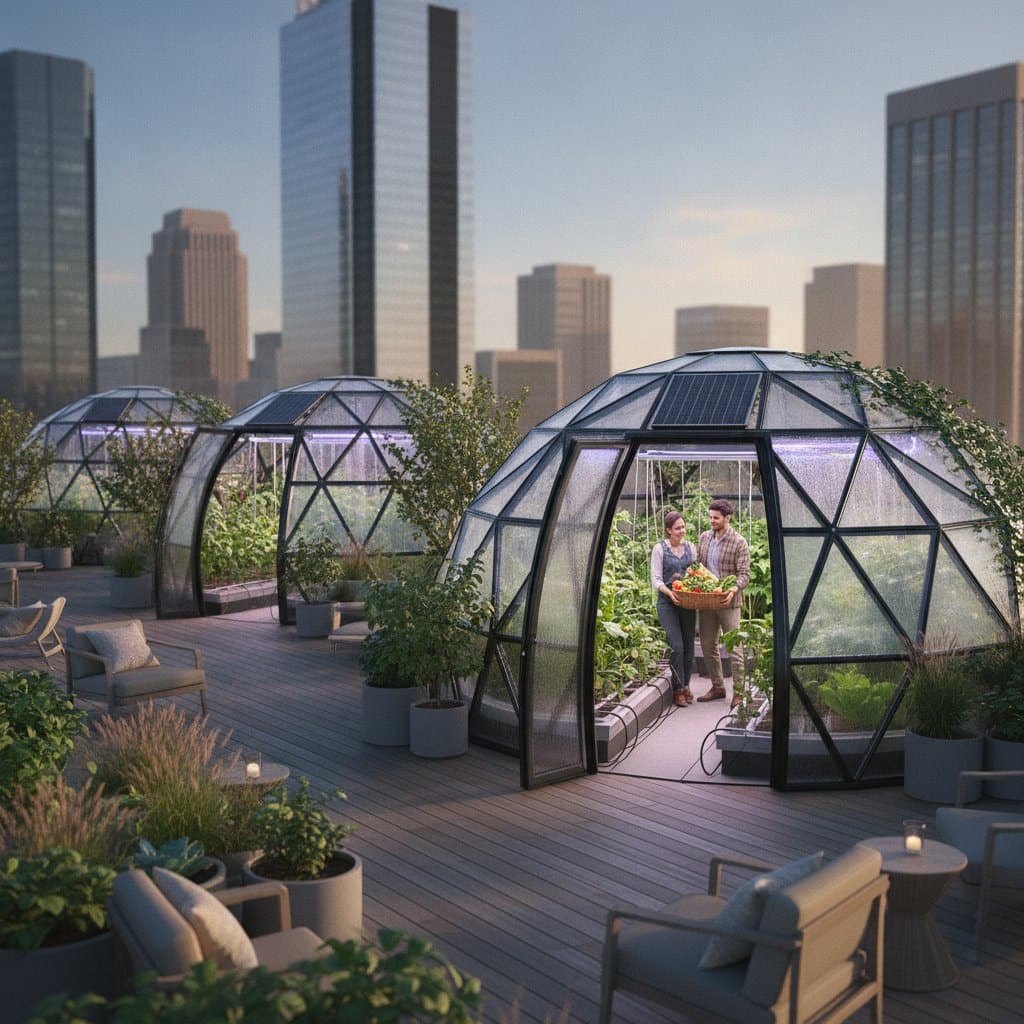
Year-Round Urban Gardens with Climate-Controlled Pods
Your rooftop can grow food even when temperatures drop or city air feels harsh. Climate-controlled pods make that possible. These compact greenhouse systems use sealed walls, filtered air, and steady light to keep plants healthy all year. They turn small spaces into stable growing zones for herbs, greens, and even tomatoes.
The goal is simple. You want a garden that produces fresh food in every season without heavy maintenance or weather worries. With a few pods, a power source, and some planning, you can keep harvests going month after month.
Overview
A climate-controlled pod is a small, enclosed greenhouse unit with adjustable heat, humidity, and light. The pod keeps plants at the right temperature even when outdoor conditions shift. You can place one on a rooftop, balcony, or patio. Some models plug into standard outlets, while others use solar panels.
Pods matter because they solve three city gardening problems. They protect plants from cold snaps, reduce water loss from wind, and block pollutants. The result is steady growth with less waste.
Tools and Materials
You need only a few basics to set up one pod:
- One climate-controlled pod with temperature and humidity control
- Soil trays or hydroponic inserts depending on your growing style
- LED grow lights with adjustable brightness
- Thermometer and moisture sensor for quick checks
- Extension cord rated for outdoor use if your outlet is distant
- Watering can or drip line for consistent moisture
For a small rooftop, three pods of about 3 feet by 3 feet each give a strong start.
Steps
- Choose your site. Pick a flat, stable surface with at least 6 hours of daylight.
- Check load limits. A full pod weighs about 180 pounds, so confirm your rooftop can handle it.
- Anchor the base. Use concrete pavers or brackets so wind cannot shift your setup.
- Plug in and test. Run the heating, fan, and lighting systems for 30 minutes to confirm steady function.
- Prepare your soil or hydro base. Fill trays with a 60 percent compost and 40 percent perlite mix for good drainage.
- Plant and label. Keep herbs in one pod, greens in another, and fruiting plants in the third. Labels avoid confusion later.
- Set climate controls. Most greens thrive near 68 degrees Fahrenheit with about 60 percent humidity.
- Inspect weekly. Wipe condensation, reset timers, and clear debris from vents.
Safety Tips
Keep cords off walking paths to prevent tripping. Do not overload outlets. If your pod uses a heater, check that the casing stays cool to the touch. Always unplug before cleaning any fan or vent area.
Troubleshooting
If leaves yellow, raise the light height by 2 inches. If mold appears, lower humidity for two days and add airflow. Slow growth may mean soil is too cool, so bump temperature by 3 degrees Fahrenheit.
Budget and Time
A single pod ranges from about 250 to 700 dollars. Expect to spend two to three hours on setup. Upgrades like solar panels or timers add cost but save energy later.
Seasonal Reminders
Clean filters every three months. Add reflective film inside walls in winter to keep warmth in. Open vents fully once weather warms to prevent overheating.
Scaling Your Setup
Start with one pod before scaling up. Track which crops thrive, then adjust soil, light, and temperature settings. As you gain comfort, link pods together for larger harvests. With steady checks and small tweaks, your rooftop can stay green all year.