
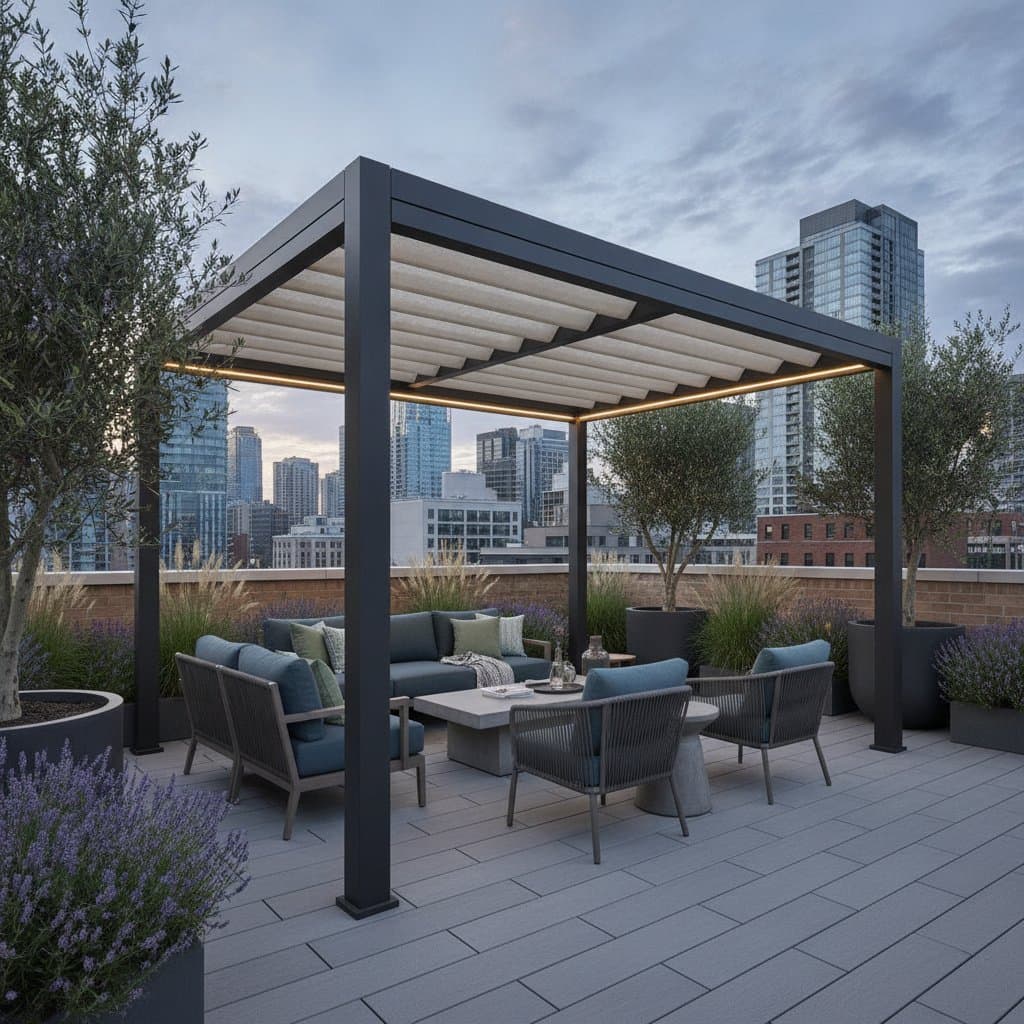
Planning Your Rooftop Pergola Pod
Selecting the right pergola pod begins with accurate measurements of your rooftop space. Consider local building codes and wind load requirements before purchase. Choose materials such as powder coated aluminum or marine grade fabric that resist corrosion in urban environments.
Verify that your roof structure can support the added weight. Consult structural drawings or a professional engineer when necessary. Factor in access points for delivery and assembly equipment.
Assemble the Frame
Lay out all frame pieces on a clean flat surface. Follow the manufacturer sequence while checking alignment at each stage. Use a level to confirm that columns remain vertical throughout the process.
Tighten bolts in gradual paired increments to prevent frame distortion. Double check diagonal measurements to ensure squareness before final torque application.
Anchor Securely
Select rooftop anchors or weighted footings when roof penetration is prohibited. On concrete surfaces expansion bolts provide the strongest hold. Apply weatherproof sealant beneath each mounting plate to block moisture intrusion.
Install the Retractable Roof
Slide louver slats into side rails for adjustable systems and test tilt operation. Thread fabric canopies through guide tracks and secure tension springs for fabric models. Confirm that the roof opens and closes without binding.
Add Side Panels or Screens
Mount zip track or roller screens inside the frame to preserve usable space. Verify that screens deploy and retract evenly across the full height. Adjust tension settings to eliminate gaps.
Test Drainage
Pour water across the roof surface to confirm flow toward gutters and downspouts. Clear any debris that impedes drainage channels. Adjust support shims if pooling occurs.
Connect Lighting or Heat
Run outdoor rated cable through approved conduits to GFCI protected outlets. Maintain required clearances around heating elements. Test all circuits before final enclosure.
Safety Tips
- Wear gloves and safety glasses during drilling and assembly.
- Avoid work on windy or wet days.
- Never exceed the specified load limits for hanging items.
- Disconnect power before any electrical work.
Troubleshooting
Clean tracks with mild soap solution when the roof mechanism sticks. Reapply sealant around anchors if leaks appear. Tighten all fasteners and verify plate contact when the frame moves in wind. Adjust or replace tension components if fabric sags.
For motorized units confirm power supply and remote batteries before seeking service.
Maintenance
Clean surfaces every three months using a soft brush and mild detergent. Inspect joints seasonally for corrosion or wear. Lubricate moving parts twice yearly and keep gutters clear of debris. Retract the roof fully before snowfall.
Storage
Dry removable fabric panels completely before rolling them for indoor storage. Label containers that hold spare hardware and tools. Store components in a cool dry location for quick access after storms.
Budget and Time
Manual kits range from two thousand to thirty five hundred dollars. Motorized louver systems cost between five thousand and ten thousand dollars. Professional labor typically adds twenty to thirty percent to the total. Two people can complete a DIY installation in one or two days.
When to Call a Pro
Engage a licensed contractor for attachment to structural beams or roof membrane penetrations. Request documentation of prior rooftop pergola experience. Permit requirements also justify professional involvement to ensure code compliance.
Seasonal Reminders
Clean gutters and lubricate components each spring. Deploy side screens during intense summer sun. Inspect anchors before autumn rains. Retract fabric elements and test heaters before winter.
Enjoy Year Round Rooftop Use
Measure your space and select an appropriate kit to begin. Add screens and lighting for extended comfort. Follow the seasonal checklist to protect your investment. Regular use turns the upgraded rooftop into a reliable extension of your living area.