
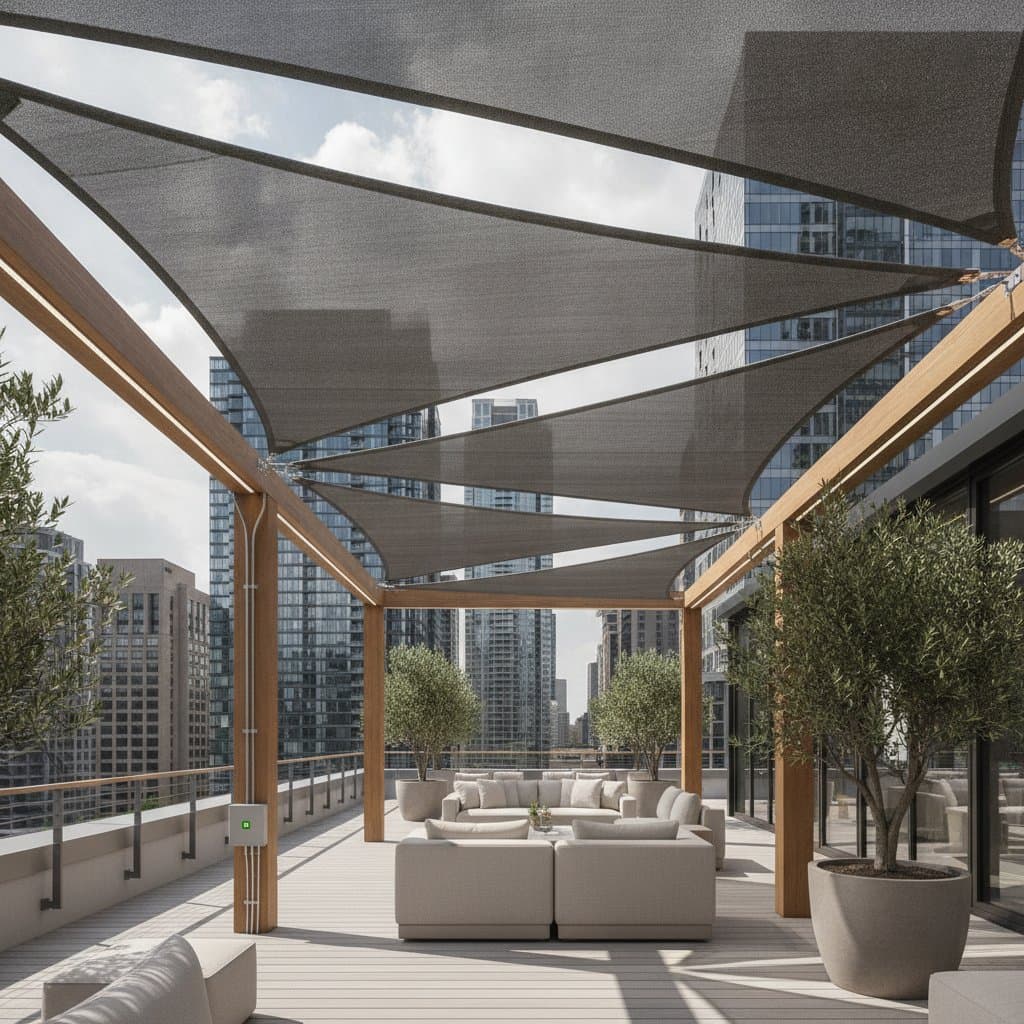
Harnessing Sunlight with Solar Shade Sails
Solar shade sails combine shade and electricity generation in one fabric canopy. These photovoltaic materials stretch across rooftops or patios to block heat while converting sunlight into usable power. Urban residents gain a practical solution that fits limited spaces and avoids the bulk of traditional panels.
Initial Output Check
After wiring the system, test voltage with a multimeter on a clear day. Readings near the panel rating, typically 18 to 22 volts for a 12-volt setup, confirm proper function. Verify that the inverter or battery charges as expected and adjust sail angle if output falls short.
Safety Practices
- Never climb on a wet or uneven roof.
- Inspect all anchors twice each year for rust or loosened bolts.
- Avoid hanging heavy objects from the sail frame.
- Disconnect the electrical system before cleaning or adjusting the fabric.
- Protect wiring from foot traffic and sharp edges.
Common Issues and Solutions
Low power output often results from dust buildup. Clean the sail surface with mild soap and water, since even a thin film can reduce output by 10 percent. Check nearby vents or antennas for new shading.
Fabric sagging or flapping requires slight tightening of turnbuckles. Apply reinforcing tape to the underside if seams stretch.
Water pooling after rain calls for raising one corner to create at least a 10-degree slope for runoff.
Loose wire connections need reseating and corrosion checks. Replace damaged plugs with waterproof versions.
Routine Maintenance
A solar sail lasts 10 to 15 years with consistent care. Keep the surface clean and inspect the photovoltaic layer for cracks or discoloration.
Monthly tasks include rinsing dust and debris with a hose, wiping the photovoltaic side with a soft cloth, and checking wiring insulation.
Seasonal tasks involve removing the sail ahead of storms with winds over 40 miles per hour. After winter storage, inspect for mildew before reinstallation. Reapply UV-protective spray when the manufacturer advises it.
Proper Storage Methods
Roll sails around a padded tube or cardboard core about 4 inches wide rather than folding them. Store the roll in a cool, dry area away from sunlight and chemicals. Label each sail by size and orientation for easy reinstallation. Coil wires loosely and secure them with soft ties.
Cost and Installation Time
A small setup with one or two sails ranges from 1500 to 3000 dollars based on fabric quality and inverter selection. Systems covering 400 to 600 square feet reach 5000 to 8000 dollars, which remains lower than a full rigid panel array.
Beginners complete installation in one weekend. Professional help reduces that to one day at added cost. Annual supplies for cleaning and protection stay under 50 dollars.
A 400-square-foot array produces 1200 to 1500 kilowatt-hours per year under typical sunlight, offsetting part of an apartment electricity load.
Seasonal Care Schedule
Spring requires reinstallation, anchor inspection, and wiring tests before peak sun exposure.
Summer focuses on surface cleaning to sustain output during extended daylight.
Fall involves debris removal and tension checks after storms.
Winter calls for sail removal ahead of heavy snow or steep tilting for shedding.
Situations Requiring Professional Help
Contact a licensed solar or structural expert when roof load capacity is unknown or weak. Seek assistance for cracks in the photovoltaic weave, frayed wiring, or direct connection to home circuits. Discuss system grounding, charge controller type, and wind rating for the local area. A professional can also guide incentive applications and inspection requirements.
Practical Benefits
Solar shade sails deliver shade, heat reduction up to 20 degrees Fahrenheit, and steady renewable power at 30 to 40 watts per square yard. The tensioned fabric design suits tight urban spaces while lasting 10 to 15 years under simple care routines.
Measure the rooftop first and compare fabric options for UV protection and wattage ratings. Install one sail initially to master tensioning before expanding. Track output with a meter to confirm energy gains and cooling effects over time.