
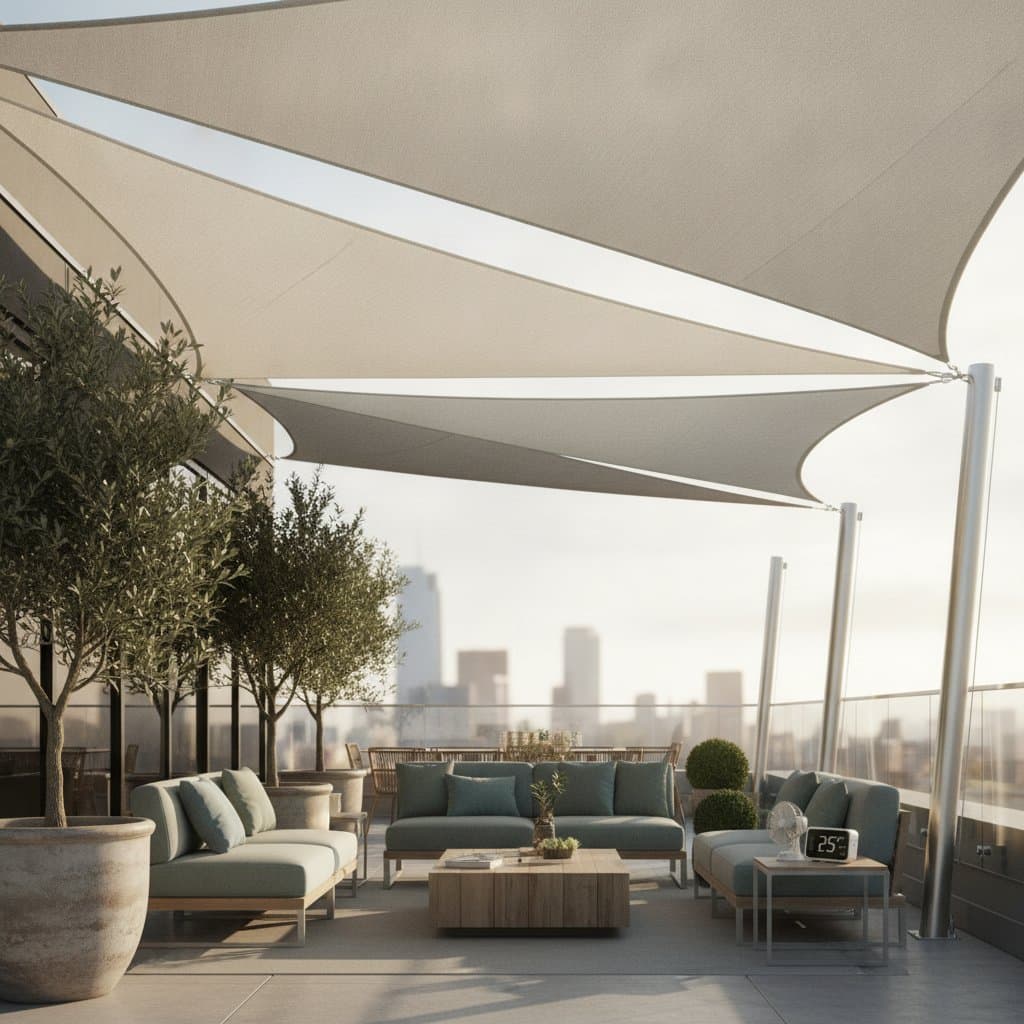
Shade Sails Cool Rooftop Decks by 10 to 15 Degrees
Your rooftop deck should feel like an escape, not an oven. When the summer sun beats down, even a few minutes outside can feel harsh. A shade sail offers a simple fix that cools the space, adds privacy, and looks modern without bulky frames or motors. You can install one in a weekend and enjoy measurable comfort right away.
Overview
A shade sail is a flexible fabric canopy stretched between anchor points to block direct sunlight. The name comes from its shape, which looks like a sail on a boat. Shade sails work best over decks, patios, and rooftop lounges where umbrellas or pergolas are not practical. They block up to 90 percent of UV rays, keeping temperatures below the canopy about 10 to 15 degrees cooler than unshaded spots.
You can find triangle, rectangle, and square sails in many colors. Neutral shades like sand, gray, or white keep things bright, while bold colors add a striking accent against city skylines.
Tools and Materials
Before starting, gather these basics:
- One to three shade sails depending on deck size
- Four to eight anchor points such as posts, wall mounts, or railing brackets
- Turnbuckles, pad eyes, and snap hooks for tensioning
- Rope or stainless steel cable about 10 feet (3 meters) per corner
- Measuring tape and level
- Drill and masonry or wood bits
- Ladder and gloves
Make sure all hardware is stainless steel or galvanized to prevent rust in humid conditions.
Installation Steps
- Map the coverage area. Use chalk or masking tape to mark the corners. Leave at least 12 inches (30 centimeters) of space around each corner for tensioning.
- Locate strong anchor points. Roof beams, parapet walls, or steel posts work best. Avoid attaching to thin railings or siding.
- Install hardware. Secure pad eyes or wall mounts with bolts suitable for the surface. Check that each anchor can handle about 80 pounds (36 kilograms) of pull.
- Attach the sail. Connect one corner at a time using rope or cable. Tighten gradually to create even tension.
- Check the slope. Keep one side about 12 inches (30 centimeters) lower than the opposite side to shed rainwater safely.
- Test stability. Pull gently on each edge. If the sail flaps, add more tension.
Always work with another person when climbing or lifting hardware. Wear gloves to protect your hands from frayed cable.
Safety Tips
- Never mount a sail near power lines or rooftop vents.
- Do not install during windy weather. Wait for calm conditions.
- Inspect anchors twice a season to confirm they remain tight and rust free.
- If the sail sags after rain, release one corner slightly, let it dry, then retighten.
Troubleshooting Common Issues
Wrinkles or sagging fabric can be fixed by loosening one corner, then tightening in small turns across the opposite corner until smooth. Uneven shade improves when you shift anchor points a few inches to balance coverage. Water pooling requires an increase in slope or moving one anchor slightly higher. Rattling hardware stops when you add rubber washers or reposition cables to reduce vibration.
Budget and Time Considerations
Most rooftop setups cost between $150 and $600, depending on sail size and hardware quality. Larger or custom cut sails may reach $1,000. Expect about 3 to 5 hours for a single sail install. Hiring a handyman adds around $150 to $250 for labor but can save time if your roof materials are complex.
Maintenance Practices
Rinse sails every few weeks with a garden hose. Mild soap removes dirt without damaging the fabric. Avoid harsh chemicals or power washers. During winter, unclip the sails, label them by corner, and store them in a dry bin. Fold loosely to prevent creases.
Seasonal Reminders
Before summer, check that posts and anchors are solid. Tighten all turnbuckles. Midseason, clean the sail to keep colors fresh. After heavy storms, inspect for stretching.
Pro Tips for Success
- Combine two or three smaller sails instead of one large one for a sculptural look and easier handling.
- Use light colored fabric to reflect heat. Darker tones offer more shade but absorb warmth.
- Add low voltage string lights under the sail for evening use.
- If high winds are common, choose a mesh style sail that allows some airflow.
Planning Your Installation
Walk your rooftop and picture where you most need shade. Measure that area, note anchor points, and order one sail to start. Once installed, sit beneath it for an hour and feel the difference. You will enjoy cooler air, softer light, and a cleaner skyline view.