
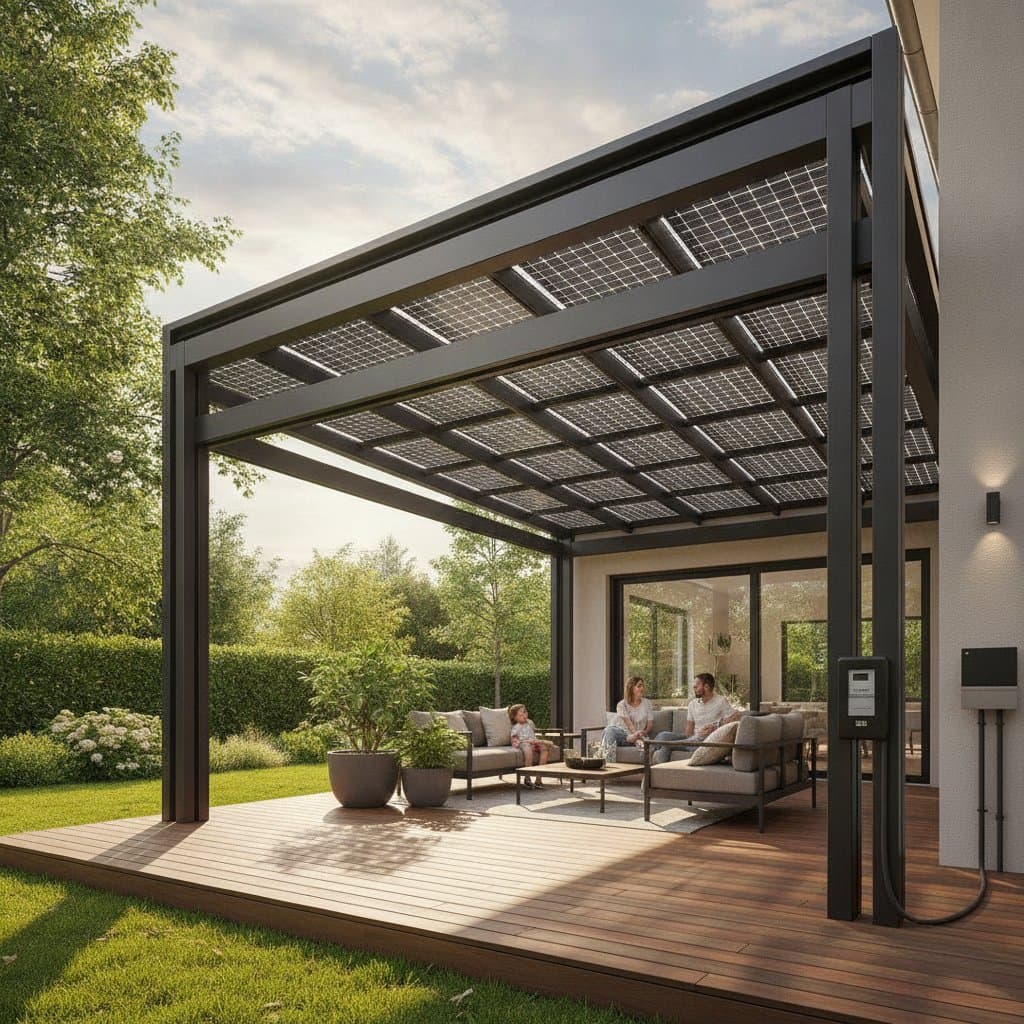
Energy-Generating Pergolas Shade and Power Your Deck
A shaded deck functions as an extra room outdoors. When that shade also produces electricity, the structure becomes a quiet power station integrated into daily routines. An energy-generating pergola delivers both comfort and clean power while blending with existing deck designs.
This guide covers the components of these pergolas, their operation, and the process for planning one at home. Readers will find details on basic setup, required tools and materials, installation procedures, maintenance routines, and guidance on when professional help is appropriate.
Overview
An energy-generating pergola is a deck cover that integrates shade panels with solar cells to produce electricity. The panels replace or overlay traditional slats or louvers and may be fixed, retractable, or adjustable. Electricity generated can power outdoor lights, charge devices, or connect to the home electrical system through an inverter.
The primary aim is to create shade that offsets its own cost. The pergola supplies energy instead of consuming it for fans or lighting while lowering deck surface temperatures.
Key benefits include lower energy bills from solar production, cooler seating areas without solid roofing, reduced glare and UV exposure, and a modern appearance that suits most deck materials. These structures work well in urban yards with limited roof space and extend outdoor usability without added electric demand.
Tools and Materials
Construction or retrofitting requires both carpentry and electrical equipment. Verify that any existing frame can support the added weight and wind load of the panels.
Required materials include a pergola frame of wood, aluminum, or steel rated for outdoor use, photovoltaic modules sized to the deck area with an average weight of 40 pounds each, mounting rails and brackets, an inverter for DC to AC conversion, outdoor-rated wiring, weatherproof junction boxes and conduit, lag bolts with corrosion-resistant screws, and sealant plus flashing for moisture protection.
Essential tools consist of a cordless drill with driver bits, a socket wrench set, a ladder rated for construction, a tape measure and level, safety glasses with insulated gloves, and a multimeter for testing. A typical 10-by-12-foot pergola uses six to eight panels based on wattage and spacing.
Site Assessment and Frame Preparation
Begin by evaluating sun exposure. The location should receive at least five hours of direct sunlight daily. A solar path app helps identify shadows from trees or buildings. Maintain at least 10 feet of clearance from overhead wires.
Inspect post anchors and beams for rot or rust. Strengthen weak joints before adding panel weight. Space new posts 8 to 12 feet apart for stability and apply a weather-resistant finish prior to panel installation.
Mounting Rails and Panels
Attach aluminum rails perpendicular to the main beams with lag bolts. Keep rails level and spaced to match panel dimensions. Position panels on the rails and secure them with clamps, leaving a half-inch gap between modules for airflow. Follow the manufacturer wiring diagram for connections.
Run outdoor-rated conduit from the panels to an inverter near the electrical panel. A licensed electrician must complete any tie-in to the home system to meet local codes.
Testing, Sealing, and Safety Practices
Check voltage readings with a multimeter after connections are made. Apply outdoor-grade silicone to all joints and cable entries. Clean panels with a soft brush and mild soap before initial operation.
Work with a partner when lifting panels. Disconnect power before handling wires. Confirm wind load ratings for anchors and bolts. Wear non-slip footwear on deck surfaces and label all solar circuits clearly.
Common Issues and Fixes
Low output often results from dust or debris. Clean panels and recheck voltage. Uneven readings may indicate shading or loose connections. Inspect and tighten as needed.
Water leaks require resealing with silicone and verification of flashing. Inverter errors call for a manual reset followed by professional service if unresolved. Sagging beams need added bracing or replacement lumber to maintain panel stability.
Costs, Timeline, and Upkeep
Expect costs of 45 to 75 dollars per square foot depending on materials. A 10-by-12-foot structure typically totals 5400 to 9000 dollars before incentives. Savings come from reusing an existing frame, selecting mid-range panels, and performing routine cleaning in house.
A DIY retrofit generally requires two weekends. Professional installation finishes in three to five days. Wash panels monthly with a soft cloth. Inspect fasteners twice yearly and trim nearby branches to limit shade and debris.
When Professional Support Is Needed
Engage a licensed installer for main panel connections, structural repairs, persistent wiring problems, or incentive applications that require certification. Documentation on efficiency ratings, inverter specifications, and warranty terms should be reviewed before final approval.
Storage and Seasonal Care
Place a labeled weatherproof cabinet near the base for tools and supplies. Use hooks under beams for collapsible items if space is limited.
Spring calls for damage inspection and panel cleaning. Summer requires airflow checks. Fall needs weekly leaf removal. Winter involves prompt snow clearing beyond two inches. Regular monitoring through the inverter display maintains consistent output year round.
Next Steps for Installation
Measure the available space and track sunlight patterns across the seasons. Choose between fixed and retractable panels based on shade needs and cleaning access. This approach converts a standard deck into a functional, energy-producing feature that delivers ongoing returns.