
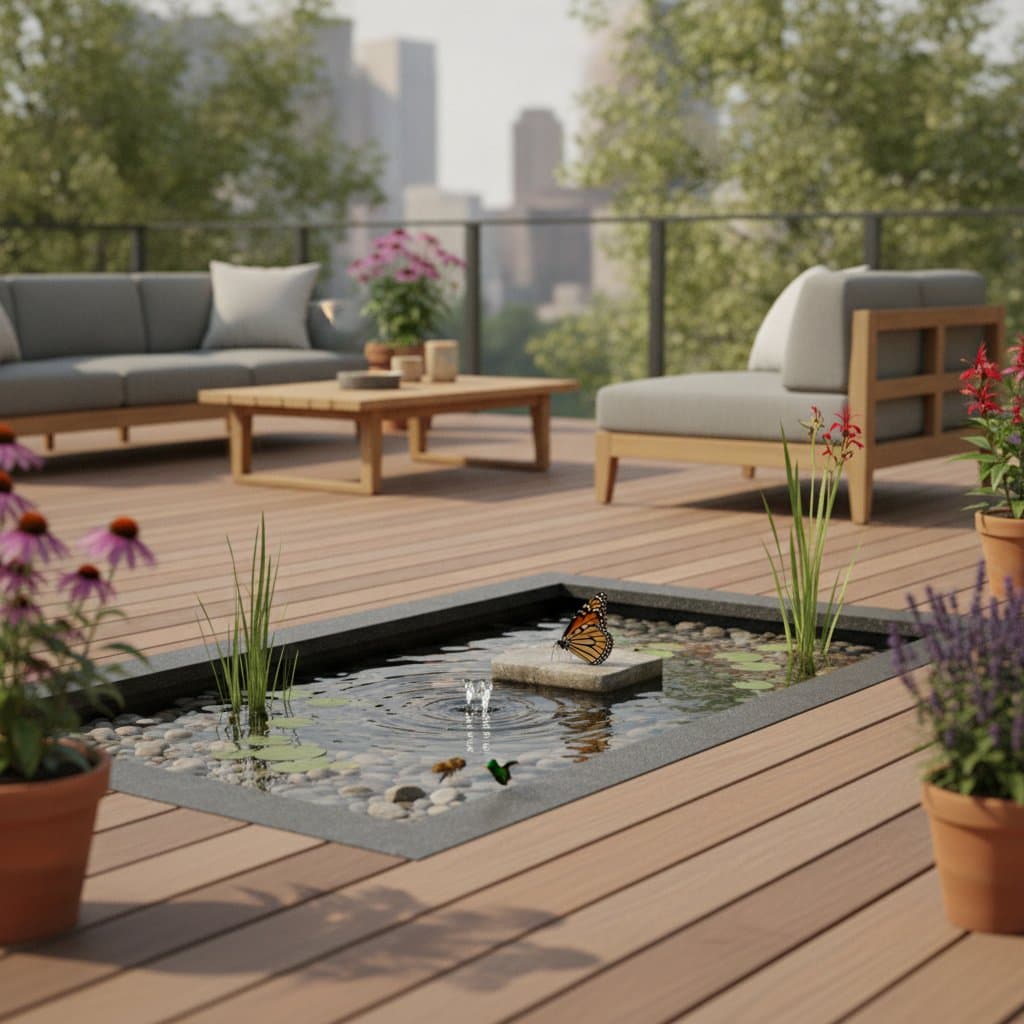
Deck Micro-Ponds Bring Big Wins for Urban Wildlife
A small pool of water on your deck can do more than catch light. It can bring birds, bees, and butterflies to your home, turning a few square feet into a living habitat. A deck micro-pond is a compact water feature that supports local wildlife while adding calm and beauty to your outdoor space. You can build one with simple tools and a few hours of effort.
This guide explains what a deck micro-pond is, why it matters for city ecosystems, and how to create one safely and affordably.
Overview
A deck micro-pond is a contained water feature about 2 to 4 feet wide and 6 to 12 inches deep. It sits above ground, often in a watertight tub, planter, or half-barrel. The small scale makes it safe for decks or patios, while still deep enough to support aquatic plants and visiting pollinators.
You get a pocket of nature where space is tight. Birds use it to drink and bathe. Bees stop for short sips. Even at night, moths and small bats may hover nearby. The water cools the air slightly, softens sound, and gives you a place to rest your eyes.
Tools and Materials
For a basic setup, you need:
- One watertight container, 15 to 30 gallons
- Pond liner or flexible plastic if sealing a wooden barrel
- Small bricks or flat stones for plant stands
- 2 to 3 aquatic plants such as dwarf water lilies or pickerel rush
- Clean gravel, about 1 inch deep across the bottom
- Optional solar bubbler or air stone for circulation
- Netting or mesh lid if pets or young children are nearby
A small container keeps maintenance simple. Choose food-safe materials if you plan to grow edible herbs nearby.
Steps
Step 1: Choose the right spot
Pick a stable, level area on your deck that gets 4 to 6 hours of sunlight each day. Avoid direct afternoon glare if possible. Check that the deck can support 8 pounds per gallon of water.
Step 2: Prepare the container
Line the bottom with gravel to anchor plants and reduce glare. If using wood, add a liner to prevent leaks. Test with water for 24 hours before adding plants.
Step 3: Add plants and stones
Place taller plants toward the back and floating types in the center. Stack stones to create shallow ledges for birds and insects to perch safely.
Step 4: Fill with water
Use dechlorinated tap water or rainwater. Fill until all roots are submerged but leave an inch below the rim to reduce splashing.
Step 5: Maintain weekly
Top up water as it evaporates. Trim dying leaves and remove debris. Clean the pump if you use one.
Safety Tips
- Keep the water depth under 12 inches for deck safety.
- Use mesh covers if children visit often.
- Avoid chemical cleaners. A soft brush and fresh water are enough.
Troubleshooting
Cloudy water: Add more plants or a small bubbler to increase oxygen.
Algae buildup: Shade part of the pond or change one-third of the water weekly.
Maintenance and Storage
In cold months, empty and clean the container. Store plants in a sheltered spot or bring them indoors in buckets of water.
Budget and Time
Expect to spend $40 to $120 for materials and two to three hours for setup. Solar bubblers cost about $20 and save energy.
Your Next Steps
- Measure your deck space and check weight limits.
- Choose a sunlit corner that feels calm.
- Gather a container, liner, gravel, and two aquatic plants.
By the end of the weekend, you can enjoy the sound of water and the flutter of wings right outside your door. A small pond gives city wildlife a safe stop and gives you a daily moment of peace.