
Urban Balconies Can Now Generate Their Own Wind Power
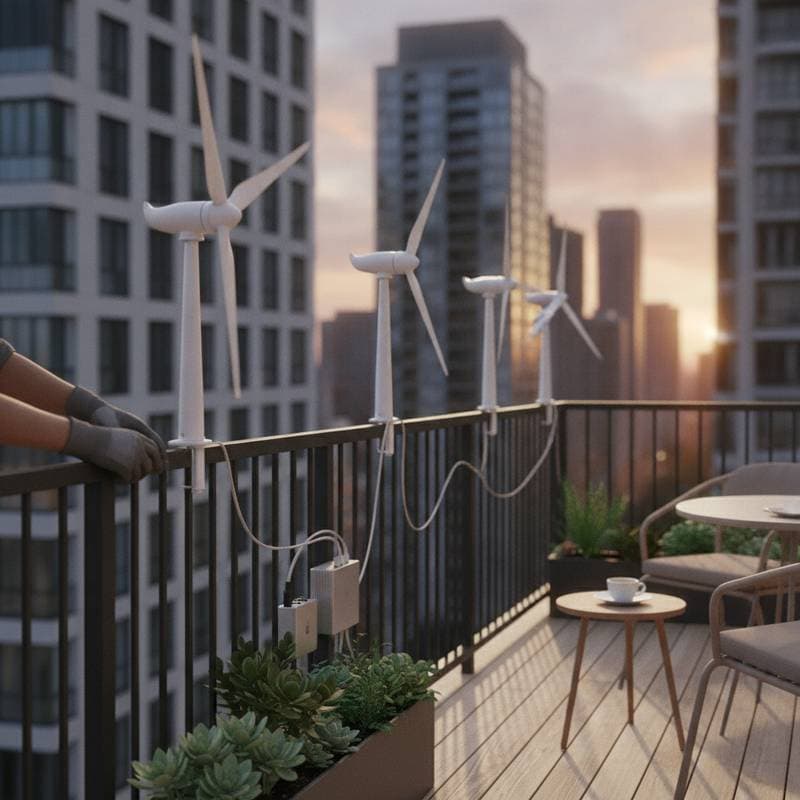
City balconies have long served as extra storage spots or small outdoor escapes. A new wave of micro wind turbines now turns that same space into a small power station. The goal is simple. Capture moving air that already flows between buildings and use it to offset household energy use.
This guide explains how balcony wind systems work, what they cost, how to install them safely, and what kind of results to expect.
Overview
Micro wind energy involves compact turbines that produce electricity from airflow at low speeds. These units fit on railings or walls and can power small devices or feed energy into a home battery. For apartment dwellers, this approach supports renewable living without requiring a roof or yard.
Urban wind remains unpredictable yet steady enough in many areas to deliver small gains. Even a few watts per hour can charge phones, lights, or backup batteries. Over a week those increments add up to quiet, free power.
Tools and Materials
Only a few items are required to begin.
- Micro turbine kit measuring 12 to 24 inches (30 to 60 centimeters) in diameter
- Mounting bracket or balcony clamp rated for the turbine weight
- Charge controller to stabilize voltage
- Battery pack or inverter depending on the intended use
- Outdoor rated wiring and weatherproof connectors
- Basic tools including a wrench, level, and screwdriver
Most kits cost between 300 and 700 dollars depending on size and storage capacity.
Steps
- Check building rules. Ask the landlord or board before adding any structure because wind devices count as fixtures.
- Measure airflow. Hold a small ribbon or handheld anemometer outside the balcony edge. Constant movement indicates usable wind.
- Choose placement. Mount the turbine at the outermost point of the railing or on a vertical pole. Keep blades at least 12 inches (30 centimeters) from walls.
- Install the mount. Tighten all bolts. When drilling is required, wear eye protection and use stainless screws.
- Attach the turbine. Lift carefully and secure it with locking nuts. Verify that it spins freely.
- Connect the charge controller. Follow the wiring diagram supplied with the kit. Apply waterproof tape to every connection.
- Link to battery or inverter. Place the battery indoors or in a covered box to avoid moisture.
- Test output. Wait for a breezy moment and check the indicator light or voltmeter reading.
Safety Tips
- Never install during strong wind or rain.
- Keep blades clear of plants, clotheslines, or hanging lights.
- Do not overload circuits. The controller must match battery voltage.
- Tighten hardware every few months to prevent vibration damage.
Troubleshooting
If the turbine spins but no power registers, inspect connections at the controller. If it rattles, balance the blades or relevel the mount. If it stops often, airflow may be blocked by nearby walls or furniture. Moving the unit a few feet higher can improve performance.
Budget and Time
A basic setup requires about two hours to assemble and costs under 1000 dollars total. Maintenance stays minimal and consists mainly of cleaning dust from blades and checking bolts twice a year. The payoff remains small yet steady. Even ten watts per hour can save a few dollars monthly and reduce grid use.
Next Actions
Begin with one turbine on the windiest corner of the balcony. Track weekly energy production. When results prove satisfactory, add a second unit or connect the system to a shared battery with neighbors. Every rotation of the blade demonstrates that city living can support clean energy.