
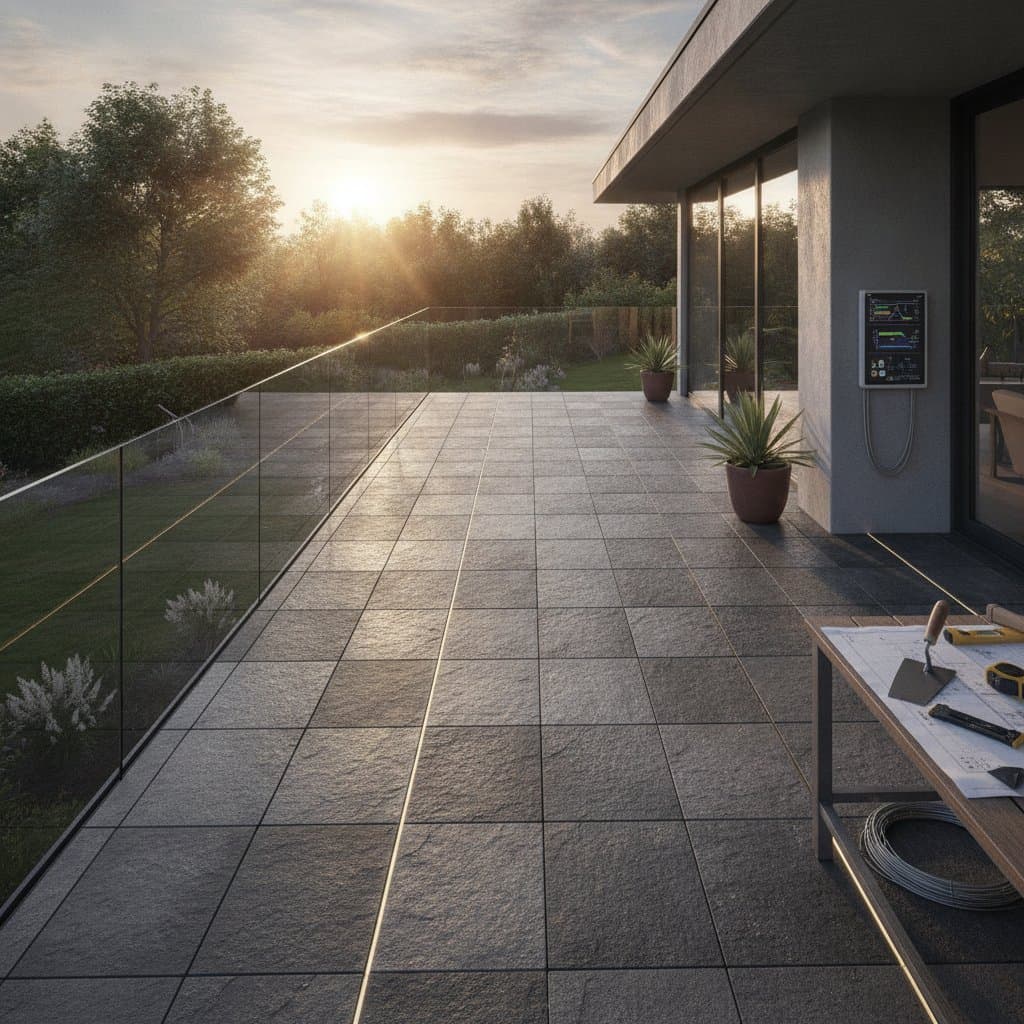
Understanding Solar Pavers
Solar pavers consist of durable tiles that resemble natural stone while incorporating photovoltaic cells. These surfaces capture sunlight and convert it into electricity for home use. Homeowners in dense urban settings gain an opportunity to produce power without dedicating separate roof space.
The technology integrates with standard deck construction methods. Each paver connects to a wiring system that feeds into an inverter. Output depends on surface area, sunlight exposure, and local climate conditions.
Key Advantages for City Outdoor Spaces
Solar pavers reduce reliance on grid electricity during peak daylight hours. They withstand foot traffic and weather exposure better than traditional panels. Installation on decks also improves property value through visible sustainability features.
Urban residents often face limited yard space. These tiles allow power generation on existing surfaces such as rooftops or patios. The result supports both environmental goals and practical energy needs.
Planning an Effective Layout
Measure the available deck area first. Identify zones with consistent sunlight throughout the day. Avoid placement under trees or near tall buildings that cast shadows.
Consult local building codes before purchase. Some municipalities require permits for electrical modifications. Calculate expected output using manufacturer specifications matched to your square footage.
Tools and Materials Needed
Gather a level, rubber mallet, wire cutters, and a multimeter. Select pavers rated for outdoor load bearing and slip resistance. Include a compatible inverter and weatherproof junction boxes.
Prepare a stable subbase of compacted gravel or concrete. This foundation prevents shifting over time. Stock safety gear including gloves and eye protection for the installation process.
Installation Sequence
Begin by marking the perimeter and laying a weed barrier. Position the first row of pavers along a straight edge. Connect wiring between tiles according to the diagram supplied by the manufacturer.
Secure each paver with appropriate fasteners or adhesive. Test connections with the multimeter after every few rows. Finish by attaching the inverter and integrating the system with your home electrical panel through a licensed electrician.
Ongoing Care and Seasonal Adjustments
Clean surfaces with water and a soft brush several times each year. Inspect wiring for damage after storms. Remove debris that accumulates in joints to maintain drainage.
In winter, avoid chemical deicers that could degrade the finish. Monitor performance data through the inverter app. Schedule professional checks every two years to confirm continued efficiency.
Budget and Return Considerations
Material costs range from 30 to 60 dollars per square foot depending on quality. Professional labor adds another 20 to 40 percent. Incentives such as federal tax credits can offset initial expenses.
Track energy production against utility rates to estimate payback periods. Most systems recover costs within eight to twelve years. After that point, generated electricity represents ongoing savings.
Creative Design Approaches
Combine solar pavers with traditional stone in patterned layouts. Use contrasting colors to define seating areas or pathways. Incorporate lighting elements powered directly by the paver array for evening ambiance.
Coordinate tile selection with existing architecture. Neutral tones blend with brick or wood facades common in New York buildings. This approach maintains visual appeal while delivering functional power generation.