
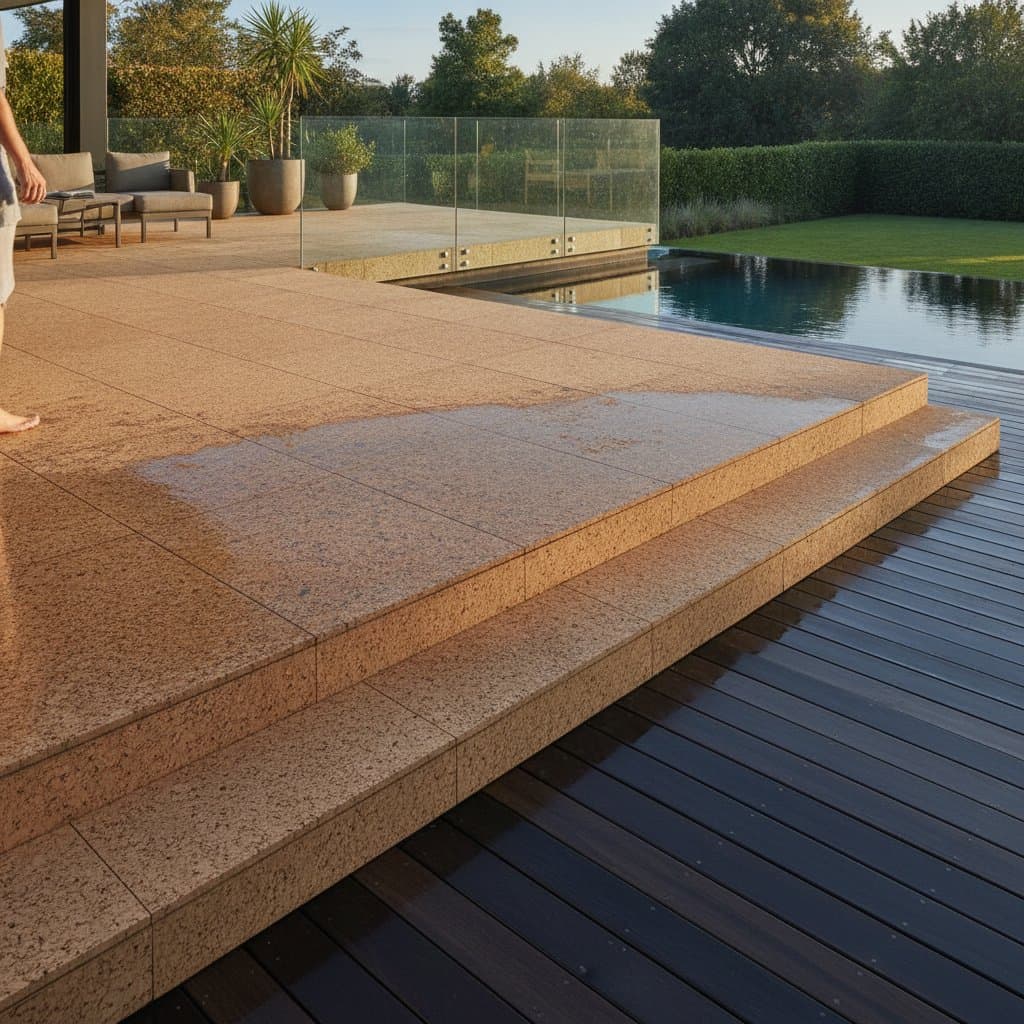
Cork Decking: The Anti-Slip Surface Homeowners Are Choosing
A wet deck can turn a relaxing outdoor space into a slipping hazard. Cork decking offers a softer, naturally textured surface that stays comfortable underfoot and supports a more sustainable material plan. Here is how it works, what you need, and how to decide if it fits your home.
Overview
Cork decking uses cork tiles, planks, or composite boards as an outdoor walking surface. Cork comes from the bark of cork oak trees, which can be harvested without cutting down the tree. Its cellular structure provides light cushioning, sound reduction, and natural grip.
The main appeal is comfort. Cork feels warmer than many stone surfaces and less harsh than concrete. Its texture can help improve traction around patios, balconies, pool areas, and garden steps. A proper outdoor product still needs sealing, drainage, and regular care.
Cork is not a magic solution for every climate. Standing water, poor installation, intense sun, and unsuitable indoor cork products can cause early failure. Select material labeled for exterior use, then follow the manufacturer instructions.
Tools and Materials
Stage these supplies before work begins:
- Exterior rated cork decking or cork composite boards
- Exterior compatible adhesive or approved fasteners
- Measuring tape, pencil, and chalk line
- Circular saw with the correct blade
- Straightedge and utility knife
- Exterior sealant and application roller
- Broom, stiff brush, and mild cleaner
- Spacers, shims, and a rubber mallet
- Eye protection, gloves, and hearing protection
Measure the deck area, then add about 10 percent for cuts and damaged pieces. A small deck may need only basic hand tools, while a larger project may require a saw stand and extra support.
Steps
1. Inspect the Base
Check joists, decking, stairs, and railings for rot, movement, or loose connections. Replace damaged wood before covering it. The finished surface cannot correct a weak structure.
Confirm that water can drain away from the home. Allow a slight slope where the existing system supports it, and keep drainage openings clear.
2. Clean and Level
Sweep away dirt, leaves, and grit. Fasten loose boards, remove raised nails, and sand sharp edges. Fill shallow gaps with an exterior rated repair product.
Do not install cork over damp wood or trapped moisture. Let the base dry fully, and pause work if rain or heavy humidity is expected.
3. Plan the Layout
Mark the centerline and place several pieces without adhesive or fasteners. Keep seams staggered, and plan cuts near walls or less visible edges. Leave the expansion space required by the product instructions.
Dry fitting helps you spot awkward corners before material becomes permanent. Use a straightedge to keep rows clean.
4. Install the Surface
Apply adhesive only where the product calls for it, or fasten boards through approved points. Press each piece firmly, then check that edges sit flat. Use spacers to maintain even gaps.
Cut pieces outdoors or in a ventilated area, and wear eye protection when operating a saw. Keep hands clear of the blade, and support long boards before cutting.
5. Seal the Cork
Use an exterior rated sealer that matches the cork system. Apply thin, even coats to the top, cut edges, and exposed joints when directed. Let each coat cure according to the label before walking on the surface.
Sealing reduces water absorption and helps protect color from sunlight. It does not eliminate the need for drainage or cleaning.
Safety Tips
Cork can improve traction, but dirt, algae, soap, and leaves can still create slippery conditions. Sweep the surface often, especially beneath trees and near outdoor taps.
Use a stable ladder on level ground when working near elevated decks. Keep tools away from deck edges, and ask another adult to help handle long boards.
Do not cover a damaged deck to save money. Repair structural concerns first. Contact a qualified contractor if you find soft joists, shifting footings, unsafe stairs, or loose railings.
Budget and Time
Material prices depend on thickness, finish, board format, and whether the product is solid cork or a composite. A small repair may cost less than a full resurfacing project, while a complete deck can require a substantial material budget.
Plan one preparation block and at least one installation block for a small area. Add time for drying, sealing, and cleanup. Do not rush curing periods to meet a weekend goal.
Save money by keeping the existing frame when it is sound and by using accurate measurements. Do not cut corners on sealer, flashing, drainage, or structural repairs.
Maintenance
Sweep cork decking weekly during heavy leaf fall or frequent use. Rinse with clean water, then use a mild cleaner and soft brush for marks. Avoid harsh solvents, stiff metal brushes, and pressure washing unless the product maker approves them.
Inspect seams, edges, fasteners, and finish at least twice each year. Touch up worn sealer before water reaches exposed cork. Move planters occasionally so moisture does not remain trapped below them.
Making It Happen
Cork decking works best when comfort, traction, and responsible material choices matter to you. Start by inspecting the base, collecting three product samples, and testing them in a wet area for grip and drainage.
Clear the deck, repair weak spots, and schedule the work around dry conditions. With a sound base and steady maintenance, cork can create a comfortable outdoor surface that feels good underfoot and supports a thoughtful sustainable decking plan.