
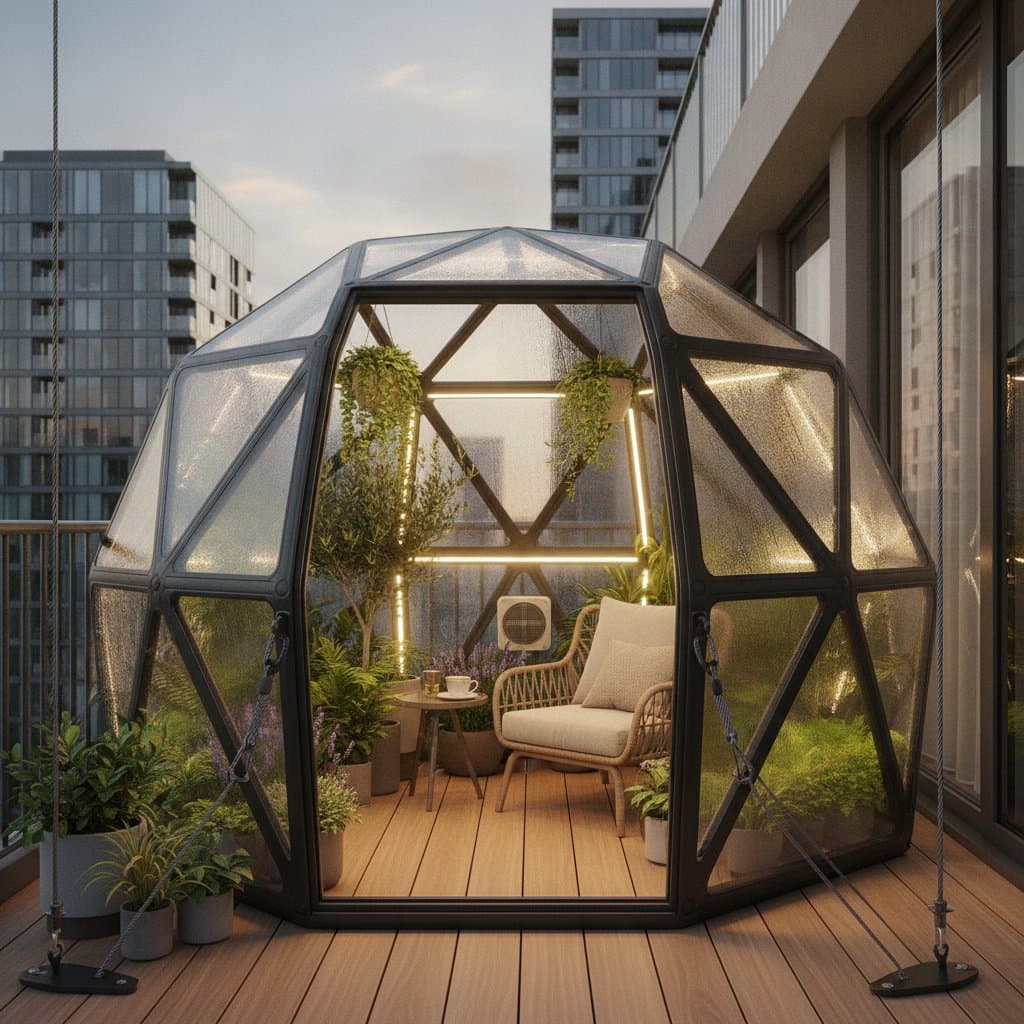
Weatherproof Garden Pods for Tiny Outdoor Spaces
A small balcony or courtyard can feel unusable when wind, rain, glare, and cold limit outdoor time. A weatherproof garden pod creates a sheltered microclimate, a small area with conditions that differ from the space around it.
Your goal is simple. Build a dry, comfortable garden room without blocking airflow, overloading a balcony, or spending beyond your budget. Start by checking the space, then choose a compact pod, control drafts and heat, and plan easy seasonal care.
Overview
A garden pod is a freestanding shelter made from weather-resistant panels, frames, or fabric. Tiny versions can serve as a reading nook, plant room, work corner, or protected seating area. On a balcony, a pod may use clear panels, a covered canopy, or a folding enclosure instead of a solid structure.
A pod helps control the local microclimate in three ways. Its roof keeps off rain, its walls reduce wind, and its openings let you manage ventilation. A small sheltered zone can feel calmer and warmer than an exposed balcony, even without powered heating.
Check building rules, lease terms, and structural limits before buying. A balcony may support furniture but not a heavy enclosure or water-filled planter.
Tools and Materials
Plan for these basic items:
- One pod or enclosure sized to leave at least 18 inches of walking clearance
- Outdoor-rated floor tiles, a rubber mat, or a raised platform
- Weather stripping for gaps around doors and panels
- Two adjustable ventilation openings
- One shade screen or outdoor curtain
- Four to six ballast weights or approved anchors
- A tape measure, level, screwdriver, and soft brush
- Storage bins with lids for cushions and small tools
Choose powder-coated metal, treated wood, or UV-resistant recycled plastic. For clear panels, look for polycarbonate rather than thin acrylic because polycarbonate resists impact and temperature changes better.
Steps
1. Measure and inspect
Measure length, width, and height in several places. Keep doors, drains, railings, vents, and emergency access clear.
Look for loose tiles, standing water, rust, and signs of movement. Fix drainage problems before adding a pod.
2. Set a stable base
Lay a level outdoor mat or interlocking tile system. Raise fabric or wood edges slightly above the surface so water can drain underneath.
Do not drill into a balcony slab or railing unless a qualified professional approves the method.
3. Assemble the pod
Follow the manufacturer sequence and tighten every frame connection. Place the entrance away from the strongest usual wind direction when possible.
Add ballast low on the frame. Use approved anchors only when building rules and a qualified installer allow them.
4. Seal controlled gaps
Apply removable weather stripping around doors and panel joints. Do not seal every opening. A pod needs fresh air to limit condensation, mold, and overheating.
5. Add comfort layers
Use a washable outdoor rug, a compact chair, and a narrow shelf. Place plants where they receive suitable light, not where they block the entrance or ventilation.
Use a shade screen on bright sides. Open it during cooler periods, then close it when glare or heat rises.
Safety Tips
Never use a charcoal grill, patio heater, candle, or fuel-burning appliance inside a pod. Combustion can create dangerous carbon monoxide and consume oxygen.
Keep electrical equipment rated for outdoor use, with cords protected from water. Stop using the pod during severe wind, lightning, flooding, or heavy snow. Inspect ballast and fasteners after strong weather.
Troubleshooting
If condensation appears, open both vents and remove wet textiles. If the pod feels too hot, add exterior shade before adding a fan.
For drafts, replace worn weather stripping and check panel alignment. If rain enters at the base, improve the floor slope or add a raised threshold without blocking drainage.
Maintenance and Storage
Brush leaves and dirt from the roof each month. Wash panels with mild soap and water, not abrasive pads. Check seams, zippers, screws, and anchor points as part of each cleaning.
Store cushions in sealed, dry bins. Fold fabric panels only when fully dry. Remove loose decorations and lightweight furniture before strong weather.
Budget and Time
A simple balcony canopy may cost 150 to 500 dollars. A framed polycarbonate pod often costs 600 to 2500 dollars, before delivery or professional installation. Assembly can take two to six hours, depending on size and access.
Spend first on stability, drainage, ventilation, and weather seals. Decorative lighting and built-in furniture can wait.
When to Call a Pro
Ask a structural engineer or qualified building professional to review any pod attached to a balcony, roof, railing, or elevated deck. Call an electrician for new outdoor outlets or fixed lighting.
Ask what load this surface can safely support. Also ask how anchors, drainage, wind exposure, and emergency access will be handled.
Planning Your First Pod
Measure the space, mark a clear entrance, and check building rules today. Choose a pod with two vents, weather-resistant panels, and a secure base. Focus on the essentials first. Stability and ventilation matter more than appearance. Once the structure is secure, you can add comfort features gradually. A well-planned pod turns limited outdoor space into a reliable retreat you can use throughout the year.