3. Attach Hardware
Secure pad eyes or eye bolts at each designated anchor point. Select stainless steel components exclusively to prevent corrosion from environmental exposure. Position the hardware to align precisely with the corresponding corner of the shade sail. Attach turnbuckles and carabiners to these anchors. Extend the turnbuckles to their maximum length initially to facilitate subsequent adjustments during tensioning.
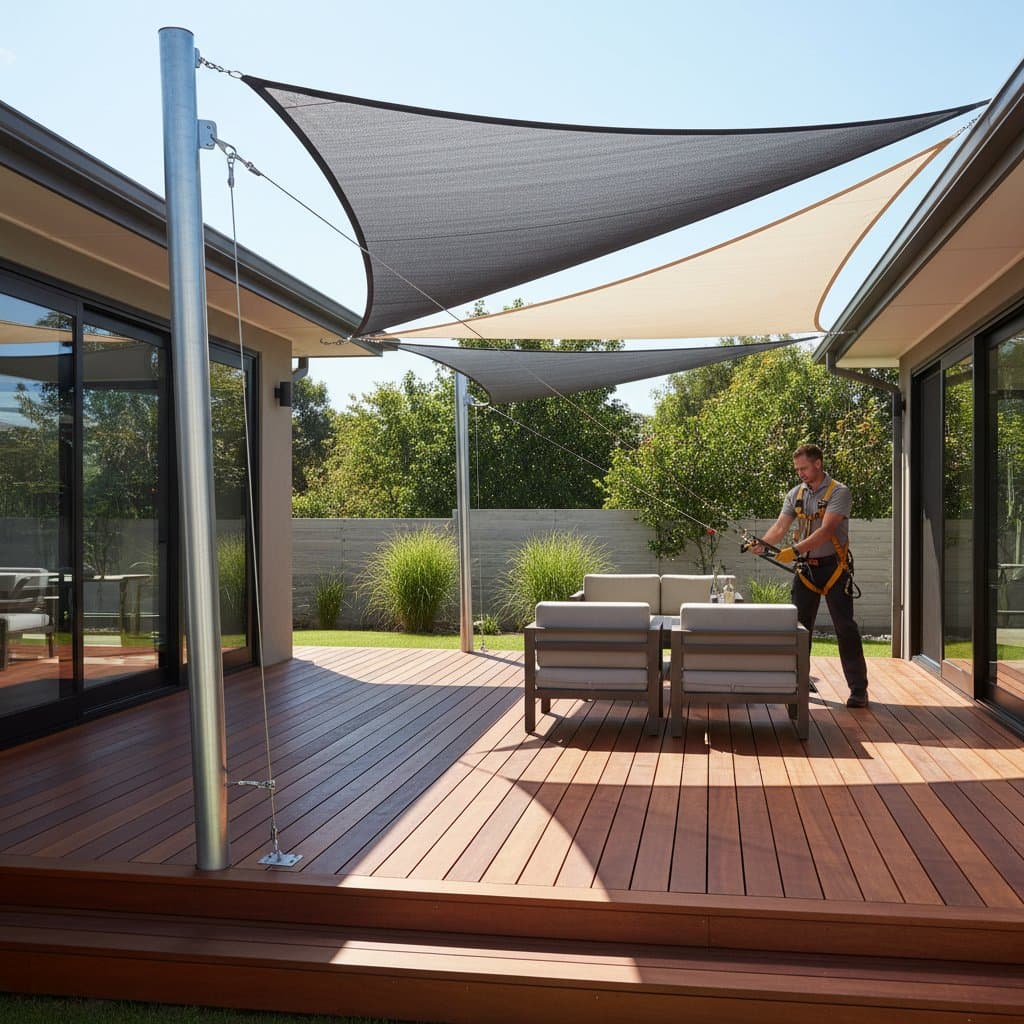
4. Connect the Sail
Begin the attachment process at one corner of the shade sail. Secure the sail corner to the prepared hardware using the carabiner. Proceed to the adjacent corner and replicate the connection. Once all corners are linked, tighten the turnbuckles gradually and uniformly across all points. Achieve a smooth, taut surface with limited sagging; the fabric should maintain firmness without excessive strain.
Should the sail exhibit fluttering in mild breezes, apply additional tension incrementally. Monitor and readjust the tension after the initial installation period, as the material may settle over the first several days.
5. Check Drainage and Shade Coverage
Test the sail's drainage by applying water with a hose or observing performance during light precipitation. Verify that water flows evenly toward the lower edges without accumulation. Modify the sail's tilt angle if drainage issues arise.
Assess shade distribution during midday sunlight. Adjust anchor positions or alter the sail's orientation to optimize coverage over the desired deck area.
Troubleshooting
Problem: The sail develops sagging in the center.
Cause: Inconsistent tension distribution or anchor points positioned too closely.
Fix: Release tension at all corners, then reposition one anchor outward by 4 to 6 inches. Retighten all connections evenly to restore balance.
Problem: Water accumulates on the fabric surface.
Cause: Insufficient slope in the installation.
Fix: Lower the lowest corner by a minimum of 12 inches for every 10 feet of sail width to promote effective runoff.
Problem: Edges of the fabric show fraying.
Cause: Contact with abrasive surfaces or edged hardware.
Fix: Smooth any sharp edges with a file, replace worn ropes, and seal seams with a specialized fabric treatment to halt progression of damage.
Problem: Rust appears as stains on the fabric.
Cause: Use of inferior metal fittings susceptible to oxidation.
Fix: Install stainless steel replacements immediately. Clean the affected fabric using a solution of mild soap and warm water, followed by thorough rinsing.
Maintenance
Perform cleaning routines on the shade sail twice each season. Prepare a solution with one tablespoon of mild detergent per gallon of warm water. Apply the mixture using a soft-bristled brush or broom, scrubbing lightly to remove dirt and debris. Rinse thoroughly with a garden hose and allow the sail to air dry fully before restoring tension.
Examine corners, seams, and attachment points for signs of deterioration. Trim any loose or frayed threads and reinforce with fabric adhesive or seam sealant. Test turnbuckles for fluid operation; apply lubricant if movement becomes restricted. Ensure the sail remains free from overhanging branches that could cause tears or discoloration.
For winter storage, detach the sail entirely from its anchors. Fold it in loose layers to avoid permanent creases. Place the folded sail in a dry, shaded location protected from moisture and direct sunlight.
Smart Storage Moves
When managing multiple sails, attach labels to each corner prior to disassembly, using tags marked A, B, C, and D for straightforward reinstallation. Store sails within breathable fabric bags rather than sealed plastic to inhibit mold growth. Organize hardware in dedicated kits stored adjacent to the sails for easy access.
Designate a labeled bin or drawer for shade sail components. Include turnbuckles, carabiners, reserve bolts, and lengths of replacement rope to address minor repairs promptly.
Key Takeaways
- Shade sails provide cost-effective shielding from ultraviolet rays alongside aesthetic enhancement for decks and patios.
- Maintain proper tension levels and robust anchor systems to guarantee structural integrity and longevity.
- Implement routine maintenance, including biannual cleaning, hardware inspections, and seasonal storage, to preserve performance.
- Budget considerations remain adaptable; a standard sail installation typically costs under $300 when handled by the homeowner.
Strategic planning ensures the sail's configuration enhances the functionality of your outdoor space. Engage in reading, meal preparation, or leisure without the discomfort of intense sunlight or elevated temperatures.
Making It Happen
Initiate the project on a modest scale. Measure the deck dimensions accurately and identify three or four suitable anchor locations.
- Acquire a sail certified for UV resistance along with stainless steel hardware.
- Establish anchors incorporating adequate slope to facilitate water drainage.
- Apply even tension and evaluate shade effectiveness during peak solar exposure.
Complete the installation over a single weekend to convert an exposed deck into a shaded sanctuary. The geometric design of the sail elevates usability while safeguarding furnishings and surface treatments from environmental wear.
The deck evolves into an inviting, protected extension of indoor living. Incorporate seating, dining elements, or ambient lighting to fully realize the serene, shaded environment crafted through personal effort.