Introduction to Solar Pavers
Solar pavers represent an innovative fusion of outdoor flooring and renewable energy generation. These photovoltaic tiles embed solar cells within robust, weather-resistant materials designed to withstand foot traffic and environmental exposure. By replacing traditional deck surfaces, solar pavers enable homeowners to capture sunlight directly underfoot, converting it into usable electricity for lighting, appliances, or even feeding back into the home grid.
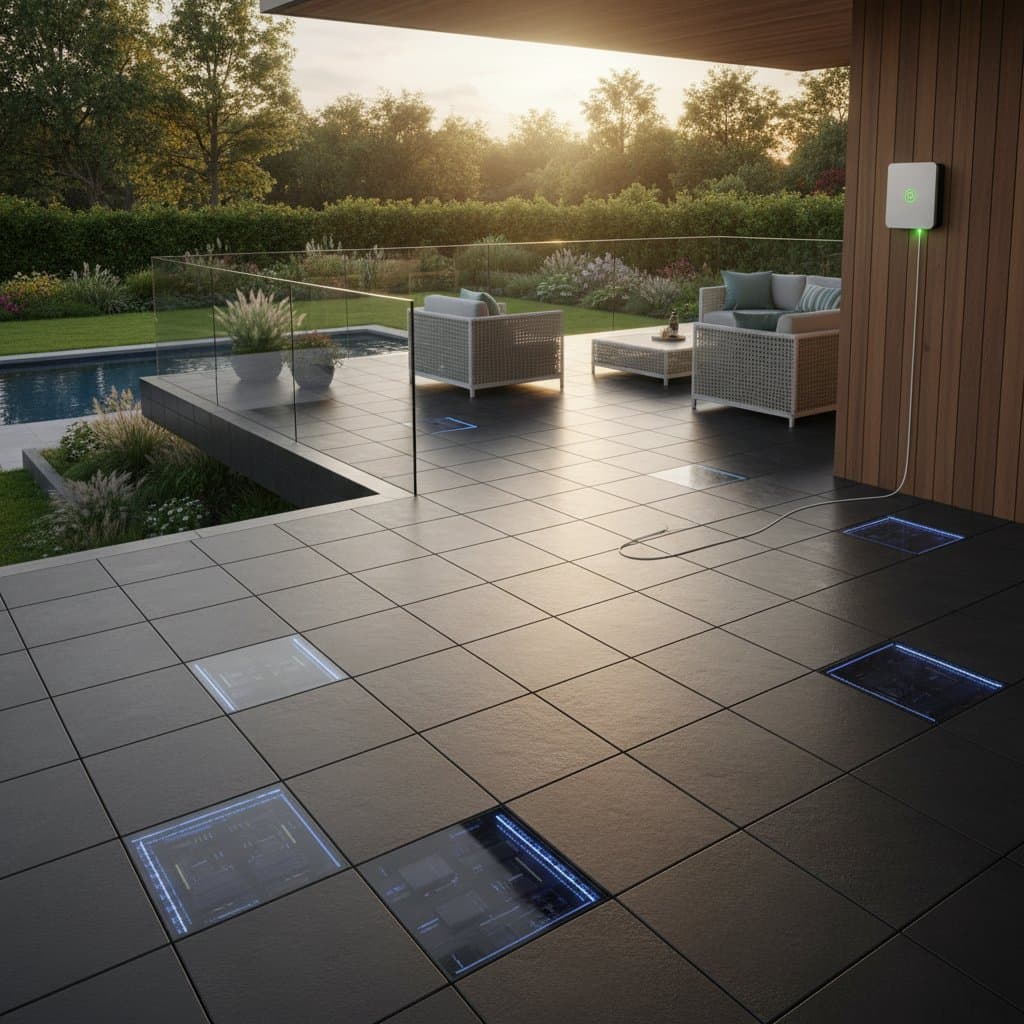
The appeal lies in their dual functionality: they maintain the aesthetic and structural integrity of a deck while producing power silently and sustainably. Ideal for urban backyards or expansive patios, these pavers offer a practical solution for reducing energy bills and carbon footprints. Homeowners appreciate the seamless integration that avoids the visual clutter of rooftop panels.
How Solar Pavers Work
At their core, solar pavers function like miniature solar panels embedded in a paver format. Each tile contains monocrystalline or polycrystalline solar cells that absorb sunlight and convert photons into direct current electricity through the photovoltaic effect. This energy flows through built-in wiring to a central inverter, which transforms it into alternating current compatible with household systems.
Output varies based on tile size, sunlight exposure, and array configuration, typically generating 10 to 50 watts per square foot under optimal conditions. Systems connect to batteries for storage or directly to the grid for net metering benefits. Efficiency remains high even on partially shaded decks, as individual tiles operate independently without compromising the entire setup.
Benefits for Your Outdoor Space
Installing solar pavers elevates your deck beyond mere functionality into a productive asset. They provide clean energy to power outdoor features like string lights, fountains, or electric grills, extending usability into evenings without relying on grid power. Over time, the energy savings offset installation costs, often within five to seven years, depending on local sunlight and electricity rates.
Environmentally, these pavers reduce reliance on fossil fuels and minimize urban heat islands by reflecting less heat than dark decking materials. Aesthetically, they come in various finishes to match stone, wood, or concrete looks, ensuring your design vision remains intact. This combination of practicality and style makes solar pavers a forward-thinking choice for sustainable living.
Installation Steps
Begin by assessing your deck's dimensions and sunlight patterns using a solar irradiance app or simple shading analysis over a day. Select pavers rated for your load requirements, ensuring they interlock securely for stability. Clear the existing surface, level the base with gravel or sand, and lay a weed barrier to prevent growth underneath.
Position the first row along the sunniest edge, snapping tiles together via integrated clips. Route wiring through conduits beneath the deck to avoid exposure, connecting each tile in series or parallel based on your inverter specifications. Secure the array with perimeter anchors to resist wind uplift, then integrate the system to your battery or grid tie-in.
Test connections with a multimeter before finalizing. Professional oversight ensures compliance with local building codes, particularly for grid connections. The process transforms a standard deck into an energy-harvesting platform in a structured, methodical manner.
Essential Tools and Materials
Gather basic tools for a smooth installation: a level for ensuring even placement, a rubber mallet for tapping pavers into position, and tin snips for trimming wiring. A drill with masonry bits secures anchors, while a multimeter verifies electrical continuity and voltage output. Safety gear includes gloves, safety glasses, and non-slip boots to handle materials and work at heights.
Materials extend beyond pavers to include junction boxes for weatherproof connections, UV-resistant conduit for wiring protection, and an inverter sized to your array's capacity. Opt for outdoor-rated sealants to protect edges from moisture ingress. These items, sourced from hardware suppliers, equip you to complete the project efficiently and safely.
Safety Tips
Maintain dryness in all electrical connections to prevent shorts or shocks. Refrain from walking on unsecured pavers until they lock firmly in place to avoid slips or structural failure. Select components certified for outdoor use to endure rain, UV rays, and temperature fluctuations.
Install ground fault circuit interrupters near pools or wet areas to mitigate electrocution risks. Engage a licensed electrician to review and certify connections to your home grid or battery storage before energizing the system. Adhering to these protocols safeguards installers and users alike.
Troubleshooting Common Issues
Should energy output decline, initiate cleaning to remove accumulated dirt, pollen, or leaves that obstruct sunlight absorption. Persistent low readings warrant inspection of connectors for looseness or corrosion, and junction boxes for water intrusion. Damaged tiles require immediate replacement to sustain overall performance, as each unit functions autonomously without affecting adjacent ones.
Monitor inverter displays for error codes indicating shading or overheating. Reset the system by disconnecting power sources briefly if faults persist. Document issues and resolutions to refine future maintenance routines.
Budget and Timeline Considerations
Costs for a modest deck system range from 8 to 12 dollars per square foot, influenced by paver quality, wiring intricacy, and inverter selection. Hiring labor increases expenses by 2 to 4 dollars per square foot, covering expertise in electrical integration. A DIY project involving 100 tiles typically spans one weekend, allowing time for layout planning and testing.
Primary expenses stem from premium photovoltaic materials and robust inverters capable of handling peak loads. Commence with a pilot area to validate performance before scaling up, thereby controlling expenditures effectively.
Maintenance Guidelines
Solar pavers demand minimal intervention to sustain efficiency. Perform monthly rinses using mild soap and water to eliminate surface grime without damaging coatings. Steer clear of abrasive cleaners that could etch the photovoltaic surfaces.
During winter, employ a plastic shovel for snow removal to avert scratches on the tiles. Conduct biannual inspections of connectors for signs of corrosion or wear. Renew seals around edges proactively to bar moisture and extend system longevity.
Seasonal Care Practices
In spring, examine wiring for damage from freeze-thaw cycles and sweep away winter debris to restore full exposure.
Summer requires vigilance against heat accumulation beneath the deck; promote airflow with spacers or vents to prevent overheating.
Autumn involves diligent leaf clearance to maximize light penetration and avoid shading losses.
Winter calls for gentle snow brushing, preserving clear panels for any available sunlight during shorter days.
Advancing Your Solar Deck Project
Initiate progress by installing a test array of 10 to 20 pavers in a high-sunlight zone. Employ a plug-in meter to log energy production over a week, noting peak hours and total yield. If outputs align with expectations, proceed to full deck coverage, adjusting layout for optimal orientation.
Maintain a log of voltage levels, daily sunlight duration, and cleaning schedules to track long-term performance. This data informs expansions, such as integrating smart controls for automated monitoring. Ultimately, your solar-powered deck delivers enduring value through reduced energy costs and enhanced environmental stewardship.