Transparent Solar Panels Power Up Urban Decks
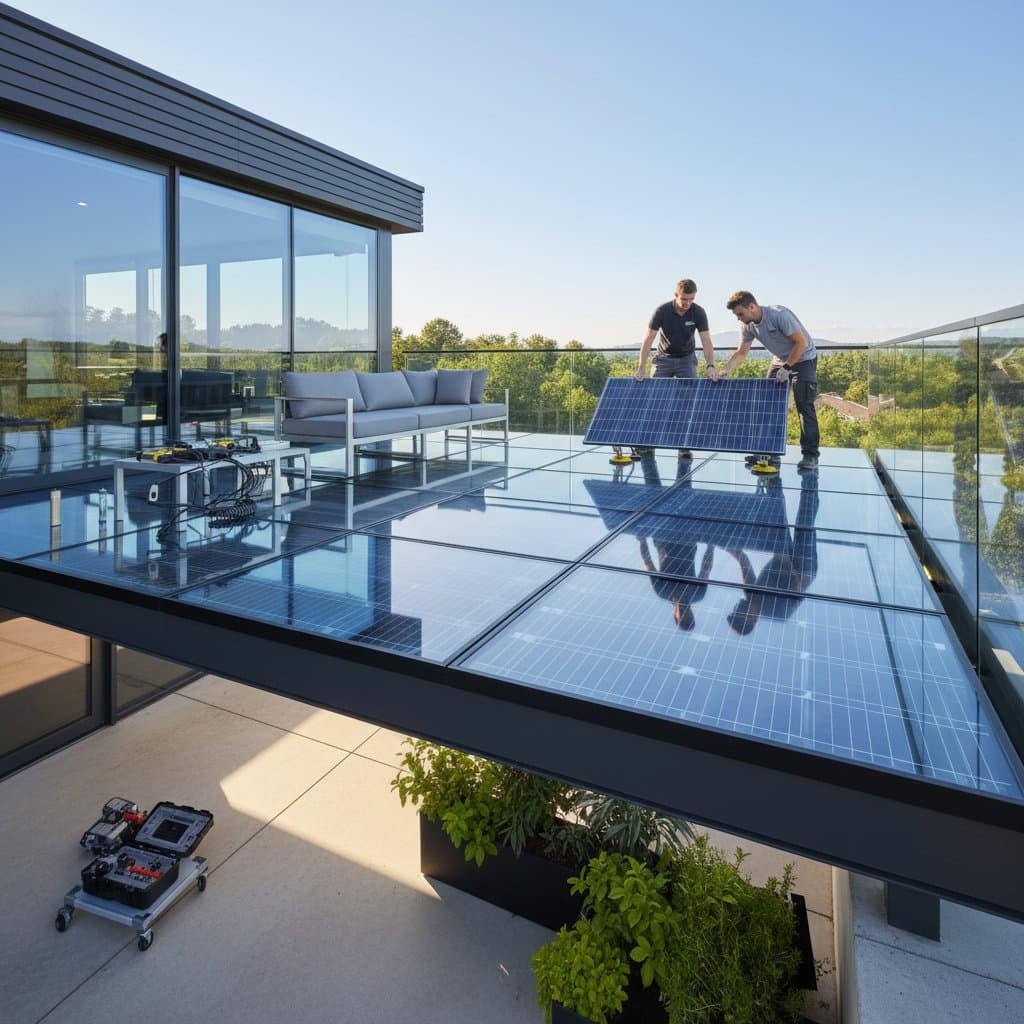
Urban dwellers cherish decks as serene extensions of living spaces, yet rising energy costs often temper that enjoyment. Transparent solar panels provide an innovative solution, allowing sunlight to flood the area while converting invisible light wavelengths into usable electricity. These panels resemble ordinary glass but function as efficient photovoltaic devices, preserving the airy ambiance that defines outdoor retreats.
This article explores the fundamentals of transparent solar panels, their integration into deck designs, and practical strategies for installation. Readers gain insights into selecting appropriate components, executing safe setups, and maintaining systems for optimal performance, all while aligning with budget constraints and daily lifestyles.
Overview
Transparent solar panels consist of advanced glass sheets embedded with thin-film photovoltaic materials. These layers selectively absorb ultraviolet and infrared light spectra, transmitting visible light to maintain transparency levels up to 90 percent. Suitable for overlaying existing deck railings, integrating into pergola structures, or forming custom canopies, the panels blend seamlessly with architectural elements.
The advantages extend beyond aesthetics. Installed over a 100-square-foot deck surface, such panels can produce 200 to 400 kilowatt-hours annually, sufficient to power LED lighting, ceiling fans, or portable chargers. This output reduces reliance on utility grids, potentially lowering monthly bills by 10 to 20 percent for average households, depending on local sunlight exposure and usage patterns.
Tools and Materials
Assembling the necessary equipment ensures a smooth installation process. Select components compatible with outdoor conditions, including resistance to humidity, UV degradation, and temperature fluctuations from -20 degrees Fahrenheit to 140 degrees Fahrenheit.
- Transparent solar panels, available in sizes from 2 by 3 feet to custom dimensions
- Aluminum or stainless steel mounting frames for corrosion resistance
- Outdoor-rated wiring kit with UV-protected insulation
- Microinverter or string inverter for DC-to-AC conversion
- Optional deep-cycle battery for energy storage or direct grid-tie kit
- Power tools including a cordless drill, adjustable wrench set, and digital multimeter for voltage testing
- Personal protective equipment such as cut-resistant gloves, steel-toed non-slip boots, and safety goggles
Verify certifications like UL listing for electrical safety and IP65 rating for water resistance before purchase.
Installation Steps
1. Measure and Plan
Begin by assessing the deck's dimensions and solar potential. For a typical 10-by-12-foot deck, target 80 to 100 square feet of panel coverage to maximize output without overwhelming the structure. Use a solar pathfinder or smartphone app to map daily sun trajectories, identifying shaded areas caused by overhangs, foliage, or adjacent buildings. Factor in local building codes, which may require permits for installations exceeding 10 panels.
2. Select Panel Placement
Overhead configurations, such as pergola integrations, capture the most sunlight and yield higher energy returns, but demand reinforced joists capable of supporting 5 to 10 pounds per square foot. Railing-mounted panels provide moderate generation while enhancing privacy through subtle tinting. Vertical placements along perimeter fences suit smaller decks, offering 50 to 70 percent of overhead efficiency but easier access for cleaning.
3. Secure Mounting Frames
Position frames parallel to deck joists, spacing anchors every 24 inches for stability against winds up to 50 miles per hour. Drill pilot holes and fasten with galvanized lag screws, torquing to 20 foot-pounds to prevent loosening. Inspect for level alignment using a bubble level; deviations greater than one-eighth inch per foot compromise panel efficiency and structural integrity.
4. Install and Wire Panels
Snap panels into frames using provided silicone gaskets for vibration dampening. Connect series-parallel wiring configurations—typically four panels in series for voltage matching—via weatherproof MC4 connectors. Route cables through conduit sleeves along structural posts, maintaining a 6-inch clearance from heat sources. Disconnect all power sources prior to handling electrical components to mitigate shock risks.
5. Integrate Inverter and Storage
Position the inverter on a north-facing, shaded wall or enclosed cabinet to avoid direct sun exposure. Wire panel arrays to the inverter input terminals, observing polarity, then link the output to a dedicated circuit breaker or battery bank rated for 12 to 48 volts. Employ a clamp meter to confirm voltage output between 18 and 60 volts DC under full sun before completing connections.
6. Seal and Verify Operation
Apply a bead of clear silicone sealant around frame perimeters and junction boxes, ensuring full coverage to prevent moisture ingress. Allow 24 hours for curing in moderate temperatures. Activate the system and monitor the inverter's LCD display for real-time power production; expect 50 to 100 watts per 10 square feet on clear days. Conduct a full load test by connecting a 100-watt appliance to validate performance.
Safety Considerations
Collaborate with at least one assistant for lifting panels weighing 15 to 25 pounds each, reducing strain and error risks. Refrain from grid connections unless supervised by a certified electrician to comply with National Electrical Code standards. Schedule installations during dry, calm conditions, and secure loose materials to avoid accidents. Position all wiring at least 18 inches above walkways, using cable ties for organization and hazard prevention.
Common Issues and Solutions
If energy output falls below expected levels, inspect for accumulations of dirt, bird droppings, or pollen, which reduce transmittance by up to 15 percent. Gentle rinsing with a hose restores efficiency; schedule cleanings quarterly in pollen-heavy seasons.
Flickering connected devices often signals inverter overload or intermittent connections. Reset the unit and tighten all terminals to 10 inch-pounds; consult the manual for firmware updates if persistent.
Condensation or water intrusion appears as fogging within panels. Reapply sealant to compromised seals and inspect gaskets for brittleness, replacing with EPDM rubber variants for enhanced durability. Monthly visual inspections catch issues early, sustaining 95 percent efficiency over time.
Cost Estimates and Timeline
Material expenses range from 18 to 30 dollars per square foot, influenced by panel transparency (higher clarity increases costs) and brand warranties extending five to ten years. Professional electrical integration adds 500 to 1,500 dollars, while DIY efforts minimize labor to under 200 dollars.
A modest 50-square-foot setup requires 6 to 8 hours over a single weekend for two participants. Expansive projects, including custom pergolas, extend to 20 to 30 hours across multiple days. Start with railing panels at 800 to 1,200 dollars total to test viability before scaling to full coverage, prioritizing quality inverters and wiring for reliable returns on investment within three to five years.
Upkeep Practices
Maintain panels with a solution of distilled water and pH-neutral soap, applied via soft microfiber cloths to prevent scratches. Rinse thoroughly to eliminate residue, performing this task after rain events or monthly during dry spells.
Biannual reviews of mounting hardware involve checking torque on screws; readjust if rotation exceeds one-quarter turn. Examine wiring for abrasion or discoloration, splicing and insulating any compromised sections with heat-shrink tubing.
Organize maintenance items—a toolkit with sealants, connectors, and cleaners—in a sealed plastic bin mounted nearby. Consistent attention ensures longevity, with systems operating at peak capacity for 20 years or more.
Optimizing System Performance
For battery-inclusive setups, house units in well-ventilated enclosures to dissipate heat, maintaining internal temperatures below 95 degrees Fahrenheit. Apply identification labels to circuits using vinyl tape in contrasting colors, facilitating diagnostics.
Allocate 4 inches of clearance around inverters for convective cooling, preventing thermal shutdowns. These practices not only safeguard components but also simplify expansions, such as adding smart monitors for remote output tracking.
Engaging Professional Assistance
Opt for expert involvement in scenarios involving structural modifications, like reinforcing joists for overhead arrays, or complex grid interconnections requiring utility approvals. Professionals handle permitting, ensuring compliance and voiding warranty risks from improper setups.
Hire licensed solar installers for projects surpassing 1 kilowatt capacity, as they provide performance guarantees and access to incentives like federal tax credits up to 30 percent. Initial consultations, often free, clarify feasibility and refine designs to match specific site conditions.
Advancing Your Deck's Energy Independence
Implementing transparent solar panels transforms decks from passive spaces into active contributors to household sustainability. Beyond immediate bill reductions, these installations foster resilience against power outages and enhance property values by up to 5 percent.
Begin with a site assessment to tailor the system to your needs, then proceed methodically through planning and execution. The result yields a vibrant, self-sustaining outdoor environment that harmonizes innovation with natural beauty.