Effortless Solar Drip Irrigation for Balcony Gardens
Balcony gardening in urban environments presents unique challenges, particularly with consistent watering amid busy schedules and variable sunlight. A solar drip irrigation system addresses these issues by harnessing sunlight to deliver precise, automated hydration to plants. This setup ensures healthy growth with minimal intervention, ideal for pots on limited spaces.
This guide explains the components of a solar drip system, its advantages for urban gardeners, and detailed installation procedures. Readers will also find maintenance strategies, troubleshooting advice, and seasonal considerations to maximize system performance.
System Overview
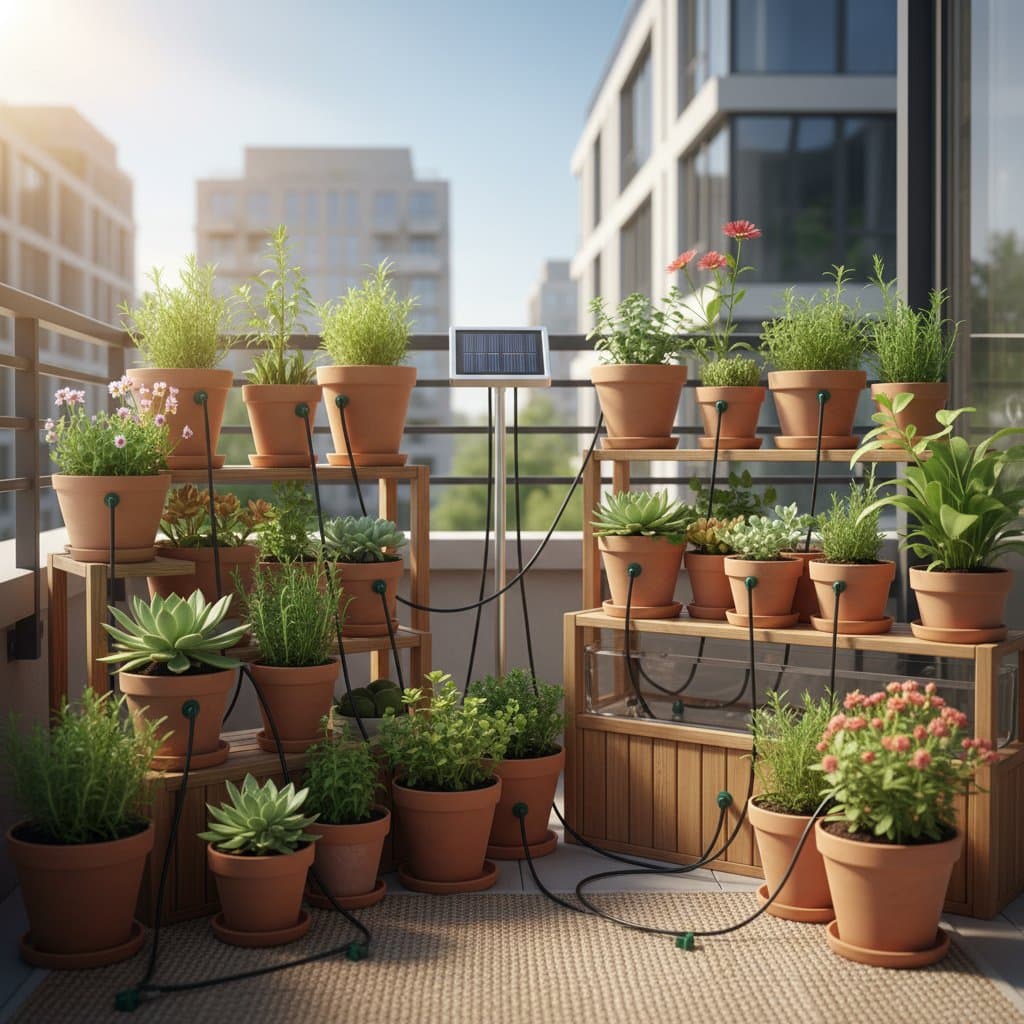
A solar drip irrigation system employs a compact solar panel to energize a submersible pump, which circulates water via narrow tubing to individual pots. Water emerges in controlled drops at the soil surface, promoting efficient absorption. The system activates automatically upon solar exposure, with many units capable of servicing up to 20 pots while consuming less than one gallon per hour.
The primary advantage lies in reliability during absences or oversights. Plants receive consistent moisture, reducing wilting risks. Direct root delivery minimizes evaporation, conserving water compared to manual methods. In confined balcony or rooftop areas lacking electrical outlets or hose access, this solution provides an effective, low-profile enhancement. It accommodates various potted plants, including herbs, flowers, and vegetables in containers measuring 6 to 12 inches in diameter. Refilling the reservoir occurs every few days after initial setup.
Required Tools and Materials
Most commercial kits supply essential components, requiring few additional items. The following list covers standard needs:
- Solar pump kit, including panel, pump, tubing, and emitters
- Water reservoir, such as a 2- to 5-gallon lidded container
- Tubing cutter or sharp scissors for precise cuts
- Clips or stakes to secure tubing against movement
- Optional timer for models supporting scheduled operation
- Clean cloth for panel maintenance
For balconies receiving fewer than four hours of direct sunlight daily, select a kit with a removable panel. This allows repositioning to sunnier locations, such as nearby railings or ledges.
Installation Steps
Step 1: Design the Layout
Assess the number of plants and distances from the proposed reservoir location. Limit total tubing length to under 30 feet to maintain adequate pressure. Draw a simple diagram illustrating tubing paths and branches. Position the reservoir in a shaded area to maintain cooler water temperatures and inhibit algae formation.
Step 2: Install the Solar Panel
Secure the panel in a spot receiving optimal sunlight exposure throughout the day. Suitable mounts include railings, wall brackets, or window sills. Fasten with provided screws or clips, ensuring stability. Clean the panel surface prior to wiring connections, and verify that cables reach the pump without strain.
Step 3: Set Up the Reservoir
Fill the container with fresh water, preferably filtered or rainwater to avoid mineral buildup. If using tap water, allow it to stand overnight for chlorine evaporation. Submerge the pump, securing the intake filter near the bottom but elevated to prevent sediment ingestion.
Step 4: Install the Tubing
Cut tubing segments to fit each plant's position. Connect the primary line to the pump outlet, then use branch connectors for distribution. Affix one emitter per pot, directing the tip toward the plant base for targeted delivery. Secure lines with clips to prevent displacement from wind or handling.
Step 5: Test the System
Initiate operation and observe the initial cycle. Certain pumps activate instantly under sunlight, while others require a manual switch. Verify uniform dripping from each emitter. Fine-tune flow rates via emitter adjustments or by trimming excess tubing length. Address flow interruptions by compressing lines to expel air pockets.
Step 6: Finalize and Conceal Setup
Route tubing neatly along railings or planter edges. Employ soft ties for fixation, avoiding materials that could damage lines. Label branches for pots with similar needs to simplify future adjustments. A organized arrangement facilitates ongoing inspections and repairs.
Essential Safety Precautions
Maintain dry conditions around electrical components. Apply weatherproof enclosures to protect panel and pump connections from moisture. Evaluate surface load capacities before placing reservoirs; a filled 5-gallon unit weighs approximately 40 pounds, so position over structural supports. Handle the solar panel only when cooled to prevent burns during peak sun exposure.
Common Troubleshooting Solutions
Addressing Uneven Water Distribution
Disparities in watering often stem from emitter clogs. Remove affected emitters and soak in a vinegar solution for 10 minutes to clear deposits. Reinstall and retest for balanced output.
Resolving Pump Activation Issues
Ensure the solar panel remains free of debris and inspect wire connections for security. Exposure to direct sunlight may be necessary for operation; relocate if shading persists. Consider models with integrated battery storage for consistently low-light conditions.
Eliminating Air Locks in Tubing
A humming pump without water flow indicates air entrapment. Elevate and manipulate tubing sections to dislodge bubbles toward the emitters. Reprime by fully submerging the pump prior to reactivation.
Ongoing Maintenance Practices
Regular upkeep ensures long-term efficiency with minimal demands.
- Wipe the solar panel with a damp cloth biweekly to remove dust.
- Monthly, empty and rinse the reservoir before refilling.
- Inspect tubing for algae accumulation or degradation; replace compromised sections promptly.
- Clear emitters using a toothpick if drips diminish.
Prior to winter, drain all components to avert freeze damage. Store the pump in a dry, indoor space within a protective container. Coil tubing without tight bends and organize accessories for straightforward seasonal reinstallation.
Storage Guidelines
After draining, air-dry all elements completely. Store tubing in loose coils to preserve flexibility. Enclose small parts like connectors in airtight bags. House the assembly in a shaded, cool area to extend component lifespan.
Cost and Time Considerations
Entry-level kits for 10 pots range from $40 to $60. Systems handling 20 pots typically cost around $80. Assembly requires approximately one hour with prepared materials. Weekly maintenance involves about 10 minutes. Long-term benefits include water conservation and sustained plant vitality, offsetting initial expenses.
Seasonal Adjustment Strategies
- In spring, verify pump functionality and clean the panel before new plantings.
- During summer heat, monitor reservoir levels closely and consider shade covers for rapid-drying pots.
- Fall routines include thorough reservoir cleaning and tubing adjustments following plant removals.
- For winter, fully drain and store if temperatures drop below freezing.
These practices sustain system readiness across changing conditions.
Professional Assistance Indicators
Seek expert help for intricate balcony electrical integrations or wall-drilling requirements. A qualified electrician ensures secure, weather-resistant installations. Consult building management regarding weight limits or shared drainage impacts from added reservoirs.
Core Benefits Summary
Solar drip irrigation converts ambient sunlight into dependable plant care, fostering resilient balcony gardens. It streamlines routines, safeguards investments in greenery, and promotes sustainable water practices.
Implementation Roadmap
- Evaluate your balcony's dimensions and select target plant numbers.
- Purchase a kit aligned with sunlight availability and pot capacity.
- Allocate one hour for setup and initial testing this week.
With the system operational, expect reduced stress and enhanced plant health, transforming your urban space into a vibrant retreat.