Acoustic Panels: Creating Quiet on Exposed Urban Decks
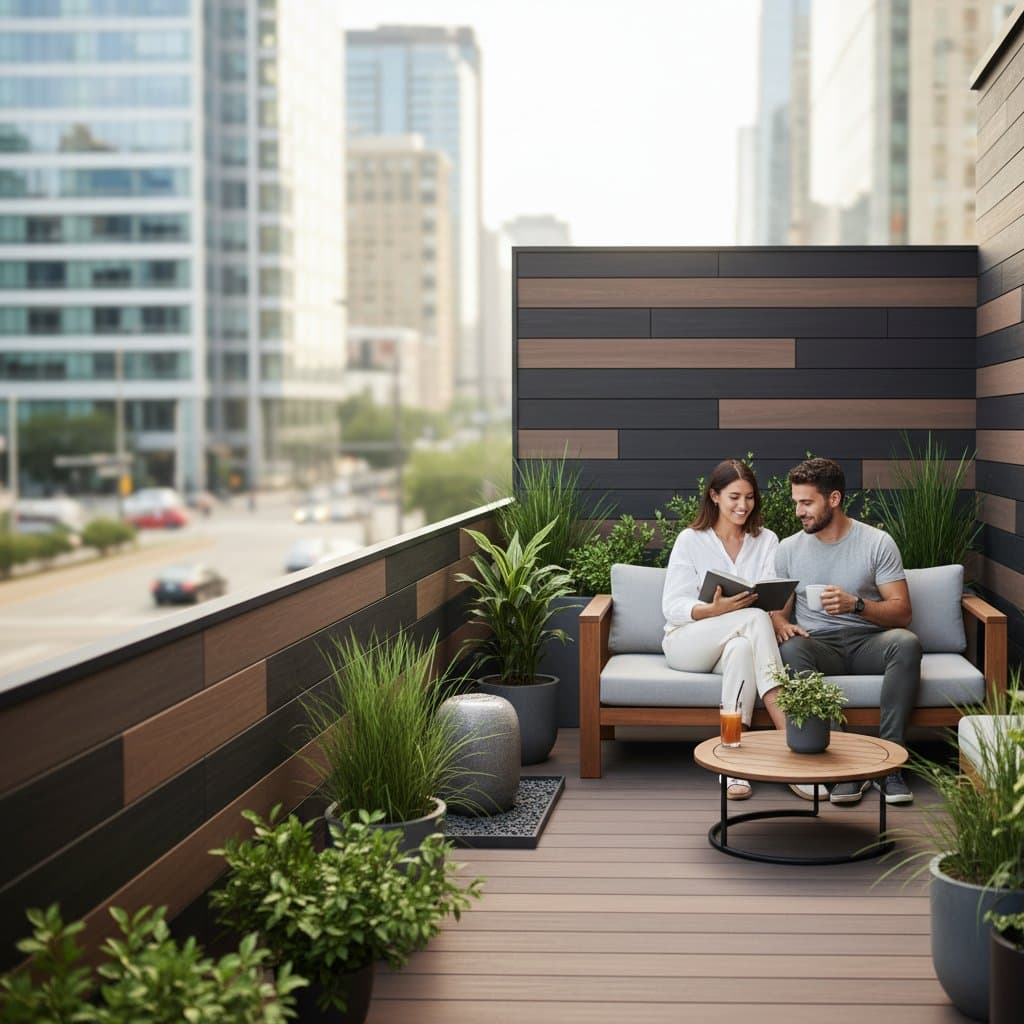
Urban decks often amplify surrounding sounds, transforming intended retreats into extensions of city clamor. Noise from traffic, neighbors, and hard surfaces like brick and glass creates persistent echoes that disrupt relaxation. Acoustic panels address this issue by absorbing sound waves, allowing residents to maintain views while significantly softening auditory disturbances. Proper installation can reduce noise reflection by 30 to 50 percent, fostering a more peaceful environment.
This guide covers the essentials of acoustic panels, their functionality, required tools, and a detailed installation process to help users achieve effective results.
Understanding Acoustic Panels
Acoustic panels consist of sound-absorbing materials such as mineral wool, recycled cotton, or perforated wood encased in weather-resistant coverings. These panels trap sound waves rather than allowing them to reflect, thereby diminishing both external noises like vehicle traffic and internal echoes from conversations or music. In outdoor settings, they enhance privacy by preventing sounds from carrying beyond the deck area.
Complete soundproofing remains impractical outdoors due to open exposure, yet strategic placement yields noticeable improvements. Users report the shift from a bustling urban soundscape to a subdued patio atmosphere, comparable to the difference between a crowded street and a shaded garden nook.
Essential Tools and Materials
Prepare all items in advance to streamline the installation process for a deck wall or railing. Select components suited for outdoor conditions to ensure durability against weather elements.
Tools:
- Tape measure to determine precise dimensions and layouts
- Level to maintain even alignment during mounting
- Drill or screwdriver equipped with outdoor-rated screws
- Safety glasses and gloves to protect against debris and irritants
- Sturdy ladder for accessing higher sections
Materials:
- Six to ten acoustic panels, scaled to deck dimensions
- Weatherproof fabric wraps or resin coatings for protection
- Mounting clips or Z-clips to enable removable attachment
- Exterior sealant or caulk to secure edges against moisture
- Optional wood slats or trellis elements for aesthetic integration
Standard panels measure 24 by 48 inches. Incorporate at least four inches of overlap at corners to maximize sound absorption efficiency.
Installation Steps
Follow these steps methodically to install panels effectively and safely.
1. Measure and Plan Layout
Assess the deck's perimeter, identifying sides exposed to primary noise sources such as streets or adjacent buildings. Prioritize high-impact areas; for instance, target the side facing heavy traffic rather than encircling the entire space uniformly.
2. Select Optimal Placement
Position panels vertically along walls or railings at ear level, approximately four to five feet from the deck floor. This height intercepts horizontal sound paths most effectively. Maintain a one-inch air gap between panels and solid surfaces to enhance wave absorption.
3. Prepare Mounting Surfaces
Clean all target areas with mild soap and water to remove dirt and residue. Allow surfaces to dry thoroughly for at least one hour, as contaminants or dampness can compromise adhesion and fastener integrity.
4. Secure the Panels
Attach panels using outdoor-rated screws with washers or specialized mounting clips. Begin at one corner and proceed systematically across the area. Verify alignment with a level after every two panels, and tighten fasteners just enough to secure without compressing the absorbent core.
5. Seal Joints and Edges
Apply clear exterior caulk along all seams and edges to prevent water infiltration. This step not only prolongs panel lifespan but also minimizes potential sound leakage through gaps.
6. Incorporate Aesthetic Elements
For a seamless blend with deck decor, affix wooden trellises or install climbing plants in front of the panels. Ensure at least one inch of clearance between layers to facilitate air circulation and prevent moisture trapping.
7. Evaluate and Refine
After completion, test the setup by occupying the deck and listening for residual echoes. If sounds persist, install additional smaller panels along the ceiling edge or beneath seating areas. Inspect overlooked corners, as they often sustain unwanted reflections.
Key Safety Considerations
Protect yourself and the installation by adhering to these practices. Wear gloves when handling mineral wool panels, as loose fibers may cause skin irritation. Avoid placing panels near heat sources like grills or outdoor heaters, which could deform materials over time.
Secure ladders on level ground and enlist a helper to stabilize the base during overhead work. Select only panels certified for exterior use; indoor varieties absorb moisture, leading to structural failure and reduced performance.
Common Issues and Solutions
Should panels begin to sag, inspect screw penetration and upgrade to larger washers for better support. Persistent harsh sounds indicate untreated reflective surfaces, such as metal railings or glass panels; mitigate with area rugs or hanging curtains to diffuse waves.
In cases of mold growth or color fading, promptly remove affected panels, dry them in a well-ventilated area, and reattach once restored. Regular checks prevent minor problems from escalating.
Cost and Time Estimates
For a medium-sized deck requiring eight panels, anticipate expenses ranging from 250 to 500 dollars. Costs vary based on material quality; fabric-covered foam options prove more affordable, whereas wood-veneer or resin-treated panels offer superior longevity in harsh conditions. Two individuals can complete the project in approximately three hours, including preparation and cleanup.
Ongoing Maintenance Practices
Conduct inspections every three months to maintain effectiveness. Gently brush away accumulated dust, pollen, or debris using a soft-bristled broom. Reapply sealant annually to exposed edges, and examine mounting hardware following severe weather events like high winds or storms.
Replace any panel that develops softness or emits odors, as these signal material degradation. To extend durability, install a protective overhang or retractable awning above the deck, shielding panels from prolonged rain and intense sunlight exposure.
Seasonal Care Guidelines
Spring: Clean panels with a diluted soap solution to eliminate winter residue, rinsing thoroughly to avoid soap buildup.
Summer: Monitor for color fading under UV rays and retighten any loosened screws to preserve stability.
Fall: Clear fallen leaves from behind panels to avert moisture accumulation and potential rot.
Winter: If storing deck items, drape panels with breathable covers to guard against frost and debris.
Consistent attention ensures sustained noise control and material resilience throughout the year.
Storage Strategies for Removable Panels
In storm-prone areas, opt for clip-based mounting to facilitate easy removal. Store panels indoors during off-seasons, stacking them horizontally with fabric surfaces upward and separating layers with cardboard to avoid surface damage.
Professional Assistance Options
Engage a contractor under these circumstances:
- When deck reinforcements are necessary prior to panel attachment.
- If electrical conduits or lighting fixtures lie behind intended mounting locations.
- For custom integrations involving embedded lights or audio systems.
Professionals verify structural capacities and electrical safety while recommending tailored outdoor acoustics solutions.
Achieve Lasting Serenity on Your Deck
Implementing acoustic panels transforms urban decks from noise conduits into havens of calm, enhancing every outdoor moment. With careful planning and maintenance, these installations deliver enduring benefits, allowing users to fully enjoy their spaces amid city life.