Creating a Serene Deck: The Power of Outdoor Acoustic Panels
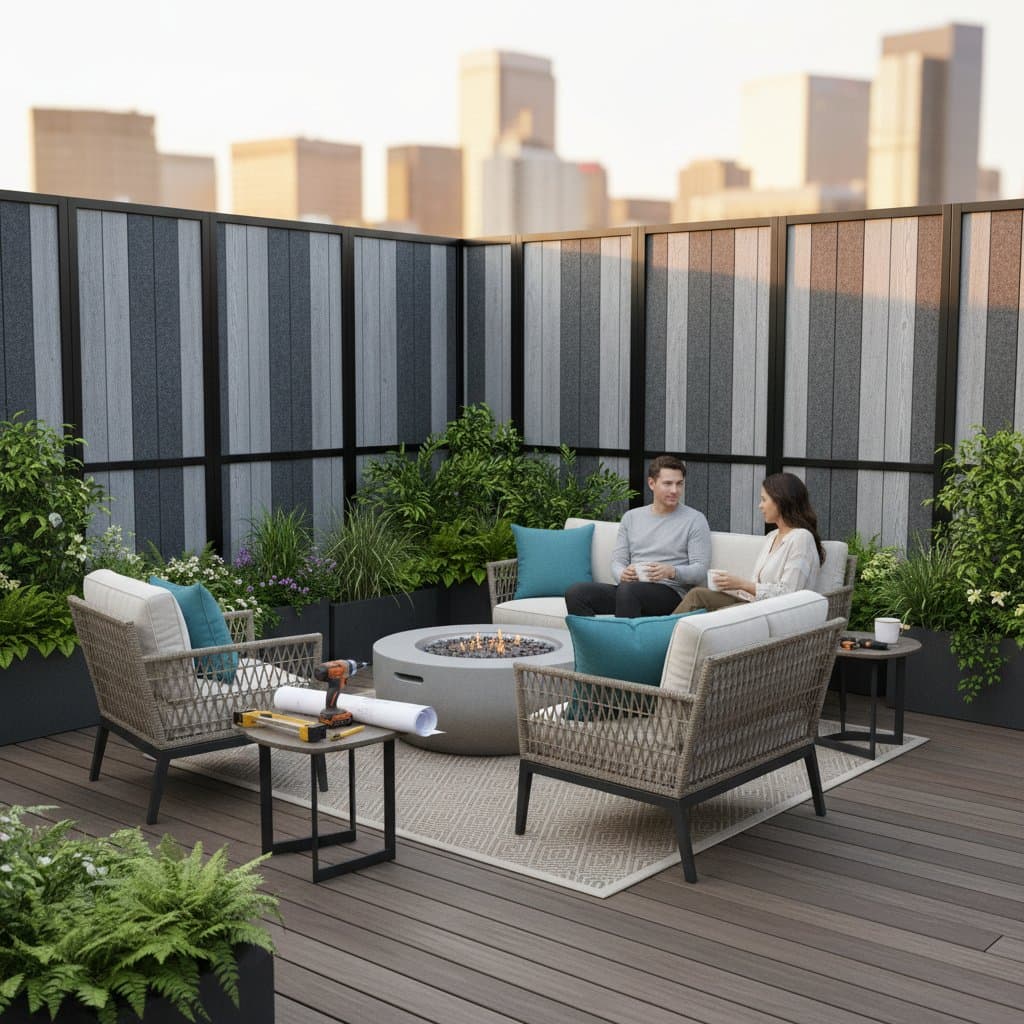
Urban decks offer access to fresh air and expansive views, yet they frequently contend with persistent sounds from traffic, neighboring conversations, or distant music. Such disturbances hinder relaxation and meaningful interactions. Outdoor acoustic panels provide an effective solution by absorbing and diffusing noise, transforming these spaces into peaceful sanctuaries where tranquility prevails.
This guide examines the functionality of acoustic panels, outlines installation procedures, and offers strategies for long-term performance. Readers gain practical knowledge to achieve a deck that fosters quiet reflection or enjoyable gatherings.
Understanding Acoustic Panels
Acoustic panels function as specialized barriers that capture sound waves, preventing their reflection off rigid surfaces like wood or metal. In outdoor settings, they diminish echoes from adjacent areas and attenuate external noises, such as vehicle horns or voices from nearby units. Materials typically include porous cores, like fiberglass or foam, encased in weather-resistant coverings.
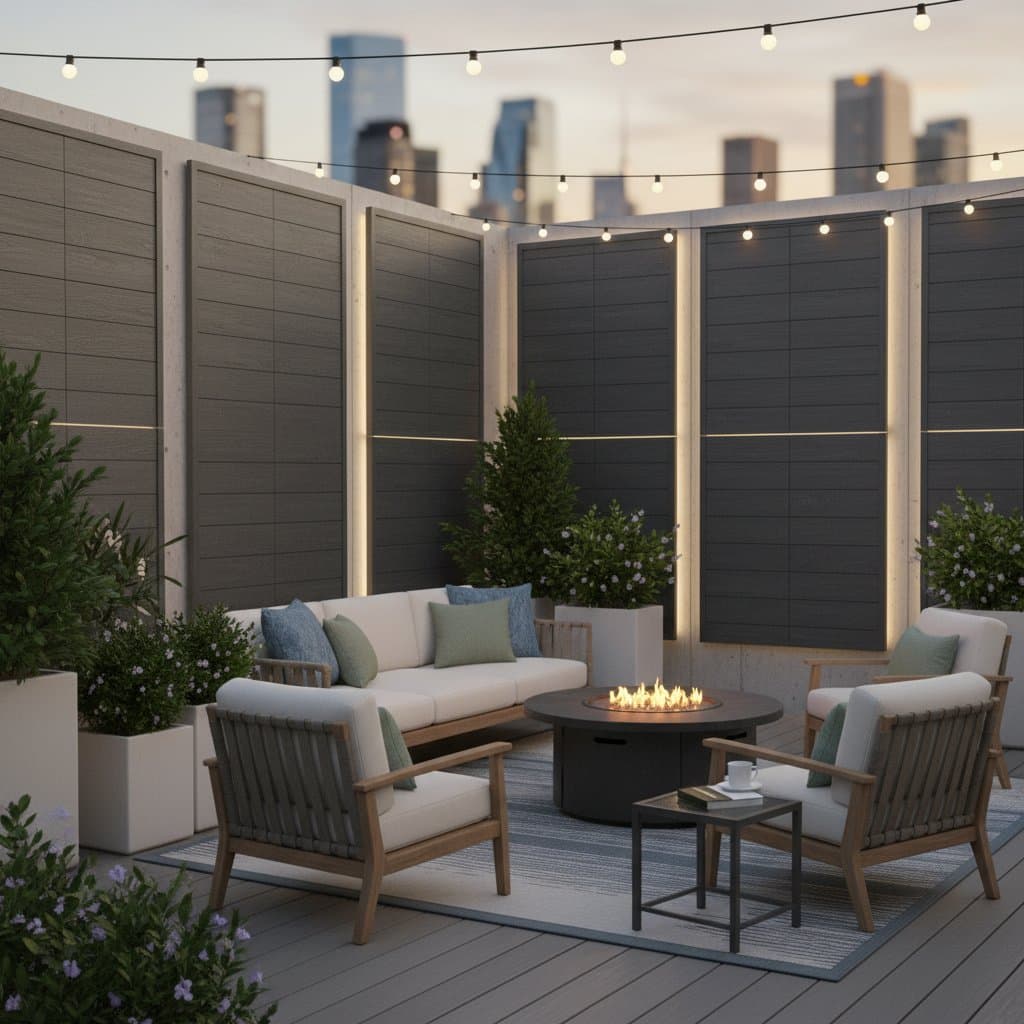
Beyond noise control, these panels enhance privacy by visually screening views while improving the acoustic environment. A treated deck supports serene mornings with coffee or intimate evening discussions without intrusive interruptions. Proper implementation elevates the space from a mere extension of the home to a genuine outdoor refuge.
Essential Tools and Materials
Installation requires basic equipment to ensure precision and safety. Assemble the following items prior to beginning:
- Acoustic panels certified for exterior use, with a minimum thickness of 1.5 inches and dimensions suited to deck railings or walls
- Weather-resistant mounting hardware, including stainless steel screws, brackets, and anchors
- Measuring tape and pencil for precise layout
- Bubble level to maintain alignment
- Power drill equipped with appropriate bits for wood, metal, or masonry
- Safety gear, comprising heavy-duty gloves and protective eyewear
For environments exposed to intense sunlight or precipitation, select panels featuring UV-stabilized fabrics and hydrophobic cores composed of recycled polyester or mineral wool. These choices resist degradation, preserving acoustic efficacy over multiple seasons.
Installation Process
Proceed methodically to achieve a secure and effective setup. Each phase builds upon the previous to minimize errors and maximize results.
Step 1: Assess and Plan Placement
Evaluate the deck's perimeter to identify primary noise sources, such as gaps in railings or sections facing high-traffic zones. Use the measuring tape to record dimensions of target areas, aiming for coverage of at least 60 percent of exposed surfaces. Sketch a layout that spaces panels evenly, allowing 1 to 2 inches between units for ventilation and expansion.
Consider sightlines and aesthetics; position panels to blend with deck design without obstructing views. This planning prevents over-coverage and ensures balanced sound absorption.
Step 2: Surface Preparation
Clean installation surfaces thoroughly to remove debris, pollen, or moisture that could compromise adhesion. For wooden elements, sand lightly if necessary to create a smooth base. Address any structural issues, like warped boards or corroded fasteners, by repairing them promptly.
Dry surfaces completely before proceeding, as dampness leads to weakened mounts. This preparation step extends the lifespan of both panels and hardware.
Step 3: Secure Mounting Hardware
Align brackets or frames using the level, then drill pilot holes to avoid material damage. In wooden structures, opt for 1/8-inch bits; for concrete, employ hammer-set anchors rated for outdoor loads. Secure each piece with at least two screws per bracket, torquing to manufacturer specifications.
Double-check stability by applying gentle pressure. Protective eyewear remains essential to shield against flying particles during this operation.
Step 4: Install the Panels
Position each panel within its frame, ensuring the absorbing core faces the noise source. Fasten with provided clips or screws, applying even pressure to avoid compressing the internal material. Verify that panels remain flush and immovable when tested from multiple angles.
If layering is desired for enhanced performance, attach a secondary set offset by 2 inches. This configuration traps additional frequencies, amplifying reduction effects.
Step 5: Final Sealing and Testing
Inspect all edges and joints for potential sound pathways, applying silicone-based caulk to seal them against weather infiltration. Conduct a preliminary noise test by simulating typical urban sounds, such as clapping or speaking at varying volumes. Adjustments at this stage refine the acoustic profile before full use.
Correctly executed, this setup can attenuate external noise by 40 to 50 percent, creating a noticeably quieter ambiance.
Key Safety Considerations
Prioritize caution throughout the process to prevent accidents. Work with a partner when using ladders or elevated platforms, ensuring mutual support. Gloves protect against sharp edges on hardware, while eyewear guards eyes from dust and fragments.
Postpone installation during adverse weather, including gusty winds exceeding 15 miles per hour or steady rain. Secure tools and materials to avoid falls or scattering.
Common Issues and Solutions
Persistent noise after installation often stems from identifiable flaws. Rattling panels indicate loose fittings; inspect and retighten all connections, incorporating lock washers if vibrations persist.
Uncovered gaps beneath railings permit sound passage; install complementary barriers, such as acoustic fabric screens or wooden infills. Overhead echoes require absorptive elements like suspended canopies or thick area rugs to diffuse reflections from above.
Reevaluate placement if reduction falls short of expectations, consulting acoustic principles for optimal orientation toward dominant noise directions.
Ongoing Maintenance Practices
Preserve panel performance through routine care. Monthly cleaning involves gentle brushing to remove foliage and a low-pressure rinse with diluted, non-abrasive soap. Allow complete air-drying to avert moisture buildup within the core.
Seasonal inspections focus on hardware integrity; replace any corroded components immediately to maintain secure attachment. For winter storage in harsh climates, enclose panels in permeable tarps elevated above ground level, deterring mold growth.
Address fabric wear by applying specialized sealants annually, extending durability against environmental stressors.
Cost Estimates and Timeline
Budget for outdoor acoustic panels ranges from $15 to $30 per square foot, depending on material quality and size. A standard 10-by-10-foot deck might require six to eight panels, totaling $500 to $1,200 in materials. Hardware and tools add another $100 to $200 if not already owned.
Beginners complete installation in two to four hours, assuming a straightforward layout. Complex designs, including custom cuts, extend time to a full day.
Professional Assistance Options
Engage experts for decks with irregular geometries or shared boundaries, where precise acoustics prove challenging. Professionals assess using sound transmission class (STC) metrics; seek panels rated above 25 for substantial neighbor noise mitigation.
Consultations often include site visits and customized designs, justifying the investment for optimal results in dense urban settings.
Seasonal Care Guidelines
As warmer weather approaches, examine panels for signs of UV damage, such as color fading or material brittleness. Reapply protective coatings or substitute affected units to sustain appearance and function.
In winter, dismantle panels in regions prone to heavy snow or ice to prevent structural strain. Reinstallation follows spring thaw, with fresh hardware ensuring reliability.
Implementing Your Deck Transformation
Commence with a targeted approach by treating the noisiest section, such as a street-facing railing. Monitor acoustic improvements over several days, noting changes in conversation clarity and overall comfort.
Gradually incorporate additional panels as benefits become evident, adhering to a maintenance schedule of monthly cleanings and biannual hardware checks. This iterative process yields a personalized outdoor space that delivers enduring peace amid city bustle.