Reduce Balcony Noise with Acoustic Panels
Urban living often brings unwanted sounds to balconies, from traffic below to conversations echoing between structures. These disturbances disrupt relaxation and fresh-air moments. Acoustic panels designed for outdoor use absorb sound waves effectively, potentially reducing noise by 50 percent without enclosing the space.
This guide explains the principles behind acoustic panels, outlines installation processes, and recommends suitable materials for exterior conditions. Readers receive detailed steps, cost estimates, and upkeep advice to implement solutions promptly and restore balcony tranquility.
How Acoustic Panels Function
Acoustic panels work by trapping sound energy within porous materials, converting it to minimal heat rather than allowing reflection or transmission. For balconies, panels target mid-to-high frequency noises like voices and traffic, which travel readily in open air. Placement along railings or walls creates barriers that diffuse sound before it reaches the seating area.
Outdoor panels differ from indoor versions through weatherproof cores and coverings. Mineral wool or fiberglass absorbs vibrations, while breathable fabrics prevent moisture accumulation. Proper sizing and density ensure performance in variable conditions, such as wind or rain.
Tools and Materials
Assemble essential tools and materials prior to beginning the project. Most setups for a standard balcony require two to four hours of active work.
Tools
- Measuring tape, 25 feet (7.6 meters) in length
- Level for ensuring even alignment
- Power drill equipped with masonry and wood bits
- Screwdriver for final tightening
- Safety goggles and gloves for protection
- Ladder or stable step stool for reach
Materials
- Acoustic panels certified for outdoor application, minimum 1 inch (2.5 cm) thick
- Weather-resistant fabric or mesh for wrapping panels
- Mounting brackets or L-brackets, four to six per panel
- Corrosion-resistant screws suitable for exterior use
- Sealant to secure edges and fill screw holes
- Optional additions: outdoor caulk, cable ties, and decorative plants for aesthetic integration
Select panels specified for exterior or semi-exposed settings. Indoor foam degrades under ultraviolet exposure or precipitation; prioritize mineral wool, fiberglass, or recycled polyester cores encased in permeable fabrics.
Installation Steps
Follow these sequential steps to mount panels securely and achieve optimal noise reduction.
-
Measure the balcony perimeter and identify noise sources, such as adjacent walls or railings. Mark positions for panels, aiming for 70 to 80 percent coverage of exposed surfaces.
-
Prepare surfaces by cleaning railings or walls to remove dirt and debris. Apply sealant to potential drill sites to minimize water entry.
-
Attach mounting brackets to panels using corrosion-resistant screws. Position brackets to create a 2-inch (5 cm) air gap from the surface, enhancing low-frequency absorption.
-
Drill pilot holes into railings or walls, using appropriate bits for the material. Insert anchors if required for masonry, then secure brackets with screws.
-
Hang panels onto brackets and level each one individually. Overlap edges slightly to eliminate sound gaps.
-
Wrap exposed edges with weather-resistant fabric and seal all joints. Test stability by applying gentle pressure.
Safety Considerations
Prioritize safety to avoid accidents during installation and ensure long-term structural integrity.
- Verify load capacities of balcony railings and walls; limit total panel weight to under 50 pounds (22.6 kg) unless engineering specifications permit more.
- Wear gloves when manipulating mineral wool or fiberglass to prevent skin irritation from fibers.
- Position ladders on level ground and enlist assistance for stability when working at heights exceeding shoulder level.
- Refrain from obstructing ventilation openings or drainage systems, as this promotes moisture retention and structural harm.
- Apply sealant to every drilled hole immediately to block rust formation and water infiltration.
Cost Estimates and Timeline
Costs vary based on panel composition, dimensions, and finishes. For a balcony measuring 6 feet by 10 feet (1.8 meters by 3 meters):
- Basic foam panels: 8 to 12 dollars per unit
- Fabric-wrapped mineral wool panels: 25 to 40 dollars per unit
- Decorative wood slat panels: 50 to 70 dollars per unit
Acquire six to ten panels for comprehensive coverage, supplemented by 20 to 40 dollars for brackets and fasteners. Overall expenses typically range from 200 to 500 dollars.
Allocate one afternoon for installation. Factor in an additional hour for sealing and wrapping. Professional assistance with drilling or securing may incur 100 to 200 dollars in labor fees, influenced by site accessibility.
Maintenance Practices
Inspect panels seasonally to sustain performance and appearance. Tighten any loose screws and brush away surface dirt with a soft tool.
Every three months, rinse panels to remove accumulated dust or pollen. Steer clear of pressure washers, which risk damaging the fabric covering.
Annually, examine for signs of fading, water intrusion, or mold growth. Replace panels exhibiting delamination or significant deterioration.
During extended absences or extreme weather, protect panels with waterproof tarps. Such precautions can extend durability by twofold.
Seasonal Adjustments
Noise profiles shift across seasons; adapt the setup accordingly for year-round efficacy.
Spring
Remove winter accumulations from panels and railings. Position potted plants before high-noise areas, as foliage mitigates high-frequency sounds.
Summer
For social events, install a temporary reflective curtain on opposing walls to limit voice projection. Verify anchor integrity following storms.
Autumn
Sweep leaves from panel undersides to prevent trapped moisture and staining. Renew sealant on worn edges.
Winter
Detach lightweight fabric covers ahead of heavy snow or ice buildup. Store panels indoors if the balcony offers no shelter, reinstalling after temperature recovery.
Storage Strategies
For removable panels, store them upright in a dry location. Limit stacks to three panels to prevent material compression.
Label each panel by its designated spot, for example, 'west wall, upper left section.' This organization streamlines future assembly.
In compact living spaces, slide flat panels behind furnishings or suspend them from wall hooks during off periods.
Professional Assistance Indicators
Independent efforts suffice for many balcony enhancements, yet certain scenarios warrant expert involvement.
- Balconies featuring concrete or brick walls exceeding 6 inches (15 cm) in thickness benefit from specialized masonry anchors handled by professionals.
- Properties under stringent exterior modification policies require licensed contractors to verify materials and load compliance.
- Ongoing vibrational noises from heating, ventilation, or construction demand acoustic specialists for frequency analysis and customized remedies.
Request quotes encompassing material evaluations and safety verifications. An initial consultation, frequently below 150 dollars, averts expensive errors.
Implementation Guide
Commence by monitoring noise patterns on the balcony, recording peak times and origins. Determine coverage needs, opting for complete panels, targeted sections, or supplementary screens.
Review building regulations prior to any modifications. Numerous urban residences permit non-permanent clamps or mounts for noise mitigation.
Purchase one or two panels initially for evaluation along the primary noise wall. If results prove satisfactory, proceed with broader implementation. This incremental method controls expenditures and refines configurations.
Advanced Techniques
Integrate soft and rigid elements by combining panels with outdoor curtains or vegetation. This combination addresses direct and rebounding sounds comprehensively.
Employ staggered arrangements over linear setups; overlapping margins seal potential leaks and elevate absorption rates.
Maintain a minimum 2-inch (5 cm) air cavity behind panels to amplify bass sound control.
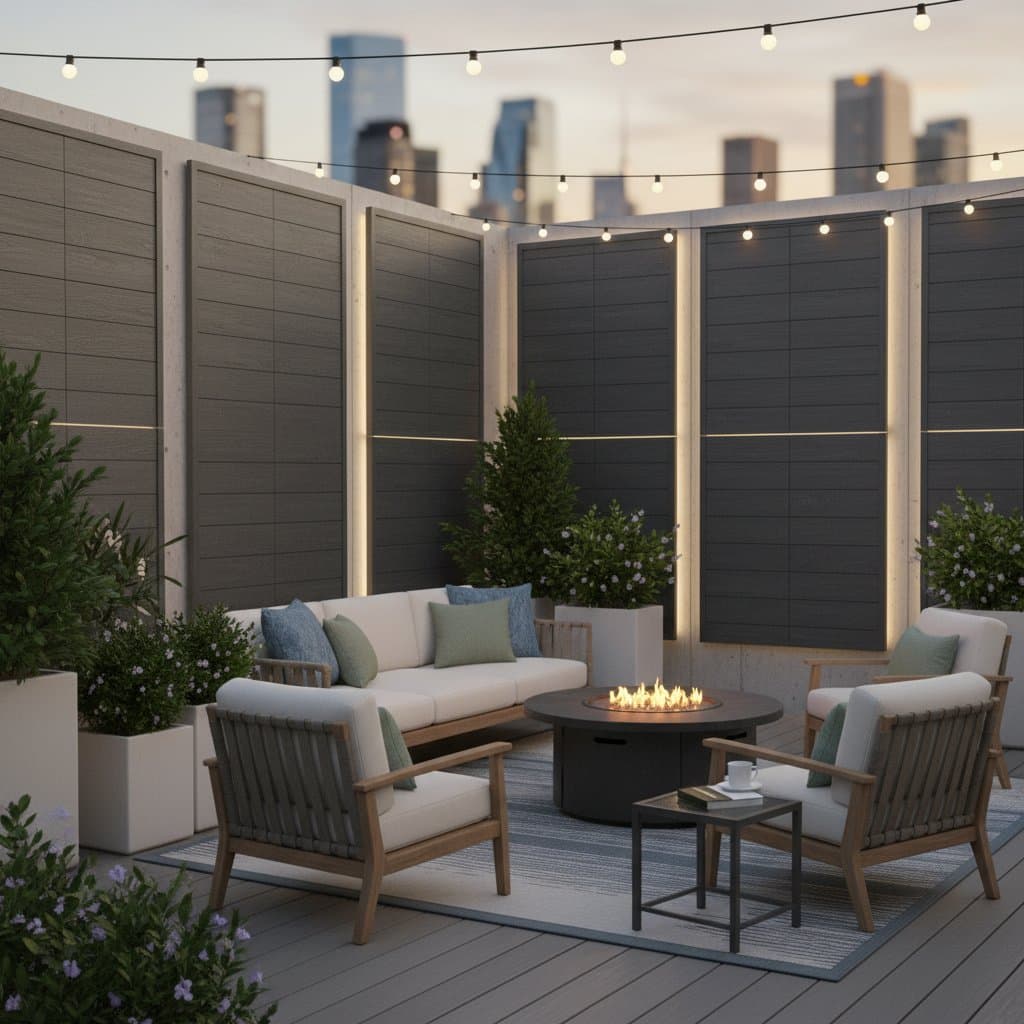
Select subdued hues such as gray or tan to conceal grime and harmonize with architectural surroundings.
Incorporate a modest water element or low-volume fan for sound masking, where a consistent tone diminishes intrusive background noises.
Benefits of a Tranquil Balcony
Post-installation, the space yields enhanced clarity in dialogue, subdued music volumes, and overall composure during routines like morning beverages.
Refine the area progressively with ambient lighting for nocturnal use and resilient cushions coordinated with panel aesthetics.
The balcony emerges as a seamless home extension, elevated above urban clamor. Acoustic panels empower selective auditory experiences, fostering sustained peace.