How Acoustic Panels Transform Noisy Urban Decks into Serene Retreats
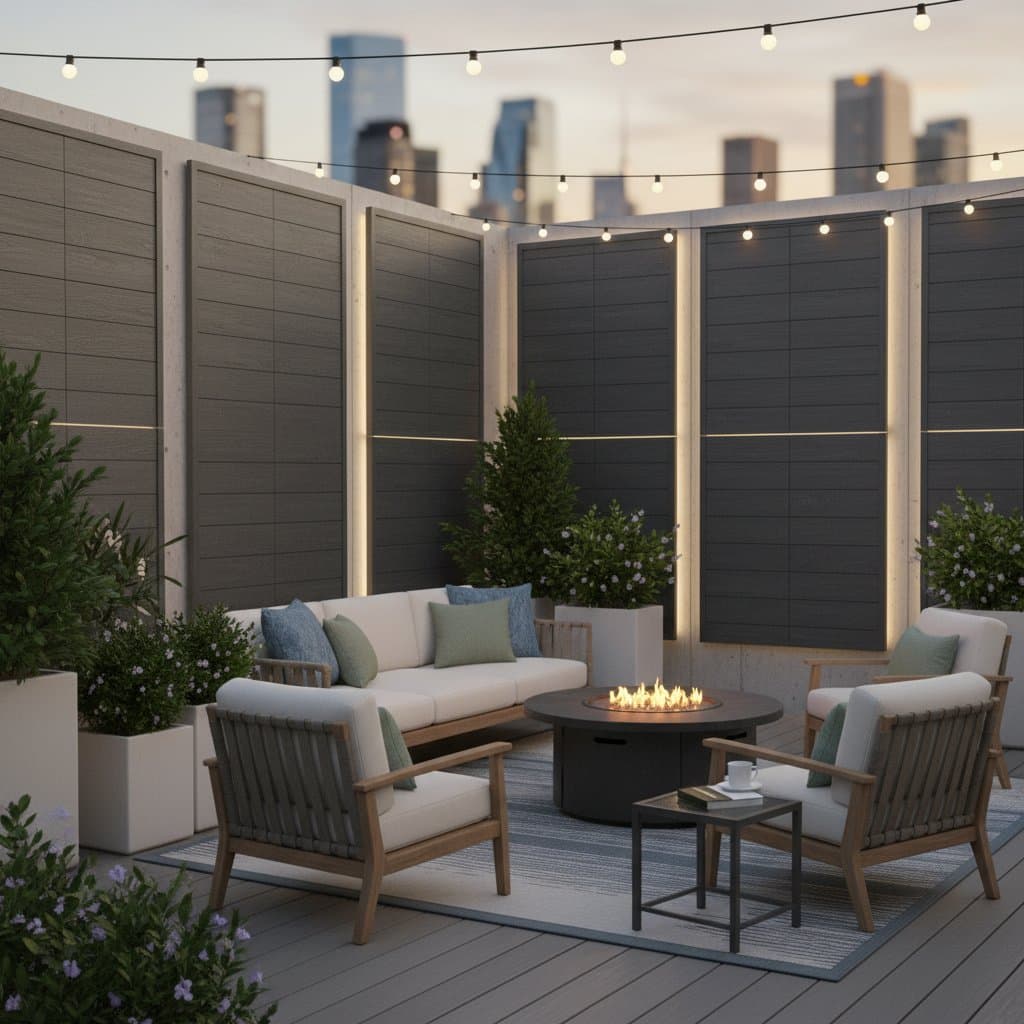
Urban decks offer potential as private sanctuaries, yet persistent sounds from traffic, neighbors, or rooftop equipment often disrupt the peace. In open-air settings, noise propagates freely, reflecting off solid surfaces and traversing nearby areas. The objective remains straightforward: establish a tranquil deck suitable for conversation, relaxation, or focused work amid reduced ambient disturbance. Acoustic panels provide an effective solution, functioning as a subtle design element that captures sound waves rather than permitting their rebound.
This guide delineates the nature of acoustic panels, their relevance in exterior environments, and procedures for installation and upkeep. Readers will learn to select appropriate materials, secure mounts effectively, and cultivate a quieter deck while preserving its airy character.
Understanding Acoustic Panels for Outdoor Use
An acoustic panel consists of a sound-absorbing board constructed from dense, porous substances. Such panels capture sound waves, preventing their reflection into the surrounding area. While indoor applications primarily mitigate reverberation, outdoor versions diminish noise bounce-back and partially shield against external sounds originating from adjacent structures or roadways.
In the context of an open-air deck, effective noise management elevates both comfort and seclusion. Conversations proceed at moderate volumes, music plays at subdued levels, and moments of silence become attainable. Beyond functionality, these panels introduce visual interest and warmth through coverings like durable fabrics or wooden accents.
Primary Advantages
- Reduces echoes and sharp reflections from walls, fences, or deck flooring.
- Enhances intelligibility of speech during dining, phone discussions, or intimate assemblies.
- Bolsters privacy by curtailing the transmission distance of voices.
- Enriches aesthetic appeal via customizable colors, motifs, or organic textures.
- Promotes well-being by decreasing ambient sound levels by several decibels.
A reduction of mere decibels yields perceptible calm, allowing appreciation of subtle environmental sounds such as birdsong or rustling foliage. Consequently, the deck evolves into a genuine outdoor haven.
Essential Tools and Materials
Installation of acoustic panels requires no specialized equipment, provided one selects robust, weather-resistant components. Assemble all items prior to commencement to streamline the process.
Required Materials
- Outdoor-rated acoustic panels, typically 2 inches (5 cm) in thickness.
- Mounting hardware such as stainless steel or aluminum brackets or z-clips.
- Waterproof acoustic fabric or treated wood lattice for protective layers.
- Silicone sealant or weather-resistant adhesive.
- Surface-appropriate screws, including concrete anchors or decking fasteners.
- Optional acoustic foam for filling minor voids.
Necessary Tools
- Measuring tape extending at least 10 feet (3 meters).
- Level and marking pencil for precise alignment.
- Power drill equipped with bits suited to the mounting surface.
- Protective gloves and safety goggles.
- Stable ladder or step stool for elevated installations.
Installation Process
Adhere to these sequential steps to plan and execute panel placement with precision. Proceed methodically, verifying measurements before any permanent alterations.
Step 1: Identify Noise Origins
Position oneself on the deck across various times of day. Identify predominant noise directions, such as vehicular flow, air conditioning systems, or structural reverberations. Document reflective surfaces to pinpoint optimal panel locations for maximum impact.
Step 2: Dimension the Area
Record the length and height of walls or railings. Account for a minimum 2-inch (5 cm) separation between panels to facilitate air circulation. These figures enable accurate calculation of required panel quantities; a standard deck often accommodates 4 to 8 units based on dimensions and configuration.
Step 3: Select Appropriate Panels
Opt for fiberglass-core panels encased in weatherproof fabric or wood-slat designs with absorptive underlayers for exterior durability. Steer clear of unprotected foam, which absorbs moisture and deteriorates rapidly.
Superior outdoor panels achieve a Noise Reduction Coefficient (NRC) of 0.7 or greater, signifying absorption of approximately 70 percent of incident sound energy.
Step 4: Design the Arrangement
Draft a schematic of the deck's perimeter, indicating panel positions. Arrange them in staggered vertical or horizontal patterns for visual harmony. Accommodate fixtures like lighting or ventilation; for pergola-equipped decks, consider overhead beam attachments to address descending noise.
Step 5: Condition the Surface
Remove debris, dust, or flaking coatings from the installation area. Smooth irregular spots through sanding or patching to guarantee flush bracket contact and minimize vibrational issues.
Step 6: Affix Mounting Components
Position the initial bracket at the designated spot and verify levelness. Drill pilot holes, then fasten securely with appropriate screws. For masonry surfaces, employ load-bearing anchors. Prioritize safety by donning goggles against debris.
Step 7: Secure the Panels
Elevate each panel and engage it with the brackets until firmly seated. Apply a narrow silicone bead along edges to bar moisture ingress. Install progressively from one end to maintain uniformity.
Step 8: Apply Protective Finishes
For unadorned panels, encase them in permeable, waterproof fabric, securing tautly via staples or adhesive on the rear frame. Achieve a rustic aesthetic by affixing slender cedar or composite slats, spacing gaps at 0.5 inch (1.3 cm) to channel sound toward the core absorber.
Step 9: Evaluate and Refine
Occupy typical seating areas post-installation and assess auditory changes. A discernible softening of the environment should emerge. Address residual echoes by incorporating supplemental panels in corners or beneath railings; even a single addition often restores equilibrium.
Safety Considerations
Secure ladders on firm, even terrain at all times. Avoid placements proximate to ignition sources or heating elements. Utilize gloves when manipulating fiberglass or edged metals. Disconnect electrical supplies before integrating nearby wiring for illumination or ventilation.
Effective sound mitigation demands caution rather than haste.
Common Issues and Resolutions
Should panel efficacy wane, investigate these frequent concerns:
- Loose fixtures may generate additional vibrations; retighten all fasteners.
- Moisture infiltration compromises absorptive qualities; substitute affected units.
- Inadequate ventilation hampers performance; ensure requisite gaps persist.
- Adjacent reflective elements, such as glass panels or metallic barriers, redirect sound; counter with area rugs or draped screens.
Targeted adjustments frequently reinstate optimal function sans comprehensive overhaul.
Upkeep Practices
Routine attention prolongs the service life of exterior panels. Clean surfaces biweekly using a gentle soap mixture and soft cloth. Biannually examine hardware and joints, adjusting loose elements and refreshing sealant applications.
Fabric-clad panels benefit from periodic removal and laundering upon dust accumulation, followed by thorough drying prior to remounting. Position unused panels in sheltered locations like sheds or garages, oriented flat to avert distortion.
Storage Guidelines
During inclement seasons, detach panels and store upright, separated by cardboard dividers. Elevate from ground contact. Refrain from overburdening stacks, which risk core deformation.
For compact storage, install wall-mounted hooks in outbuildings to suspend panels akin to artwork. Tag units for orderly seasonal reinstallation.
Cost Estimates and Timeline
Pricing for acoustic panels fluctuates considerably. Anticipate expenditures of:
- $60 to $150 per unit for weatherized fiberglass or wooden variants.
- $40 to $80 for custom fabric-enclosed assemblies.
- $200 to $500 overall for setups involving 4 to 6 panels on modest decks.
Solo installation spans two to four hours with standard implements. Professional assistance incurs an additional $100 to $200, influenced by site accessibility and substrate complexity. The investment yields enduring serenity and amplified deck enjoyment.
Seasonal Maintenance Schedule
- Spring: Inspect for concealed dampness and eradicate accumulated grime.
- Summer: Renew UV-resistant coatings on fabric exteriors.
- Fall: Reinforce attachments ahead of gusty conditions.
- Winter: Dismantle panels in areas prone to substantial precipitation or subzero temperatures.
Diligent observance sustains longevity and consistent efficacy.
Professional Assistance Indicators
Decks adjacent to high-traffic avenues or expansive masonry facades may necessitate expertise from sound engineers or certified installers. Such professionals quantify decibel levels and devise tailored solutions incorporating dense elements like mass-loaded vinyl or reinforced barriers.
Building a Lasting Outdoor Sanctuary
Outdoor acoustic panels effectively capture reflections, fostering enhanced tranquility and discretion on urban decks. Units exceeding an NRC of 0.7 deliver robust results. Durable compositions, including fiberglass interiors and fortified textiles, withstand exterior rigors.
Regular protocols like cleansing and resealing avert degradation. Strategic placement of select panels substantially diminishes reverberation and amplifies usability.
Commence by auditing auditory dynamics on the deck, then dimension and designate mounting zones. Initiate with modest implementations, scaling as benefits materialize. Progressive enhancements cultivate an urban retreat where composure coexists with metropolitan vibrancy.