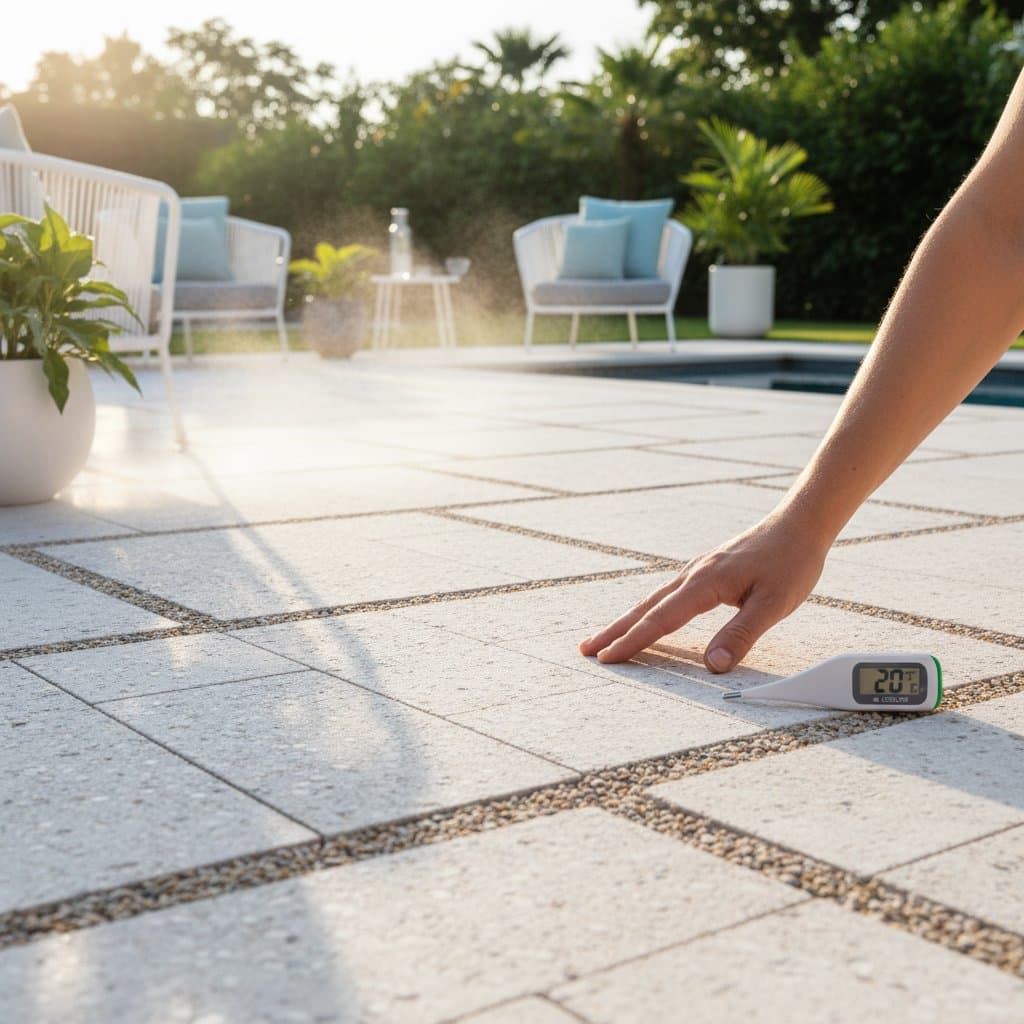
Permeable Decks: Reducing Surface Heat by Up to 20 Degrees for Cooler Outdoor Spaces
Excessive heat from deck surfaces often detracts from enjoyable summer experiences. Bare feet encounter uncomfortable temperatures, and residual warmth lingers well into the evening. A permeable deck addresses these issues by permitting water to drain through intentional gaps or porous compositions, thereby mitigating heat accumulation. The result is a surface that remains pleasant even during peak temperatures. This article examines the principles behind permeable decks, suitable materials for temperature control, and strategies for integrating one into your property.
Understanding Permeable Decks
A permeable deck enables rainwater to infiltrate the surface and reach the underlying soil or a designated drainage system. This approach eliminates standing water and mitigates risks of slips or mold development. Evaporation of moisture through the surface further diminishes reflected heat, enhancing overall usability. The design principle applies equally to ground-level patios, elevated rooftop installations, or compact backyard platforms.
Beyond immediate comfort, these surfaces contribute to environmental management. They facilitate stormwater control, safeguard adjacent vegetation from erosive runoff, and counteract urban heat island effects near structures. Compared to impervious options like solid concrete or standard composite decking, permeable variants can lower surface temperatures by 10 to 20 degrees Fahrenheit, depending on material selection and environmental conditions.
Essential Tools and Materials
Constructing a modest permeable deck requires standard woodworking implements, though the choice of surfacing profoundly influences performance. Essential tools include a measuring tape extending at least 25 feet for accurate layout and spacing assessments, a circular saw or handsaw for precise cuts, and a drill equipped with appropriate bits for creating pilot holes and securing fasteners. A reliable level ensures proper slope for drainage, while a rubber mallet and spacers prove useful for positioning pavers or tiles. Additionally, incorporate geotextile fabric as a foundational layer to inhibit soil migration without obstructing water flow.
Effective materials prioritize both permeability and heat dissipation. Permeable pavers, crafted from concrete, ceramic, or composite formulations with integrated open joints, allow efficient drainage. Wood or bamboo slats installed with gaps of 1/8 to 1/4 inch between boards provide a natural aesthetic alongside functional porosity. Porous composite decking features microscopic channels that permit water passage while maintaining durability. Recycled plastic grid panels, often infilled with gravel or fine stones, offer a low-maintenance alternative. Opt for lighter hues such as beige, light gray, or aged wood finishes, which reflect solar radiation more effectively than darker alternatives like deep brown or black.
Construction Process
Planning the Layout
Define the deck footprint using stakes and string for clear boundaries. Consult local regulations regarding stormwater management and structural load capacities, particularly for elevated installations. Establish a subtle incline of 1/8 inch per linear foot, directing away from the residence, to optimize water runoff.
Preparing the Foundation
Clear the site of vegetation and loose material. For ground-based decks, excavate approximately 4 inches and backfill with crushed stone or gravel, then compact thoroughly for stability. On rooftops, employ rubber or composite pedestals to elevate the assembly, promoting air circulation beneath.
Installing the Geotextile Layer
Position the geotextile fabric across the prepared base. This permeable barrier prevents sediment from infiltrating the drainage aggregate while facilitating unimpeded water percolation.
Building the Framework
Select pressure-treated lumber or corrosion-resistant aluminum for the substructure, spaced at 16-inch intervals to support the surface load. Verify levelness throughout to avoid uneven settling. For grid or paver systems, utilize adjustable pedestals or spacers to maintain uniform separation.
Applying the Surfacing
Arrange boards, tiles, or panels with uniform intervals: at minimum 1/8 inch for wooden elements and up to 1/4 inch for pavers. Fasten using screws or clips designed for moist environments. Periodically assess alignment from various angles to ensure a cohesive pattern.
Finishing Touches
Apply a UV-protective, water-based sealant or stain to enhance heat resistance and color retention. Allow sufficient drying time before introducing furnishings or heavy use.
Safety Considerations
Protect yourself with gloves and safety eyewear during cutting and fastening operations. Refrain from tasks on damp surfaces to minimize slip hazards. For elevated decks, verify that support elements comply with municipal building codes. Maintain a safe distance between electrical equipment and any moisture during post-installation cleaning.
Common Issues and Solutions
Should water accumulate on the surface, inspect joints for blockages or underlying gravel compaction. Flush the area with a garden hose to dislodge particulates. In cases of prolonged moisture in shaded zones, evaluate airflow by introducing minor ventilation spaces or pruning obstructing foliage. Replace warped boards individually and promptly secure any loosened fasteners to preserve spacing integrity.
Upkeep and Seasonal Care
Perform weekly sweeping to remove debris that could obstruct drainage channels. Conduct periodic gentle cleaning with mild soap solution to eliminate buildup without compromising protective coatings. During off-seasons, store removable items like cushions in sealed, dry containers. Avoid de-icing salts, which may erode porous components; opt for sand application or soft-bristled sweeping instead.
Cost Estimates and Timeline
Materials for a 10-by-12-foot deck using wooden slats typically range from two to four dollars per square foot. Systems involving composites or pavers escalate to five through nine dollars per square foot. Professional labor adds three to six dollars per square foot. DIY efforts on smaller scales often complete within a weekend, assuming tools are on hand, while extensive or suspended projects may require a full week, including curing periods.
Practical Adjustments by Season
Prior to warm weather, inspect all intervals for obstructions and verify post-rain drainage efficiency. During intense heat, apply a light morning mist to promote evaporative cooling. As autumn arrives, clear fallen leaves promptly to prevent organic matter from sealing joints.
Professional Assistance Indicators
Engage a specialist if observations include framework shifts, surface sagging, or persistent subsurface pooling. Inquire about weight tolerances, impermeable liners, and integrated runoff pathways. Professionals ensure adherence to standards and adaptation to regional climate patterns.
Implementing Changes
Examine your existing deck for drainage effectiveness after the next rainfall. Experiment with a targeted area, such as installing pavers in a nook or adding spaced slats to a section. Monitor temperature variations using an infrared thermometer to quantify improvements and refine your approach.