Pocket Pergolas Bring Micro Shade to Tight Patios
Urban dwellers often face the challenge of limited outdoor space, where full-sized structures simply do not fit. Pocket pergolas offer a smart solution, folding neatly against a wall to provide shade only when needed. These compact designs maximize usability on small patios, balconies, or terraces without overwhelming the area.
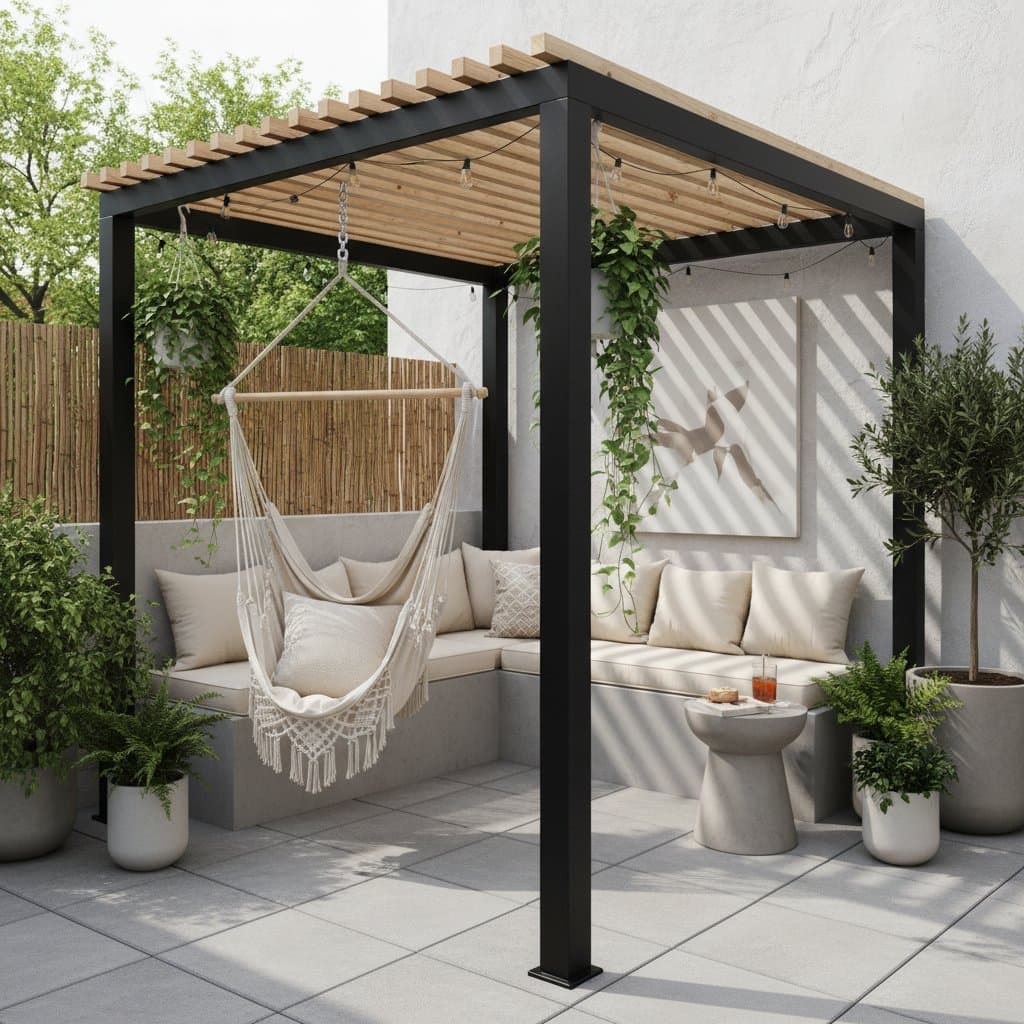
A pocket pergola consists of a retractable frame mounted to an exterior wall, typically featuring adjustable slats or fabric panels for customizable coverage. Materials range from durable aluminum to weather-resistant wood, ensuring longevity in city environments. This setup creates a shaded micro-oasis ideal for reading, dining, or casual gatherings.
Benefits of Pocket Pergolas
Pocket pergolas enhance comfort by blocking direct sunlight, reducing heat buildup on tight patios. They promote airflow through open designs, preventing the stuffy feel of enclosed spaces. Installation requires minimal footprint, preserving room for furniture and plants.
Homeowners appreciate the privacy these structures add, screening views from neighboring units. With low maintenance needs, they deliver long-term value. Customization options allow integration with existing decor, from modern minimalist to rustic charm.
Installation Guide
Before starting, select a sturdy wall section away from windows or doors. Gather tools including a drill, level, measuring tape, and ladder. Kits include pre-cut components for straightforward assembly.
-
Measure and mark the location.
Determine the desired height and width based on your patio dimensions. Mark mounting points on the wall with a pencil, ensuring they align horizontally using a level. -
Assemble the base frame.
Connect the vertical posts to the wall brackets according to kit instructions. Use corrosion-resistant hardware to secure joints, forming a stable rectangle. -
Mount to the wall.
Drill pilot holes at marked spots. Secure brackets with masonry anchors for brick or concrete surfaces, or toggle bolts for drywall. Verify plumb alignment. -
Attach the beams.
Fasten crossbeams across the top using galvanized screws. Space them evenly at 12 to 18 inches apart for balanced support. -
Add slats or fabric.
For wooden slats, position them with one to two inches between each to allow breeze circulation. For fabric panels, pull taut and attach via staples or clips beneath the beams, ensuring even tension. -
Seal and finish.
Apply a weatherproof sealant to all wooden elements or a rust-inhibiting coating to metal components. Allow drying time as specified on product labels. -
Test stability.
Shake the frame gently to check for secure fastening. Tighten any loose screws and re-level if necessary.
The pergola now stands ready for light use. Add decorative elements like vines or lanterns to personalize the space.
Safety Tips
- Refrain from loading the frame with heavy items such as large planters or suspended seating; this design prioritizes shade over structural support.
- Select outdoor-rated electrical cords for any added lighting or fans to prevent hazards.
- Inspect and tighten all bolts biannually, accounting for shifts from wind or seasonal temperature fluctuations.
- In advance of severe weather, detach fabric panels to avoid damage from high winds.
Troubleshooting Common Issues
Frame wobbles post-installation.
Secure bracket bolts more firmly. For uneven walls, insert shims behind base plates to achieve stability.
Shade fabric develops sags.
Restretch the material and refasten with fresh clips. Humidity exposure can cause relaxation over time.
Wood surfaces display dark spots.
These indicate initial mildew growth. Clean with a solution of mild soap and water, then apply fresh sealant after thorough drying.
Metal components show rust around screws.
Lightly sand affected areas and apply a specialized rust-resistant spray for protection.
Budget and Time Considerations
Basic pocket pergola kits range from $120 to $300, varying by material choice. Wood options prove more affordable yet demand regular upkeep, while aluminum provides superior durability at a higher initial cost. Plan for a full day to complete preparation, assembly, and cleanup.
Professional installation elevates expenses to $400 through $700, primarily due to labor and specialized anchoring in masonry. Consult your property manager regarding attachment regulations prior to proceeding. Certain kits offer freestanding alternatives, stabilized by weighted bases filled with soil or sand rather than wall penetrations.
Ongoing Maintenance
Every two months, clean fabric surfaces using mild soap and a soft brush, followed by a gentle hose rinse. Reapply wood sealant annually to maintain integrity. Conduct seasonal hardware inspections for signs of rust or cracking.
During winter months, remove and store fabric indoors to shield it from elements. If feasible, drape the frame with a protective tarp to minimize moisture accumulation at joints.
Consistent care routines prolong the pergola's lifespan and ensure reliable performance for everyday enjoyment.
Steps to Get Started
Pocket pergolas reclaim overlooked outdoor areas, turning sun-drenched spots into inviting retreats. Begin by assessing the sunniest section of your patio and evaluating wall durability. Select a kit aligned with your aesthetic preferences and maintenance tolerance.
After setup, incorporate ambient touches such as string lights, a compact bistro set, or trailing greenery. This addition cools the environment and fosters a sense of seclusion, even amid urban bustle.

