5. Flush and Test the System
Prior to securing all stakes in place, introduce water gradually to each line for flushing. Allow the water to flow until it emerges clear from the ends of the lines, then shut off the supply. Secure the end caps once more to prevent drips.
Reactivate the water flow and observe the emitters for uniform dripping along the tape. Reposition the tape as necessary to direct drips toward the root zones of the plants. Inspect all connections closely for any signs of leakage, addressing issues immediately to ensure system integrity.
This flushing process removes manufacturing residues or initial debris, promoting long-term performance. Testing at this stage allows adjustments before full operation, saving time and preventing uneven watering later.
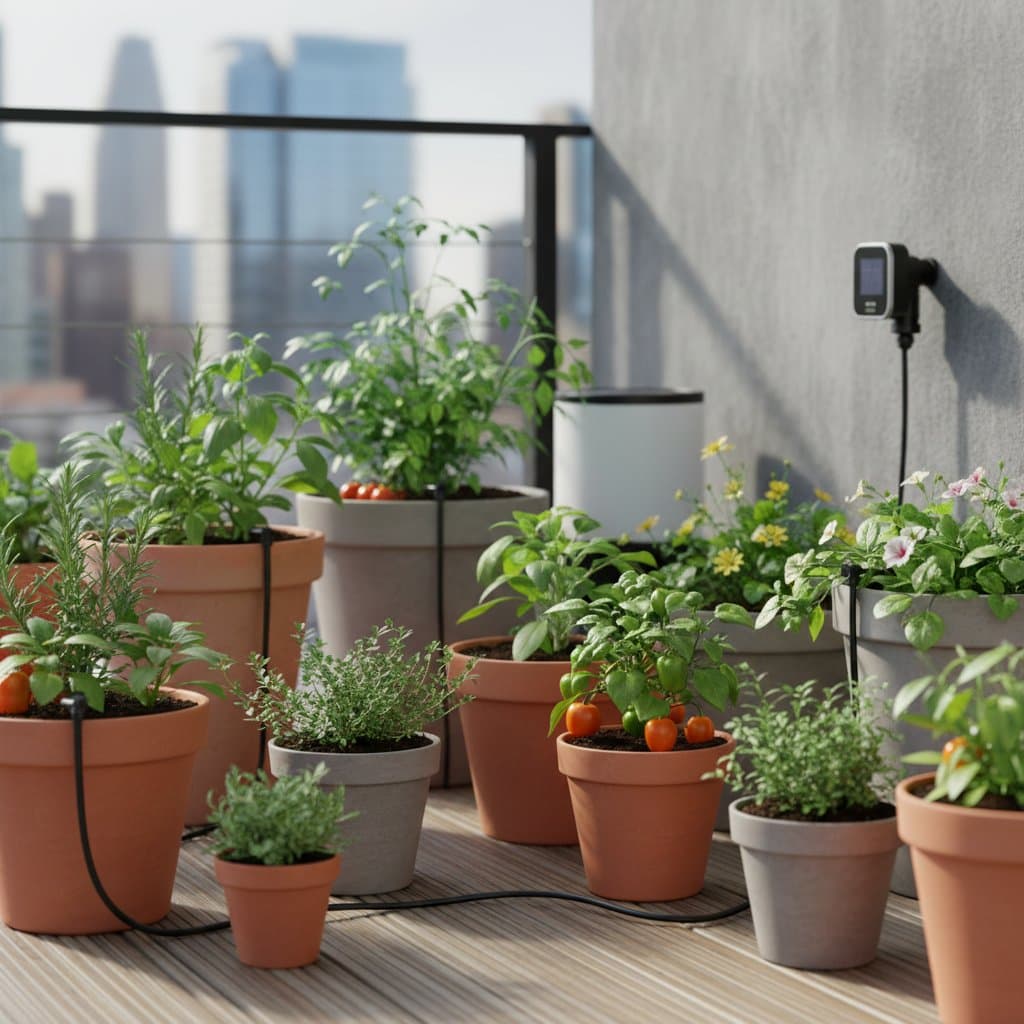
6. Configure the Timer Settings
For typical deck environments, schedule two brief watering sessions daily. Consider a 10-minute duration in the early morning and another 10 minutes in the early evening. Fine-tune these intervals by monitoring soil moisture at a depth of 2 inches (5 cm); aim for consistently slightly damp conditions without sogginess.
Timers provide automation, freeing gardeners from daily manual checks. Factors such as container size, plant type, and local weather influence ideal durations—larger pots or sun-exposed areas may require slight increases. Regular observation over the first week helps calibrate the system precisely for optimal plant health.
Addressing Common Challenges
Simple irrigation setups benefit from routine monitoring to maintain efficiency. Below are frequent problems encountered with drip tape systems, along with straightforward solutions to resolve them quickly.
Uneven Dripping or Dry Containers
- Inspect lines for kinks or abrupt bends that restrict flow; gently straighten the tape to restore even distribution.
- Verify that water pressure remains adequate; replace the timer battery if flow appears diminished.
- Disassemble the filter housing, rinse the screen thoroughly under running water, and reassemble to clear any buildup.
These steps ensure balanced hydration across all plants, preventing stress from inconsistent moisture levels. Early intervention keeps the garden thriving without major disruptions.
Leaks at Connection Points
- Firmly push the tubing further onto the barbed fittings to create a secure seal.
- If leakage persists, trim away the softened end of the tubing and attach a fresh segment for a tight fit.
- Examine faucet adapters and replace any deteriorated washers to restore watertight connections.
Leaks waste water and can damage deck surfaces; prompt repairs preserve system reliability and reduce utility costs.
Clogged Emission Points
- Detach the end caps and run water through the tape for at least two minutes to dislodge particles.
- Upgrade to a filter with 150- to 200-micron mesh if the water supply contains noticeable sediment, capturing finer debris before it enters the lines.
Clogs often stem from mineral deposits or soil particles; preventive filtering extends the lifespan of the tape and maintains consistent output.
Excessively Wet Soil or Algae Development
- Reduce each watering cycle by two to three minutes to avoid over-saturation.
- Apply a layer of mulch or small stones over exposed moist areas to minimize evaporation and discourage algal growth on surfaces.
Balancing moisture prevents root rot while controlling visible algae, which can otherwise detract from the garden's appearance. These adjustments promote a healthier ecosystem on the deck.
Perform a brief five-minute review each week to identify and correct issues early, ensuring the drip tape operates smoothly throughout the growing season.
Ongoing Care Practices
Maintaining a drip tape installation requires far less effort than traditional hand-watering methods, allowing more time for enjoying the garden.
Weekly Maintenance Routines
- Scan for leaks or areas where soil appears dry, making adjustments as needed.
- Remove accumulated leaves, dirt, or other debris near the tape to prevent blockages.
- Test the timer functionality and replace batteries to avoid interruptions in scheduling.
These quick checks build reliability and catch minor problems before they escalate.
Monthly Maintenance Routines
- Open the ends of the lines and flush with water to clear any settled residues.
- Unscrew the filter, rinse the screen clean, and reinstall to sustain flow rates.
- Clean all connectors with a soft cloth and tighten fittings if they show signs of loosening.
Regular flushing prevents gradual declines in performance, particularly in areas with hard water.
End-of-Season Storage
As temperatures drop and frost approaches, disconnect the entire system from the water source. Elevate one end of each tape run to drain residual water completely, then coil the lines loosely and store them in a sheltered, dry location. Bring the filter and pressure regulator inside to shield components from weather exposure and preserve rubber seals.
In milder climates, the system may remain in place year-round. Periodically lift sections of tape to check for mold, pests, or deterioration underneath, addressing any findings promptly.
Proper storage extends equipment life, reducing replacement costs and ensuring readiness for the next season.
Situations Requiring Professional Assistance
Before altering plumbing on a deck linked to a rooftop system or communal irrigation, consult a licensed plumber or building manager. Professionals can verify compliance with local codes, install essential backflow prevention devices, and assess pressure compatibility to avoid hazards.
Seek expert help if the following occur:
- Ongoing leaks adjacent to structural walls or interior plumbing lines
- Water accumulation that fails to dissipate within a few hours, risking deck integrity
- Malfunctions in timer electronics, such as failure to activate or irregular cycling
A single professional consultation, often lasting one hour, safeguards against water damage, fines, or structural issues. It provides peace of mind for complex installations in urban settings.
Implementing Your Drip Tape Plan
Begin with a modest approach: select one deck area and install a single run of drip tape. Monitor soil response over the initial week to refine the setup.
With growing familiarity, expand by incorporating a dedicated timer for elevated planters or branching lines to differentiate shaded and sunny zones. Document effective schedules to replicate success in future expansions.
Three practical steps to initiate today:
- Measure and Sketch the Layout: Gauge your deck dimensions and diagram tubing paths to estimate required lengths accurately.
- Acquire Essential Components: Purchase a basic kit including a filter, pressure regulator, and at least 25 feet (7.6 meters) of drip tape for initial testing.
- Install and Evaluate the First Line: Position the tape, connect to the source, and run a test cycle to confirm uniform dripping before integrating additional containers.
Silent drip tape elevates small urban decks into serene, self-sustaining retreats. Once established, the system demands little attention, allowing mornings filled with relaxation rather than routine chores.