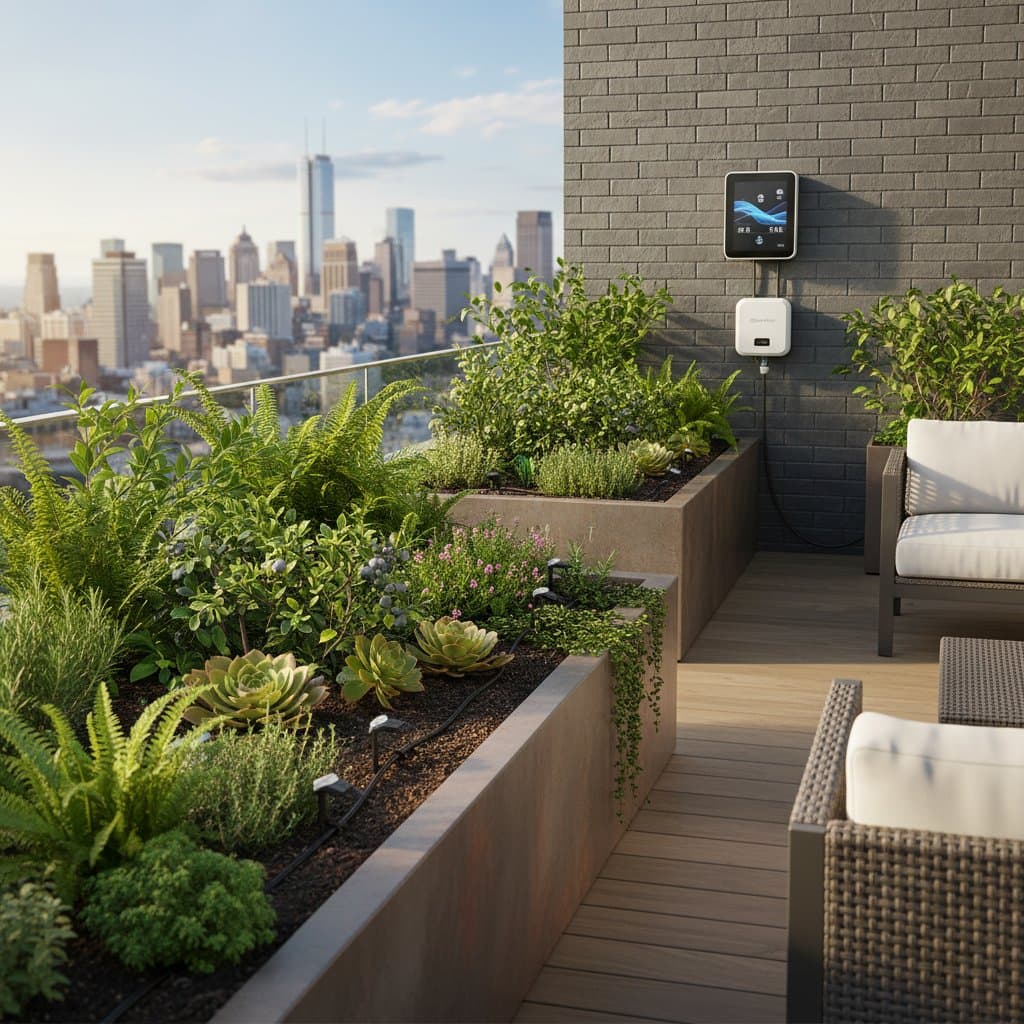
Smart Watering for Lush Urban Rooftop Gardens
Rooftop gardens offer a vital green escape in urban settings, yet they demand precise water management. Wind accelerates soil drying, intense heat from surrounding concrete increases evaporation, and uneven rainfall distribution challenges plant health. Smart watering systems address these issues by automating irrigation based on real-time conditions, ensuring plants receive optimal hydration while minimizing waste and effort.
This guide details the principles of smart watering, its advantages for rooftop environments, essential tools, and installation procedures. Readers will also find guidance on troubleshooting, ongoing maintenance, and seasonal adjustments to sustain a vibrant garden with reduced water consumption.
Overview
Smart watering integrates sensors, timers, and drip irrigation to supply water precisely when and where plants require it. Systems monitor factors such as soil moisture, temperature, and sunlight exposure to activate irrigation automatically. This approach promotes uniform plant growth, reduces excess water usage, and eliminates frequent manual checks, particularly beneficial during busy schedules.
Rooftop gardens present unique demands compared to ground-level landscapes, including shallower soil volumes, elevated wind speeds, and rapid evaporation. An automated irrigation setup maintains efficiency despite these constraints, allowing gardeners to focus on enjoyment rather than daily watering routines.
Key benefits:
- Consistent soil moisture levels that support healthier root development and plant vitality
- Water conservation of up to 50 percent relative to traditional manual methods
- Reduced hands-on maintenance after initial setup
- Remote monitoring and adjustments via mobile applications or basic timers
Gardeners should design a system scaled to their rooftop size, financial resources, and availability. Options range from a basic hose timer for small areas to comprehensive networks incorporating advanced sensors for larger installations.
Tools and Materials
Select components suited to the garden's scale and automation preferences before installation.
Basic system for small rooftops (under 200 square feet):
- Battery-operated hose timer or basic smart controller
- 50 to 100 feet of 1/4-inch drip tubing
- 10 to 20 drip emitters with flow rates of 0.5 to 2 gallons per hour
- Backflow preventer and pressure regulator
- Adapter for hose-to-tubing connection and end caps
- Stakes or clips for securing tubing
Expanded system for larger rooftops (200 to 600 square feet):
- Wi-Fi-enabled multi-zone smart controller
- 100 to 300 feet of 1/2-inch mainline tubing
- Soil moisture or weather sensors
- Inline filters to manage dust accumulation
- Drip emitters or micro-sprayers calibrated to specific plant requirements
- Connectors, elbows, and tees for tubing assembly
- Mounting straps and cable ties
Optional tools:
- Bucket or watering can for performance testing
- Small spade or trowel for soil adjustments
- Scissors or dedicated tubing cutter
- Screwdriver for fastening fittings
Steps
Proceed through these steps sequentially to establish a dependable irrigation network.
Step 1: Plan the Layout
Create a detailed sketch of the rooftop garden, indicating locations of planter boxes, raised beds, and individual pots. Differentiate between sunny and shaded areas, and locate the primary water source, typically a spigot or hose bib. Measure distances from the source to the most distant planters to determine required tubing lengths and emitter placements.
Position emitters at intervals of 6 to 12 inches along planter lengths. For shallow containers under 8 inches deep, opt for low-flow emitters or brief watering durations to prevent over-saturation.
Step 2: Connect the Water Source
Secure the backflow preventer to the faucet outlet, followed by the pressure regulator and filter. These components safeguard against water contamination and blockages. Attach the mainline tubing to the filter's outlet, then briefly activate the water supply to expel any debris before shutting it off.
Step 3: Lay the Mainline Tubing
Route the mainline tubing along the perimeters of planters or beds, securing it with clips or straps at intervals of 2 to 3 feet for stability. Steer clear of abrupt bends that could impede water flow. Provide sufficient slack at corners to facilitate future modifications.
When positioning tubing across hot roof surfaces, elevate it using small pads or boards to shield it from direct heat exposure.
Step 4: Add Emitters and Branch Lines
Puncture the mainline tubing at targeted delivery points and insert barbed connectors. Attach 1/4-inch branch lines to these connectors, then affix an emitter to the end of each branch and position it adjacent to plant bases.
Group plants with comparable hydration needs on shared lines; for instance, herbs and succulents benefit from reduced flow rates, whereas vegetables and flowering species require higher volumes.
Step 5: Install the Controller or Timer
Position the controller proximate to the water source. For smart models, establish a Wi-Fi connection following the manufacturer's app guidelines. Program an initial schedule featuring early morning sessions of 10 to 20 minutes, occurring three times weekly.
Incorporate sensors by validating their soil readings. Fine-tune run times to maintain even moisture at depths of 2 to 3 inches below the surface.
Step 6: Test and Adjust
Activate the system manually and inspect the entire garden for leaks, irregular drips, or obstructed emitters. Reposition emitters as necessary and incorporate additional lines for oversized pots to ensure comprehensive root coverage.
After verifying uniform distribution, execute a complete cycle and observe the duration until water begins to pool or drain. Establish this observation as the maximum run time threshold.
Safety Tips
Install a backflow preventer at all times to prevent garden water from contaminating the building's potable supply. Anchor tubing firmly to eliminate tripping risks. Position electrical elements, including controllers, away from damp areas. Refrain from routing tubing beneath heavy planters or furniture, where compression could occur. Verify rooftop weight capacities prior to introducing substantial water storage units.
Troubleshooting
Routine diagnostics resolve most irrigation challenges efficiently.
Uneven watering:
Inspect emitters and filters for clogs; submerge affected emitters in vinegar for one hour to dissolve mineral deposits. Ensure steady pressure, typically regulated to 25 psi for rooftop faucets.
Timer failure to activate:
Substitute batteries or inspect power sources. Verify schedule activation through the app or controller display.
Excessive pooling or runoff:
Decrease run durations or employ lower-flow emitters. Apply mulch surrounding plants to moderate evaporation rates.
Persistent plant wilting:
Assess soil moisture manually or with a meter; if surface layers dry while deeper zones remain saturated, reduce watering frequency. Evaluate wind impacts that may desiccate foliage rapidly, and install shade cloths or barriers if appropriate.
Maintenance
Regular inspections extend the lifespan of smart watering components. Conduct monthly reviews of tubing, emitters, and filters, replacing worn elements promptly. At the onset of each season, flush lines by detaching end caps and circulating clean water.
Rinse filters under flowing water and reseat them securely. Clear debris from emitter vicinities. Renew or replace controller batteries at least once per season.
For Wi-Fi-integrated systems, apply app and firmware updates as notified to sustain precise scheduling and avert operational glitches.
Storage
During seasonal pauses, evacuate all water from lines completely. Detach and relocate controllers indoors. Coil tubing without tight bends and store in a shaded, dry location. Tag coils by zone or planter for simplified future assembly.
Protect tubing from prolonged sunlight exposure to prevent deformation. Avoid creasing or tangling lines, which compromise fitting integrity.
Budget and Time
Smart watering accommodates diverse financial plans.
Basic setup:
- Materials cost: approximately 100 to 200 dollars
- Installation duration: 2 to 4 hours for a single individual
Expanded system with sensors:
- Materials cost: 300 to 800 dollars, varying by brand and scale
- Installation duration: half a day to one full day
Ongoing maintenance expenses remain modest, generally under 30 dollars annually for filters and spares. Drip irrigation typically reduces water usage by 30 to 50 percent compared to hose-based manual watering, yielding utility savings.
Seasonal Reminders
Rooftop environments experience pronounced seasonal variations; tailored adjustments preserve plant health throughout the year.
Warm weather:
Extend early morning irrigation to counteract elevated temperatures. Shield sensors from intense sunlight for reliable measurements. Examine tubing weekly for ultraviolet degradation.
Cool weather:
Curtail run times and lessen frequency. Eliminate pooled water to inhibit algal growth.
Pre-frost preparations:
Drain the system thoroughly. Relocate controllers indoors. Pack emitters and hoses into labeled containers for off-season storage.
When to Call a Pro
Engage a licensed plumber or irrigation expert for:
- Absence of rooftop water access
- Intricate multi-zone configurations involving wiring
- Suspected leaks in structural plumbing
- Extensive systems necessitating load or drainage assessments
Consult professionals on weight tolerances, pressure specifications, and suitable brands for elevated installations. Initial advice often averts expensive errors.
Key Takeaways
Smart watering establishes a responsive framework for rooftop gardens, conserving resources and simplifying care. Basic elements like tubing, timers, and sensors deliver reliable moisture control and enhanced plant performance.
Getting Started with Installation
Initiate the process with these foundational actions:
- Verify water access. Confirm functionality of the rooftop faucet or hose connection.
- Map the design. Outline tubing routes and emitter positions.
- Acquire essentials. Select an entry-level drip kit with expandable timer features.


