Understanding Balcony Echoes and Acoustic Solutions
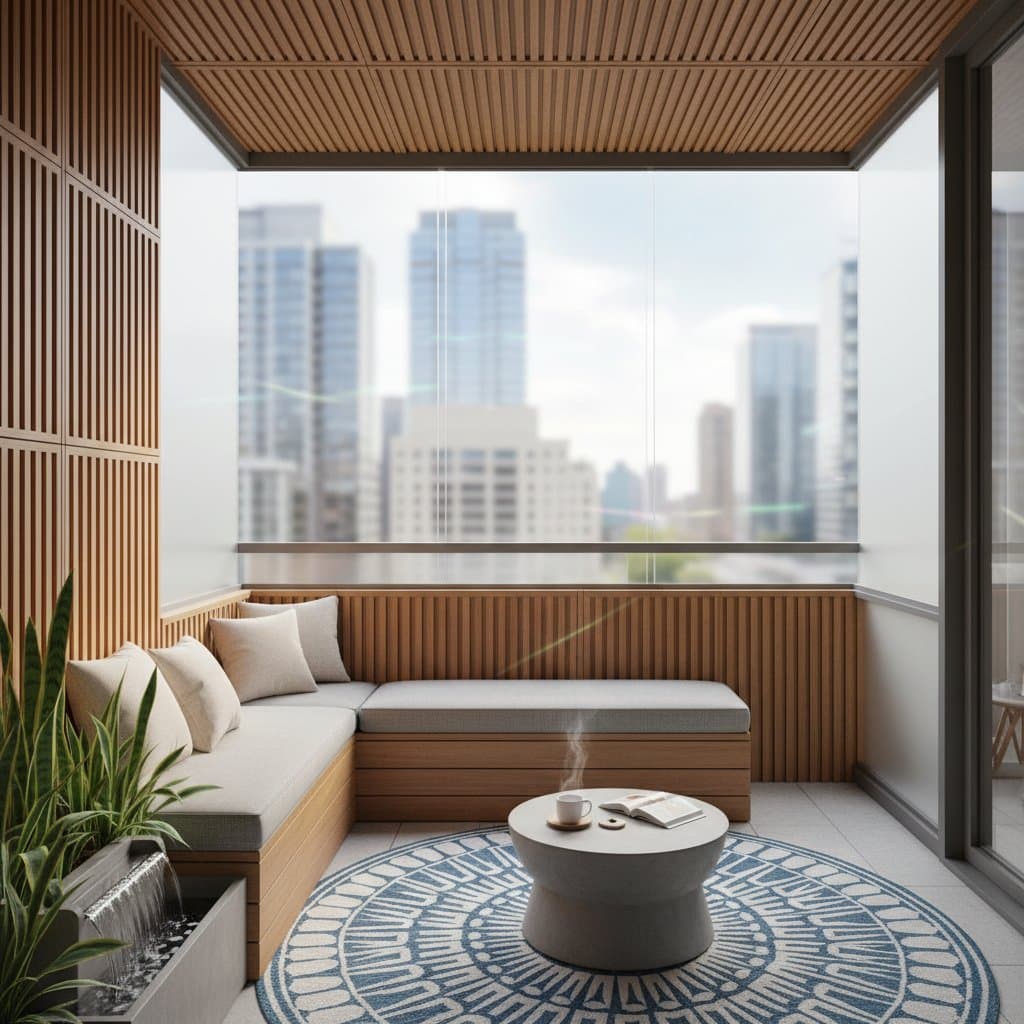
Balconies offer a vital connection to the outdoors in dense urban environments, yet they often amplify noise rather than mute it. Hard surfaces like concrete walls, metal railings, and glass doors reflect sound waves, creating echoes that intensify traffic roars, neighbor conversations, and distant sirens. Acoustic panels address this by absorbing sound energy, preventing reflections, and fostering a calmer atmosphere that enhances relaxation without isolating the space from fresh air.
These panels function through porous materials that trap sound vibrations, converting them into minimal heat. For outdoor balconies, select panels engineered for exposure to sun, rain, and wind. This approach not only diminishes echo but also improves privacy, making the area suitable for reading, dining, or quiet reflection amid city bustle.
Selecting the Right Acoustic Panels for Outdoors
Choose panels specifically designed for exterior applications to ensure longevity and performance. Mineral wool cores encased in UV-resistant, water-repellent fabric provide excellent sound absorption while resisting mold and fading. Perforated metal or composite boards offer durability in high-wind areas, absorbing frequencies from 500 to 4000 Hz, which cover most urban noises.
Consider panel thickness: 2-inch options suit mild echo issues, while 4-inch panels handle severe reflections. Coverage matters too; aim for 20 to 40 percent of reflective surfaces to achieve noticeable reduction without overwhelming the design. Integrate panels with balcony aesthetics by selecting neutral colors or custom fabrics that complement furniture and plants.
Essential Tools and Materials
Gather these items before starting to streamline the process:
- Exterior-rated acoustic panels, such as those with fiberglass-free mineral wool and protective mesh coverings
- Measuring tape, extending to at least 10 feet for accurate balcony dimensions
- Power drill equipped with masonry bits for brick or concrete attachments
- Stainless steel screws or weatherproof clips to secure panels firmly
- Silicone-based sealant for sealing edges against moisture ingress
- Safety gear including gloves, goggles, and a dust mask
For railing installations, add heavy-duty zip ties or adjustable brackets. A laser level ensures precise alignment, preventing uneven sound absorption.
Prioritizing Safety During Installation
Safety forms the foundation of any balcony project. Panels typically weigh 5 to 10 pounds each, so distribute weight evenly to avoid stressing railings. Anchor into structural elements like wall studs or floor joists rather than relying solely on surface mounts.
Protect yourself by wearing gloves to handle fibrous materials and goggles during drilling. Maintain a clear distance from electrical wiring; use a stud finder with voltage detection to identify hazards. In windy locations, incorporate panels with drainage holes or spaced mounting to minimize uplift forces and reduce accident risks.
Installation Steps for Effective Results
Follow these structured steps to install panels efficiently.
-
Measure and plan placement. Identify echo hotspots by clapping hands and observing reflections. Mark areas on walls or railings, ensuring panels cover at least one-third of the surface.
-
Prepare the surface. Clean walls with mild soap to remove dirt, then dry thoroughly. Apply primer if attaching to painted concrete for better adhesion.
-
Mount the panels. Drill pilot holes at marked spots, insert anchors, and secure with screws or clips. For railings, wrap panels in mesh and fasten with ties, spacing them 1 to 2 inches apart for airflow.
-
Seal and test. Apply sealant around edges to block water. Clap again after 24 hours to verify reduced echo; adjust as necessary.
This process typically takes two to three hours for a standard 10 by 8-foot balcony.
Managing Budget and Timeline
A basic setup for a small balcony requires four panels at a cost of $120 to $180, including hardware. Larger areas or premium weatherproofing push expenses to $400. Factor in tools if not owned, adding $50 to $100 initially.
Time investment remains modest: preparation takes 30 minutes, installation one to two hours, and testing another 15 minutes. To economize, source panels from surplus suppliers or repurpose indoor ones with added outdoor coatings. Invest in quality mounts to avoid future repairs, as subpar hardware leads to detachment in storms.
Ongoing Maintenance Practices
Regular care extends panel life and sustains sound control. Every two to four weeks, wipe panels with a soft, damp cloth to remove surface grime. Steer clear of abrasive cleaners that degrade fabric integrity.
Quarterly inspections involve checking for rust on fasteners and resealing joints. If pollen accumulates, gently brush it off or rinse with low-pressure water, ensuring complete drying to prevent mildew. Annual deep cleans include tightening all connections and replacing any damaged sections.
Outdoor panels endure five to seven years under normal conditions. Fabric covers can be swapped independently, costing 30 percent less than full replacements. Stock extra sealant and screws for quick fixes.
Storage Strategies for Seasonal Protection
In regions with harsh winters, dismantle lightweight panels to shield them from ice and gales. Disassemble by removing screws carefully, then stack flat with padding between layers to prevent surface scratches.
Store in a cool, dry indoor space like a garage or closet, using labeled bins for easy retrieval. For portable options, acoustic privacy screens fold compactly and fit behind furniture or in overhead storage. Reinstall in spring after inspecting for wear, applying fresh sealant as needed.
Knowing When Professional Help Is Essential
Opt for professional installation if your balcony features irregular architecture, such as curved railings or high elevations above 10 stories, where wind loads demand engineering assessments. Similarly, seek experts for electrical proximity concerns or if structural modifications exceed basic drilling.
Professionals bring specialized tools like scaffolding for access and ensure compliance with building codes. Costs range from $200 to $500, but they guarantee safety and optimal performance, particularly in condominiums with shared walls.
Achieving Lasting Balcony Serenity
Implement these sound tests, surface treatments, and seasonal adjustments to maintain a balanced outdoor environment. The result is a balcony that not only quiets urban intrusions but also elevates daily living with renewed peace and usability.