AI-Powered Cameras: Preventing Deck Garden Issues Before They Start
A deck garden offers a serene spot to begin or conclude the day, but maintaining plant health amid fluctuating light, temperature, and humidity presents challenges. Busy urban dwellers often overlook early indicators of stress, pests, or drought during travel or extended workdays. AI-powered cameras provide constant surveillance of plants, enabling proactive measures to avert minor problems from escalating into significant setbacks.
The objective remains straightforward: leverage intelligent monitoring to sustain a flourishing deck garden with reduced uncertainty and increased assurance. This guide details the functionality of these cameras, selection criteria, installation procedures, and ongoing maintenance practices.
Overview
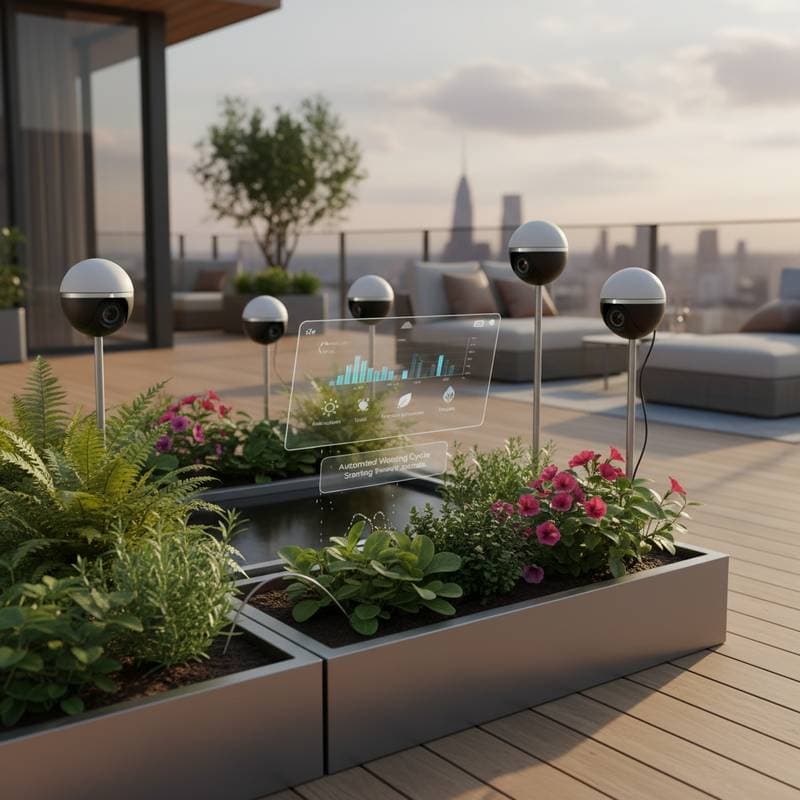
An AI-powered garden camera integrates a durable outdoor camera with embedded sensors and machine learning algorithms. The device observes plants continuously, measures soil moisture and light exposure, and issues notifications upon detecting anomalies. Advanced models interface with irrigation systems or smart outlets to automate environmental adjustments.
These cameras prove essential by facilitating swift responses. Users identify wilting foliage, fungal growth, or pest activity prior to widespread harm. For urban gardeners constrained by time and area, an AI camera distinguishes a faltering deck garden from one that thrives throughout the season.
Primary Advantages
- Real-time monitoring of plant vitality to support steady development
- Instant notifications regarding irrigation needs, pest incursions, and illumination variations
- Archived visual records that reveal optimal environmental conditions for specific plants
- Remote viewing via mobile application for enhanced tranquility
Required Tools and Materials
Assemble the following essentials prior to installation:
- One AI-powered outdoor camera with at least IP65 weatherproof rating
- Wi-Fi router positioned no farther than 20 feet (6 meters) from the garden area
- Mounting hardware, including brackets, screws, or adhesive mounts
- Extension cord or solar panel, selected based on the power configuration
- Smartphone or tablet equipped with the manufacturer's application
For cameras integrated with irrigation components, acquire compatible hoses, fittings, and valves suited to the existing watering setup.
Installation Steps
Step 1: Select Optimal Placement
Choose a location that captures the entire deck or a targeted cluster of plants. Position the camera at eye level or marginally higher, approximately 4 to 6 feet (1.2 to 1.8 meters) above the surface. Direct the lens away from intense sunlight to minimize glare and erroneous sensor data.
Step 2: Mount and Energize the Device
Secure the bracket to a sturdy element, such as a railing or wall anchor. Route any extension cord beneath a protective overhang or within conduit to shield it from moisture. For solar-powered units, orient the panel to receive a minimum of 4 hours of direct sunlight daily.
Step 3: Establish Wi-Fi and Application Connectivity
Adhere to the application's directives to pair the camera with the home network. Verify the live video stream to assess connection reliability. In cases of intermittent signal, relocate the router or incorporate a Wi-Fi extender.
Step 4: Configure Sensor Parameters
Access the application to input plant species, desired moisture thresholds, and illumination requirements. Initial AI algorithms adapt to uploaded images over several days. Refine settings subsequently according to observed plant behaviors.
Step 5: Interpret Notifications and Respond
Upon receiving alerts for diminished soil moisture or discolored foliage, inspect the site directly. Employ a basic soil moisture meter for verification if necessary. Address concerns promptly, ensuring actions like watering or treatment align with confirmed diagnoses.
Step 6: Conduct Periodic Reviews
Dedicate a few minutes weekly to examine time-lapse footage or health analytics. These insights enable adjustments to irrigation schedules and shading arrangements over time.
Essential Safety Precautions
- Maintain dryness for all cords and outlets, particularly in proximity to irrigation lines.
- Employ exclusively outdoor-rated power adapters and extension cables.
- Avoid affixing cameras to precarious railings or adjacent to ignition sources such as grills.
Common Troubleshooting Solutions
Intermittent Connectivity
Should the video feed experience delays, the Wi-Fi signal may prove insufficient. Install a signal booster or integrate a mesh network component near the deck.
Inaccurate Notifications
Recurring alerts triggered by light reflections or foliage movement indicate suboptimal positioning. Adjust the angle or prune obstructing branches.
Inconsistent Moisture Measurements
Discrepant soil readings warrant recalibration following precipitation events. Certain sensors require a complete drying period to establish accurate baselines.
Ongoing Maintenance Practices
Wipe the camera lens monthly using a soft cloth dampened with diluted mild soap solution. Inspect mounting screws and weather seals after intense rainfall. For non-solar models, recharge or substitute batteries as indicated.
In systems linked to irrigation, purge hoses annually to eliminate debris accumulation. Apply firmware updates via the application to sustain precise AI detection capabilities.
Off-Season Storage
When dismantling the camera for winter, dry all components thoroughly and place them in an airtight container indoors. Wind cords without tension and tag them for straightforward spring reassembly. Shield the solar panel from accumulation of dirt and debris.
Cost and Time Estimates
Basic AI-powered garden cameras range from $80 to $250, varying with included functionalities. Initial setup typically requires about one hour. Irrigation enhancements may incur additional expenses of $40 to $100 for valves and piping.
Seasonal Maintenance Schedule
- Spring: Reattach the camera and perform diagnostic tests one week before sowing seeds.
- Summer: Monitor notifications daily amid prolonged heat to mitigate plant strain.
- Fall: Utilize imaging to observe maturation stages and schedule harvests accordingly.
- Winter: Relocate units indoors or apply protective enclosures against elements.
Professional Assistance Indicators
Engage a certified electrician for installations involving ungrounded outlets or interior wall penetrations. Persistent internal condensation despite cleaning may necessitate professional resealing or housing replacement.
Essential Insights
AI-powered cameras function as reliable allies in garden management, conserving time while alleviating anxiety. They illuminate plant requirements, facilitate early interventions, and foster a vibrant, durable deck environment.
Implementing Monitoring Strategies
- Identify a primary plant area for initial surveillance and select a compatible camera.
- Complete installation and validation within the coming week to familiarize with notification protocols.
- Analyze accumulated data to optimize hydration routines and light management.