Introduction
Balcony gardens bring urban living closer to nature, but travel disrupts routine care. A micro-drip irrigation system provides automatic watering, delivering precise amounts to roots and minimizing evaporation. This approach suits small spaces and varied plant needs, ensuring lush growth upon your return.
Such systems mimic natural rainfall, targeting soil directly. They reduce overwatering risks and conserve resources. With proper installation, your plants receive consistent moisture, even during extended absences.
Planning Your System
Assess your balcony's layout first. Note the number of pots, their sizes, and positions relative to the water source. Identify plants with high water demands, such as ferns or tomatoes, versus drought-tolerant ones like succulents.
Calculate total length needed for tubing. Measure distances from the faucet to each planter, adding extra for bends and connections. Factor in elevation changes, as gravity affects flow in multi-level setups.
Select components based on your setup. Choose a kit with adjustable drippers for customized flow rates, typically 0.5 to 2 gallons per hour per plant. Ensure compatibility with your water pressure, which most urban faucets provide at 40 to 60 PSI.
Essential Tools and Materials
Gather these items before starting:
- Micro-drip tubing, 1/4-inch diameter, in sufficient length.
- Pressure regulator to handle high building water flow.
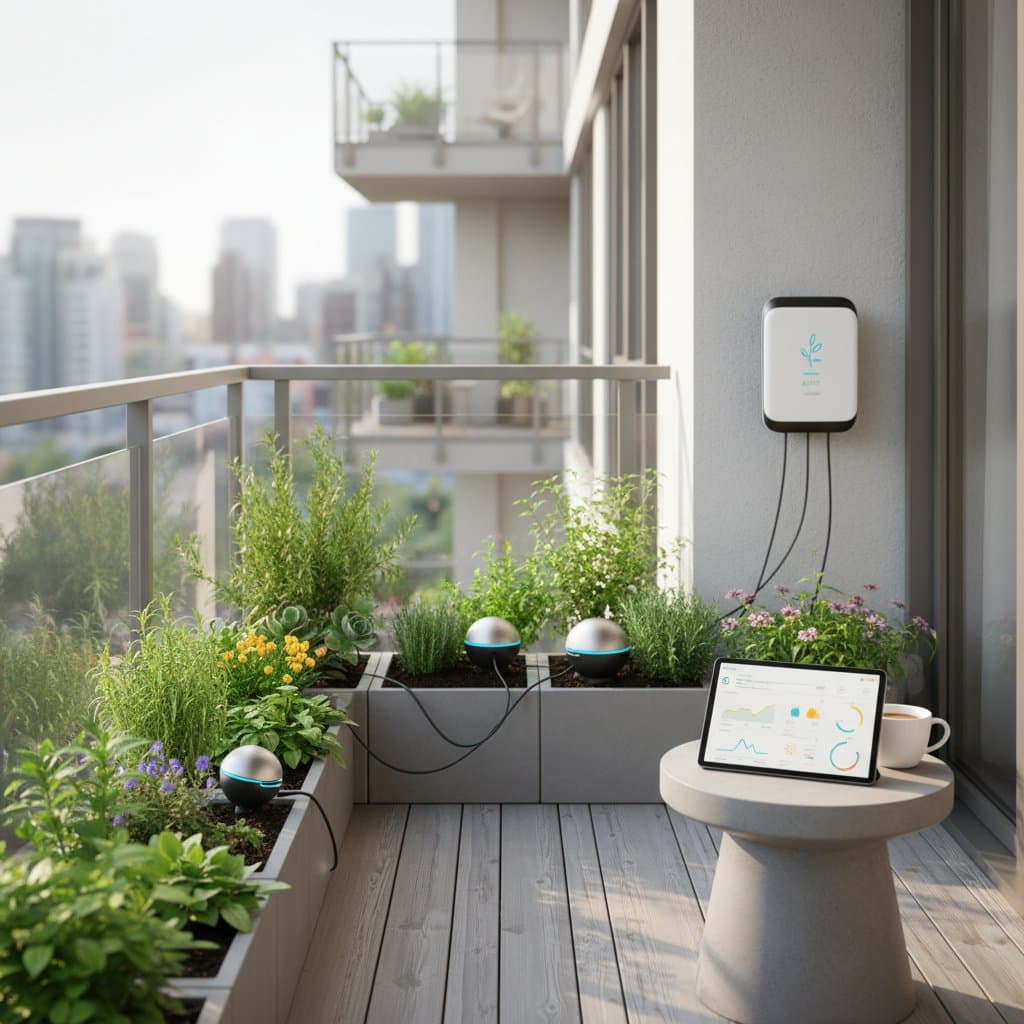
- Timer, either battery-operated or smart Wi-Fi model.
- Drippers or emitters, one per plant.
- Connectors, tees, and elbows for branching lines.
- Hole punch for tubing and scissors for clean cuts.
- Optional: Filter to prevent sediment clogs from tap water.
These tools form a basic kit available at garden stores. Budget options start simple, while advanced versions include app controls for monitoring.
Step-by-Step Setup
Connect the pressure regulator to your outdoor faucet. This device stabilizes flow and prevents tubing damage from bursts. Attach the main line tubing next, securing it along the balcony rail with clips.
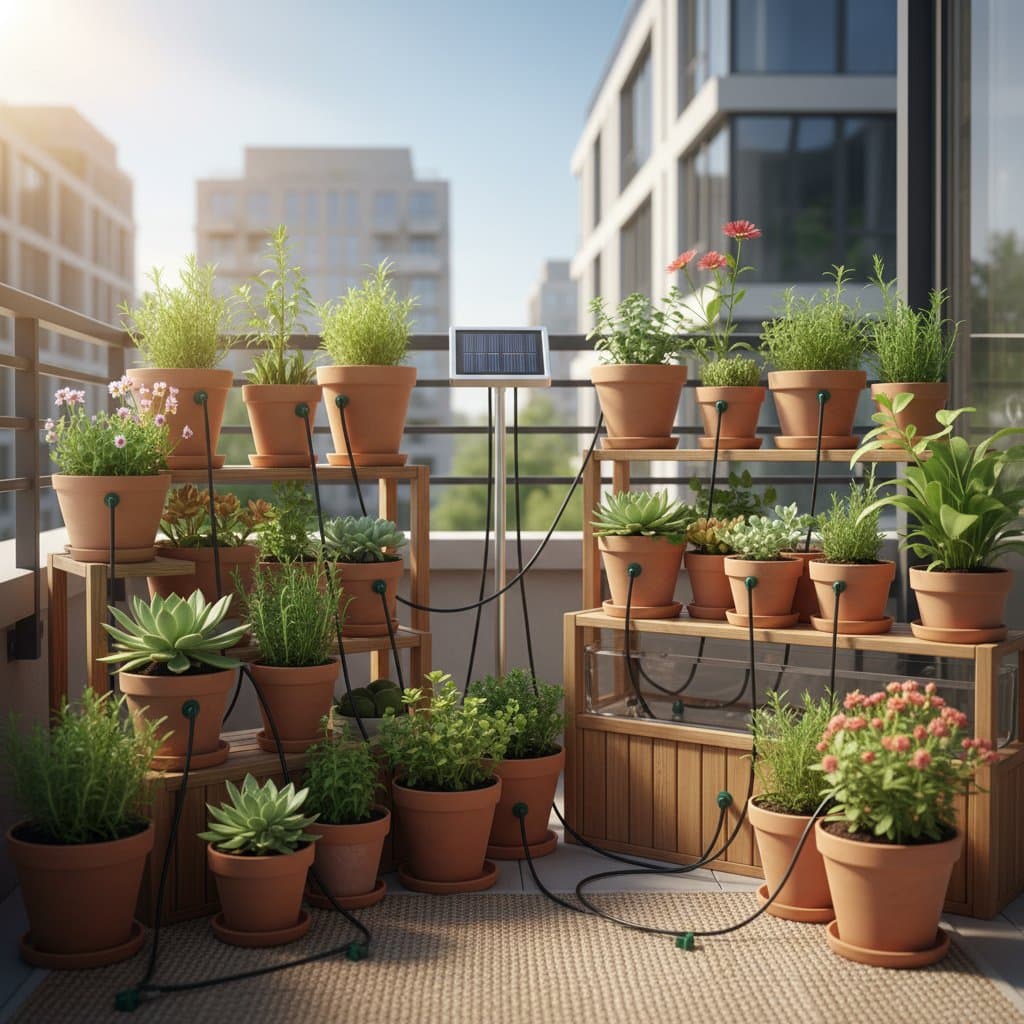
Punch holes in the tubing at each pot's base. Insert drippers into these holes, positioning them near plant roots. For multiple plants per pot, use multiple drippers spaced evenly.
Branch lines as needed with tee connectors. Run side lines to hanging baskets or shelves, using weights to keep tubing in place. Test the entire system by turning on the water briefly to check for even distribution.
Install the timer at the faucet. Set intervals based on plant needs, such as twice daily for 10 to 15 minutes in hot weather. For smart timers, pair with your phone app to adjust remotely before departure.
Safety Tips
Position electrical components away from potential rain exposure. Enclose smart controllers and plugs in weatherproof covers rated for outdoor use. This prevents short circuits during unexpected showers.
Secure all tubing to avoid hazards. Fasten lines along walls or beneath railings with ties or hooks. Such measures reduce tripping risks on narrow balcony spaces.
Evaluate load capacity before adding water weight. Saturated soil increases pot mass significantly; confirm your flooring supports this combined load, especially on older structures.
Source water free of excess minerals. If tap water contains high levels, incorporate a monthly flush to avoid emitter buildup and maintain system efficiency.
Maintenance Practices
Routine care keeps the system performing reliably. Perform monthly flushes by running clean water through lines for five minutes to remove sediment.
Inspect seasonally for wear. Replace tubing exposed to direct sunlight, as UV rays degrade plastic over months. Store spares in a dry area for quick access.
Upon returning from travel, evaluate soil conditions. Probe a few pots to gauge moisture; increase drip rates if dryness persists or reduce if sogginess appears.
Prepare for winter by draining lines if temperatures drop below freezing. Disconnect components, coil tubing loosely, and store indoors to extend lifespan.
Troubleshooting Common Issues
Address drippers that fail to flow promptly. Clogs often cause this; remove the emitter, soak in a vinegar solution for 15 minutes, then rinse thoroughly. Replace if cleaning does not restore function, and maintain a stock of spares.
Correct uneven watering distribution. Long lines or excessive bends reduce pressure; shorten segments or install an additional main line to even out delivery.
Fix leaks at connection points. Ensure tubing ends are cut squarely before reattaching. Apply plumber's tape to joints if seepage continues, or substitute the fitting entirely.
Diagnose timer malfunctions systematically. Verify battery charge or power supply first, then review programmed settings. For wireless models, confirm stable Wi-Fi or Bluetooth links prior to leaving.
Budget and Time Considerations
A basic setup with a manual timer requires about 50 dollars and two hours of effort. Upgrading to a Wi-Fi controller adds 40 to 70 dollars, enabling remote adjustments via smartphone.
Individual replacement parts remain affordable. Drippers cost under one dollar each, making repairs straightforward.
Invest in a pressure regulator regardless of cost, at around 10 dollars. This essential prevents line ruptures from strong municipal water, avoiding larger expenses down the line.
Efficient Storage Solutions
Maximize limited balcony space by coiling surplus tubing behind planters or in discreet bins. Label each line with tags indicating the served plant for easier identification during adjustments.
Organize spares in a compact plastic container. Include extra drippers, connectors, and tubing segments to facilitate immediate fixes without delay.
For tiered or rail-mounted planters, route a primary line along the upper edge. Extend short vertical lines downward; gravity assists in balancing water flow across levels.
Professional Assistance Options
DIY suits most balcony configurations, yet certain scenarios warrant expert help. Seek a plumber or irrigation specialist for indoor water sources requiring wall penetrations.
Professionals also integrate systems with building-wide irrigation. They handle high-flow needs for oversized planters that exceed standard kits.
During a visit, request pressure testing and flushing demonstrations. Fees typically range from 100 to 200 dollars for minor installations or tweaks.
Preparing for Departure
Inspect your balcony setup now. Observe drainage patterns and drying spots to prioritize thirstier plants. Acquire a kit scaled to your pot count.
Run a full test one week prior to travel. Monitor soil response over several cycles, tweaking timer durations and drip rates accordingly. Document adjustments in a notebook for reference.
Finalize by freshening timer batteries, anchoring all hoses, and clearing nearby drains. Record a brief video of the operating system as a verification tool.
Enjoying the Benefits
Return to a vibrant balcony where soil retains ideal moisture and leaves stay firm. This setup delivers tranquility, freeing you to travel without concern.
Refine the system progressively. Incorporate soil sensors for precise monitoring, enhance timers for automation, or extend to additional containers. Each enhancement fosters reliability, allowing your garden to flourish independently.


