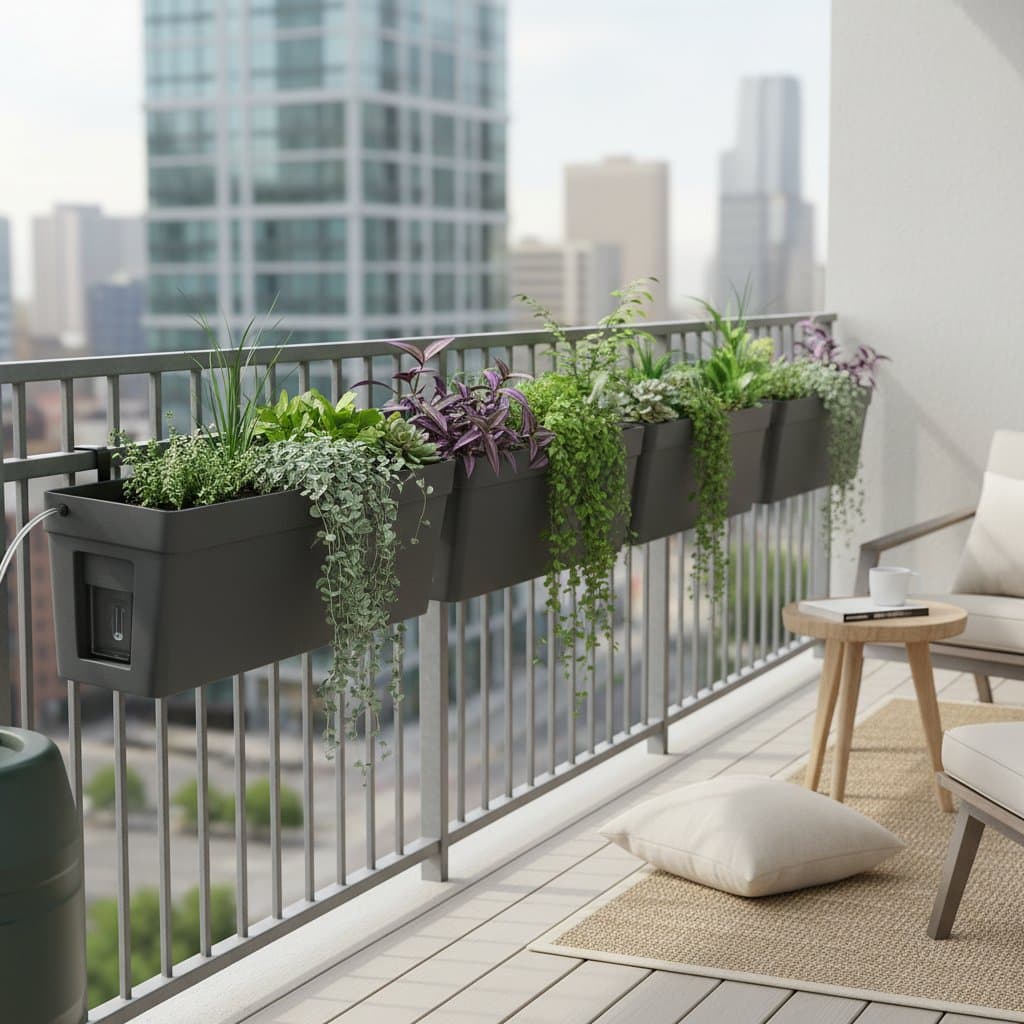
Travel Without Worry: Micro-Drip Irrigation Sustains Balcony Gardens
Homeowners often face the challenge of maintaining balcony plants during absences. A micro-drip irrigation system provides a reliable solution by delivering consistent moisture to roots. This guide explains the system's components, installation process, and ongoing care to ensure plants remain healthy.
Understanding Micro-Drip Irrigation
Micro-drip irrigation functions as a low-pressure system that supplies water in small, targeted amounts directly to plant roots. It employs narrow tubing, emitters, and fittings to facilitate drop-by-drop delivery. This method promotes uniform hydration, minimizes soil erosion, and conserves water resources.
For urban balcony gardeners, the system offers precise control over watering schedules and volumes. Connect it to a timer or gravity reservoir for automation. Users report reductions in water usage by as much as 50 percent compared to manual methods, while preventing plant stress from irregular watering.
Essential Tools and Materials
Assemble the following items for a standard balcony installation:
- One primary supply line of 25 feet (7.6 meters) using 1/4-inch tubing
- Emitters with flow rates of 0.5 to 2 gallons per hour (1.9 to 7.6 liters per hour), selected based on plant dimensions
- Connectors, elbows, and tees for directing tubing around obstacles
- End plugs to seal the tubing terminus
- A battery-operated or solar timer, or manual valve, for scheduling
- Adapter for connecting to a faucet or reservoir
- Stakes or clips to secure tubing against railings or surfaces
- Utility scissors for precise tubing cuts
Verify compatibility among components to ensure even distribution. For gravity-fed options, select a reservoir with a minimum capacity of 5 gallons (19 liters) to support a modest collection of pots.
Installation Process
Planning the Layout
Begin by diagramming the balcony's configuration and noting pot positions. Calculate distances from the water source to the most remote plant, incorporating allowances for curves and obstacles. This preparation optimizes tubing lengths and reduces material waste.
Assembling the Tubing
Section the main tubing to span from the source to individual pots. Insert connectors securely into cut ends to form branches. Route lines along safe paths, using clips to fasten them and eliminate hazards.
Positioning Emitters
Assign one emitter to small pots and multiple units to larger containers exceeding 12 inches (30.5 centimeters) in diameter. Position emitters 1 inch (2.5 centimeters) from plant stems at soil level to target roots effectively. Avoid foliage contact to prevent disease.
Sealing and Initial Testing
Cap the tubing endpoint with a plug. Activate the water supply gradually and observe for consistent drips from each emitter. Inspect joints for leaks and reinforce as necessary to achieve a secure setup.
Integrating a Timer
Affix a timer to the water inlet. Program it for one or two daily sessions of 10 to 20 minutes, adjusted for plant species and environmental conditions. Conduct a complete run to verify adequate soil penetration.
Safety Considerations
Limit inlet pressure to 50 psi with a reducer if connecting to household lines. Position electrical components away from moisture. Secure reservoirs on level surfaces to avoid spills. Perform leak inspections prior to extended departures.
Common Issues and Solutions
For uneven distribution, examine emitters for clogs and clean them by soaking in vinegar for 30 minutes. Address reduced flow by unkinking tubing and flushing lines. Remedy overly dry soil by extending duration or adding emitters. Seal leaks by trimming tubing squarely and reconnecting firmly.
Group plants with similar hydration requirements to enhance efficiency. Drought-tolerant species like succulents require shorter intervals than thirstier varieties such as herbs.
Routine Maintenance
Flush the system biweekly by removing the end plug and running water for one minute to expel debris. Clean or replace emitters showing diminished output. Store spare parts in airtight containers to shield from contaminants and sunlight degradation.
During winter, drain and indoor-store tubing to prevent freeze damage. Inspect all elements upon spring reactivation.
Storage Practices
House unused tubing, emitters, and connectors in a sealed, dry container, organized by size. Shield plastics from ultraviolet exposure to prolong durability. Remove batteries from timers to avert corrosion.
For reservoirs, wash with mild detergent, rinse thoroughly, and air-dry to inhibit microbial growth.
Cost and Effort Overview
Expect to invest 25 to 45 dollars for a setup serving 10 to 12 pots, varying by components. Novices complete assembly in one to two hours. Weekly checks demand only minutes, with long-term savings on water and replacements recouping expenses quickly.
Adapting to Seasons
Monitor weekly in summer, as elevated temperatures accelerate drying; extend cycles if needed. Decrease frequency during cool or wet weather to avoid over-saturation.
Prior to trips, test comprehensively two days in advance, verifying timers and filling reserves.
Professional Assistance
Consult a licensed plumber for intricate setups involving building plumbing. Experts install safeguards like backflow preventers and regulators, typically for 50 to 100 dollars, ensuring compliance and performance.
Essential Benefits
Micro-drip irrigation supplies efficient, root-level hydration with minimal waste. It safeguards plants during absences and routines. Basic assembly yields reliable automation. Consistent upkeep sustains optimal function. Overall, it streamlines care, lowers costs, and supports vibrant balcony ecosystems.
Implementing Your System
- Survey the space and catalog plants.
- Acquire a kit and timer.
- Install and trial before travel.
With this setup, balcony greenery flourishes independently, allowing focus on journeys ahead.


