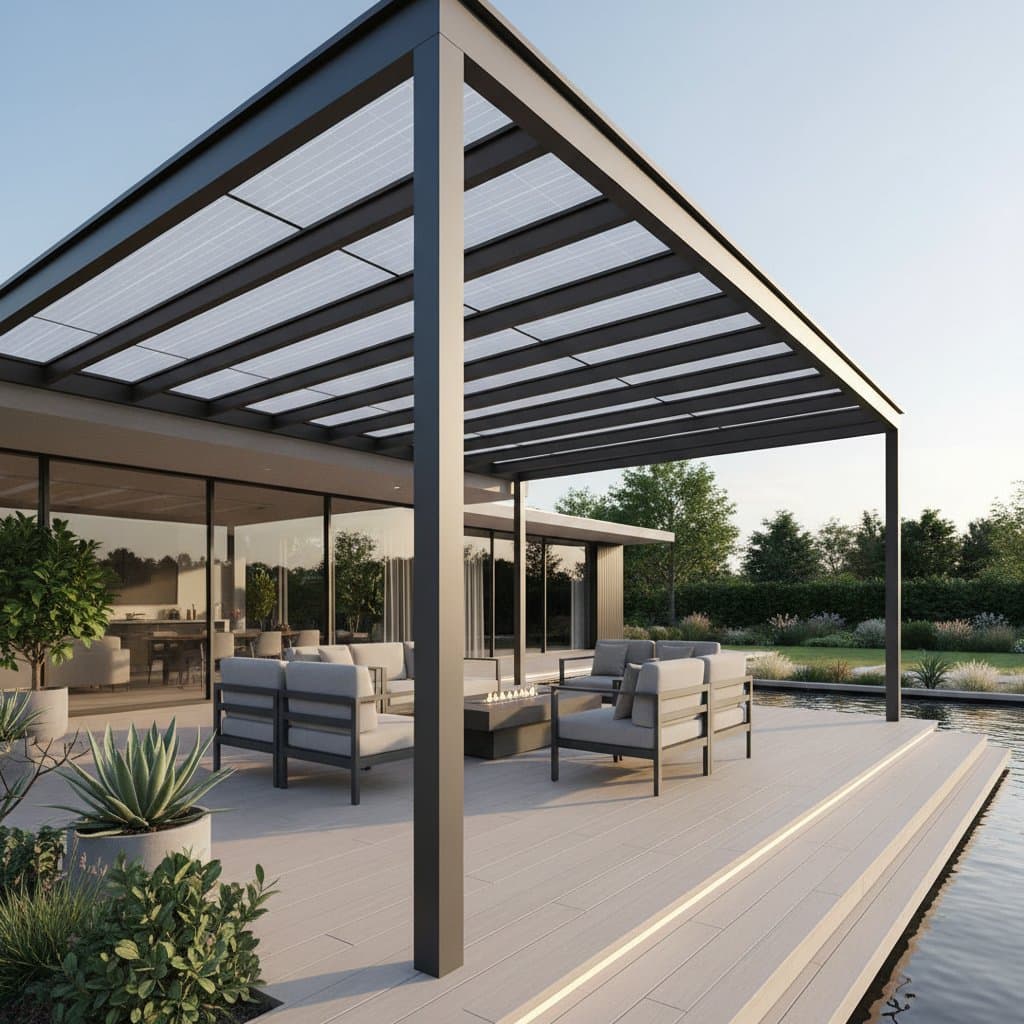
Step 3: Install the Panels
Position the solar panels atop the beams at a gentle angle of 5 to 10 degrees. This tilt promotes water drainage and maximizes sunlight exposure. Fasten the panels using corrosion-resistant stainless steel hardware. Follow the manufacturer's instructions precisely when connecting the wiring.
Step 4: Connect the Electrical System
Route protective conduit from the panels to the inverter location. Secure the inverter in a shaded area, such as a wall or utility space. Clearly label every circuit for safety and future reference. Integrate the system with your main electrical panel or battery storage unit, engaging a licensed electrician to comply with local building codes.
Step 5: Test and Seal the Installation
Activate the system only under professional supervision. Monitor the inverter display to verify correct voltage and current levels. Apply high-quality, exterior-grade sealant to all joints, ensuring protection against moisture infiltration.
Safety Considerations
- Wear protective gloves and safety glasses during any cutting or fastening of metal components.
- Refrain from handling energized wires; disconnect power sources prior to any testing or adjustments.
- Position ladders on stable, level surfaces and secure them if working near roof edges.
- Confirm the roof's load-bearing capacity with a structural engineer or contractor to prevent overloading.
Common Troubleshooting Issues
Reduced Power Generation: Inspect for shading caused by adjacent structures or accumulated debris on the panels. Clean the surfaces using water and a soft-bristled brush, applying gentle pressure to avoid damage.
Water Accumulation on the Roof: Modify the pergola's angle or install minor drainage spacers to enhance water flow and prevent pooling.
Inverter Noise: Vibrations may arise from loose connections or foreign objects. Tighten all mounting bolts and maintain cleanliness in the surrounding area.
Inconsistent Shade Distribution: Incorporate lightweight fabric or adjustable slats below the panels to achieve uniform light diffusion.
Cost Estimates and Timeline
A compact setup with four panels typically ranges from $4,000 to $6,000, whereas expansive systems can cost $10,000 to $15,000, influenced by material choices and labor requirements. A do-it-yourself project might require one weekend for the structural framework and an additional day for electrical integration. Factor in time for permits, inspections, and grid connection approvals if applicable.
Opt for a wooden frame to reduce expenses compared to steel, yet prioritize premium solar panels and weatherproof wiring to ensure longevity and performance.
Ongoing Maintenance Practices
Perform panel cleaning biannually using mild soap and water solutions. Steer clear of abrasive materials that could scratch the protective glass coating. Every six months, examine bolt tightness, sealant integrity, and wiring condition. Promptly replace any frayed cables or compromised mounting hardware.
Conduct regular checks for signs of rust or wood deterioration. Apply fresh paint or sealant to wooden elements every few years as needed. Trim nearby vegetation to prevent leaf buildup that could trap moisture around electrical components.
Seasonal Maintenance Guidelines
Spring Preparation: Remove accumulated pollen and dust from panels. Utilize a basic energy monitor to assess output and verify system efficiency.
Summer Monitoring: Observe for excessive heat retention. The shaded area beneath the pergola should maintain temperatures 10 to 15 degrees Fahrenheit cooler than exposed roof sections.
Fall Upkeep: Clear fallen leaves to avoid obstruction along panel edges. Inspect and reinforce all fasteners following periods of high winds.
Winter Care: Gently sweep away snow using a soft broom. Avoid using metal implements that risk panel damage. Ensure drainage channels remain unobstructed to mitigate ice formation.
Optimizing Storage Under the Pergola
Maximize the utility of the shaded space by storing foldable chairs, potted plants, or durable storage bins. Install hooks for securing garden tools or electrical cords. Consider a compact bench featuring integrated storage compartments to promote organization.
For systems with battery storage, position the units in a well-ventilated spot beneath the pergola. Maintain a minimum clearance of 6 inches (15 centimeters) around each battery to facilitate proper airflow.
Indicators for Professional Assistance
Engage a specialist for projects involving roof structural modifications, sensitive roofing materials, or integration with a building's shared electrical grid. Select installers certified in solar energy systems. Require detailed documentation, including panel specifications, inverter warranties, and structural load assessments.
Should you experience light flickering or frequent circuit breaker trips post-installation, immediately deactivate the inverter and consult a qualified electrician.
Implementing Your Solar Pergola Project
A solar pergola redefines rooftop functionality by combining shaded relaxation areas with on-site power generation. This setup offsets electricity bills while enhancing outdoor comfort. Begin modestly and scale up to align with evolving energy objectives.
Develop a comprehensive plan detailing available roof space, average daily sunlight exposure, and anticipated energy demands. Select bifacial solar panels, which excel in reflective urban settings with intense light.
In a matter of days, transform an underutilized rooftop into a productive sanctuary. Prepare tools meticulously, verify each connection, and track energy production metrics over time. The result is a resilient, shaded rooftop that delivers sustained comfort and renewable energy benefits for years.


