Rooftop Railings That Harness Solar Energy Seamlessly
Rooftops serve purposes beyond supporting furniture and greenery. They can produce renewable electricity via integrated railings designed for safety. Solar railings incorporate transparent or tinted photovoltaic glass panels in place of conventional metal or glass barriers. These panels absorb sunlight, transform it into usable power, and maintain an aesthetic akin to traditional architectural elements. The result combines protection, partial shading, contemporary style, and tangible reductions in energy expenses, all without the need for cumbersome overhead installations.
This guide details the operation of solar railings, installation expectations, maintenance requirements, and decision-making factors for buildings or decks. It provides precise steps, expense estimates, and safety considerations to facilitate informed planning.
Overview
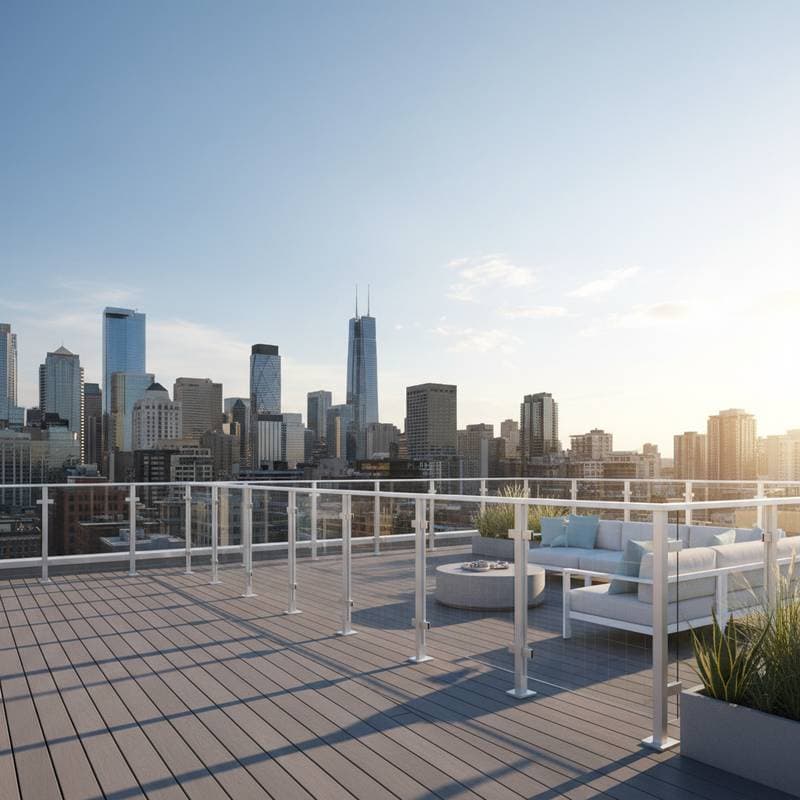
A solar railing functions as a guardrail or balcony barrier embedded with photovoltaic glass. Each panel features thin solar cells sandwiched between layers of tempered safety glass. Electrical wires link these cells to a compact inverter or the building's primary power system. Frames typically consist of aluminum, steel, or composite materials supporting the posts. A standard panel measures approximately 4 feet (1.2 meters) in width and 3 feet (0.9 meters) in height, yielding 30 to 80 watts based on sunlight exposure and cell efficiency.
Such railings prove most effective on rooftops, decks, or terraces exposed to at least 4 hours of direct sunlight daily. They fulfill roles as both protective barriers and compact energy producers. Generated power supports lighting systems, battery charging, or grid integration to lower utility bills.
Why It Matters
Urban rooftops frequently lack ample space for traditional solar arrays. Railings span extended sunlit and wind-exposed edges. Converting these areas into productive energy zones utilizes otherwise idle surfaces. Although output remains lower than that of full-scale panels, cumulative benefits accrue over time. A 60-foot railing installation might produce 450 to 900 watts on optimal days, sufficient for illuminating outdoor areas, operating security devices, or powering communal charging points.
Solar railings also mitigate glare and thermal buildup. Tinted or patterned glass regulates light transmission while preserving outward views. In multi-unit structures, they enhance safety alongside environmental credentials, potentially increasing property appeal.
Tools and Materials
For installing or upgrading to solar railings, assemble the following essentials prior to commencement:
- Photovoltaic glass panels equipped with built-in connectors
- Corrosion-resistant mounting posts and top rails
- Outdoor-rated inverter and wiring kit
- Conduit piping and junction boxes for protected cabling
- Basic hand tools including a drill, torque wrench, and spirit level
- Safety equipment such as gloves and protective eyewear
- Weather-resistant sealant and gaskets for joint sealing
Professionals often employ specialized hoisting equipment and electrical testers. For smaller-scale homeowner projects, adherence to safety regulations and structural load assessments remains essential.
Steps
1. Evaluate the Site
Examine the roof or deck edges thoroughly. Verify that the foundation withstands the panels' weight, up to 25 pounds (11 kilograms) per square foot. Identify potential shading from nearby structures or equipment.
2. Plan the Power Path
Determine the application for produced electricity, whether routing to the central panel, battery storage, or dedicated outdoor uses. Engage a licensed electrician to validate voltage matching and grounding protocols.
3. Prepare Mounting Points
Position posts at intervals of 4 to 5 feet. For concrete surfaces, bore holes using a masonry bit, then install expansion anchors. Ensure plumb alignment with a level and maintain uniform heights.
4. Mount the Panels
Hoist each photovoltaic glass panel with care and insert it between posts. Fasten upper and lower rails using manufacturer-supplied brackets or clamps. Apply even torque to bolts to avoid glass strain.
5. Connect the Wiring
Thread wires through rail interiors or base conduits. Engage waterproof connectors securely. Direct cables to the inverter and perform continuity tests. Investigate any anomalies by inspecting connections for tightness.
6. Seal and Finish
Caulk post foundations and junction box perimeters with transparent sealant. Confirm even gaps along glass edges. Remove residues using a soft cloth and gentle detergent, steering clear of abrasives that might mar the surface.
7. Test the Output
Under clear sunlight, gauge inverter voltage and current. Assess consistency across segments. Uniform readings indicate sound wiring and orientation.
Safety Tips
- Don protective gloves during glass handling, as even treated edges pose cut risks.
- Disconnect main power supply before wiring integrations.
- Employ grounded implements near the inverter.
- Schedule work for dry conditions to minimize slip and shock hazards.
- Ensure railing elevations comply with local codes, typically 42 inches for decks.
- Refrain from perforating panels for add-ons, which invalidates guarantees and risks fractures.
Troubleshooting
Low Power Output: Inspect for accumulated grime or obstructions. Rinse with water and a microfiber cloth, then remeasure voltage.
Uneven Production: Examine connectors for oxidation. Substitute any showing discoloration.
Loose Panels: Secure bolts using a torque wrench. Install replacement gaskets to curb vibrations.
Flickering Lights: Verify inverter configurations and battery status. Initiate a reset if necessary.
For ongoing electrical concerns, consult a certified specialist. Imbalances may signal wiring faults or water ingress.
Budget and Time
Solar railing systems typically cost 180 to 300 dollars per linear foot, influenced by glass specifications, frame options, and electrical intricacies. A 40-foot setup anticipates expenditures of 7,000 to 12,000 dollars. Project duration varies by elevation and accessibility; low-level decks require two to three days, whereas comprehensive rooftop perimeters demand up to a week.
Preliminary tasks like dismantling prior railings or surface preparation can trim labor fees. Prioritize professional electrical handling for compliance and security.
Maintenance
Properly installed solar railings demand little ongoing attention. Accumulated dust or pollutants diminish performance, necessitating bimonthly cleaning or post-storm rinses. Employ soft brushes, diluted soap, and ample water; eschew high-pressure methods that might compromise seals.
Conduct semiannual fastener reviews, tightening brackets and substituting worn gaskets. Scrutinize wiring housings for contaminants. Maintain adjacent drainage to avert water stagnation at bases.
For snow or ice, deploy a plastic scraper or gentle broom. Refrain from direct chipping on glass. Solar warming generally clears minor deposits promptly.
Seasonal Reminders
Spring: Assess winter impacts, cleanse panels, and validate electrical links.
Summer: Track efficiency amid heat, ensuring inverter ventilation suffices.
Fall: Remove seasonal debris and confirm sealant pliability ahead of freezes.
Winter: Minimize snow loads and review grounding post-thaw cycles.
A structured seasonal routine sustains peak operational levels annually.
Smart Storage Moves
Integrate solar railings into deck layouts by positioning shading elements strategically. Relocate high-profile planters or canopies from glass vicinities. Stash collapsible seating and containers beneath seating or interior partitions. Preserve 8 inches of frontal clearance for ventilation and unobstructed light.
Select pale-hued storage units to limit heat retention. Anchor them firmly against gusts. An uncluttered railing profile boosts energy yield and imparts an airy ambiance.
When to Call a Pro
Manage routine cleaning, adjustments, and checks independently. Summon experts for:
- Visible glass fissures or audible looseness.
- Sustained output declines exceeding 20 percent.
- Wiring expansions or modifications.
- Enclosed moisture in boxes.
Certified photovoltaic technicians diagnose circuits securely and swap components while upholding warranty terms. Documented professional interventions often prove mandatory for coverage continuity.
Key Takeaways
- Dual Purpose: Solar railings merge protection with power production.
- Space Efficient: They activate perimeter edges sans additional footprint.
- Low Maintenance: Periodic care preserves output.
- Cost Aware: Budget 180 to 300 dollars per foot based on selections.
- Safety First: Adhere to codes for elevation, capacity, and earthing.
These installations infuse structures with discreet, appealing renewables. In space-constrained cities, they advance toward energy autonomy.
Making It Happen
Initiate with a pilot segment, substituting a single railing portion with photovoltaic glass. Track generation via a basic meter over weeks. Positive outcomes justify full encirclement.