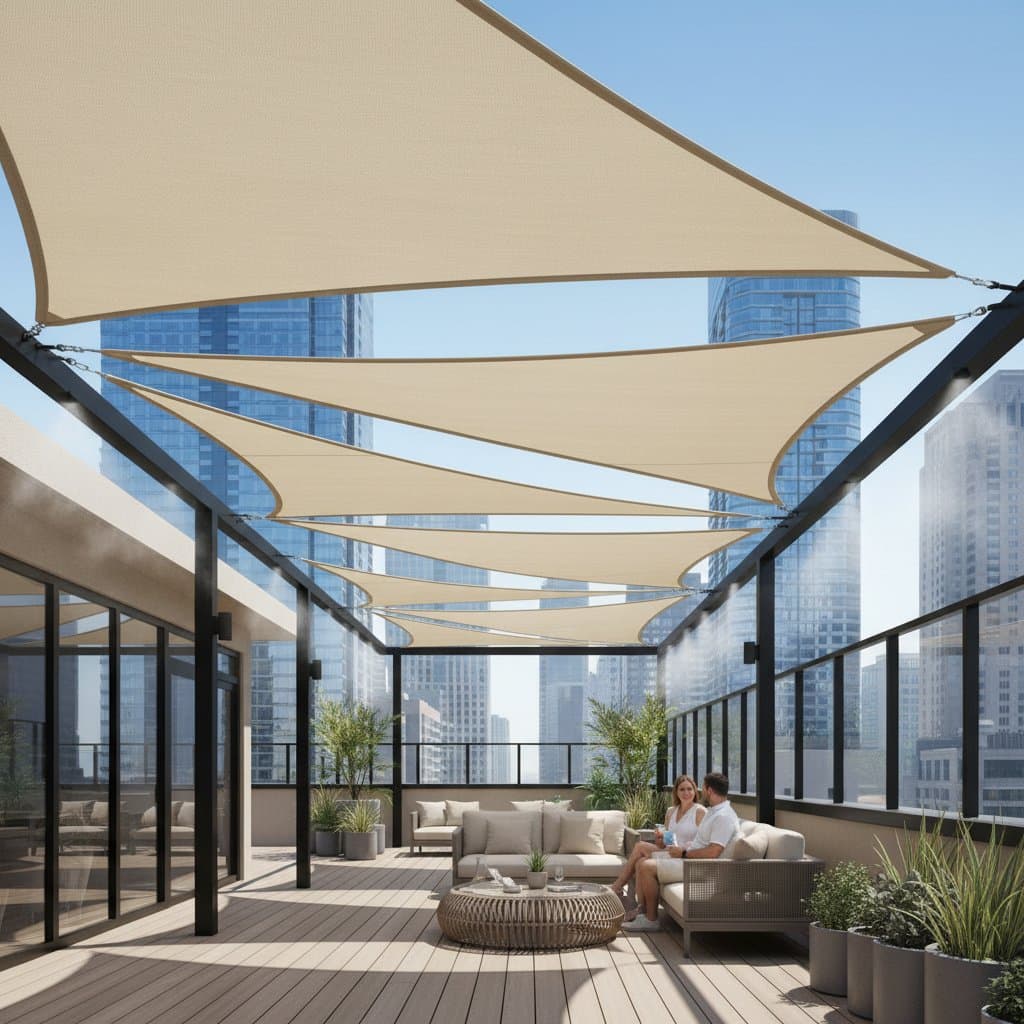
Troubleshooting Common Issues with Solar Shade Sails
Solar shade sails enhance rooftop comfort, but occasional problems may arise. Addressing them promptly maintains performance and safety. Below are solutions for frequent concerns.
Sagging Fabric
Sagging occurs when tension loosens over time or fabric stretches from weather exposure. This reduces shade effectiveness and aesthetic appeal.
To resolve, adjust the turnbuckles incrementally, turning each one full rotation while checking balance across all corners. If the fabric fails to tighten uniformly, inspect for wear and replace it with a high-density polyethylene (HDPE) model rated for outdoor use. Regular tension checks every few weeks prevent recurrence.
Water Pooling
Flat or poorly angled installations trap rainwater, leading to sagging, mold growth, or fabric damage. Proper drainage ensures longevity.
Lower one corner of the sail by 4 to 6 inches (10 to 15 centimeters) to create a natural slope toward a gutter or drainage point. Verify the pitch with a level tool during adjustment. For larger setups, incorporate multiple sails with interconnected slopes to direct water away efficiently.
Anchor Pullout
Anchors may fail if attached to fragile surfaces like thin roofing membranes or if bolts lack sufficient grip. This poses safety risks, especially in windy conditions.
Strengthen attachments by upgrading to larger, corrosion-resistant bolts that penetrate at least 2 inches into the substrate. Relocate anchors to load-bearing areas, such as roof rafters or reinforced parapets. Consult building codes for your area to ensure compliance with wind load standards.
UV Fading or Brittleness
Inferior materials degrade under intense sunlight, causing color loss and structural weakness. Accumulated dirt accelerates this process.
Select sails made from UV-stabilized HDPE or similar fabrics with a minimum 5-year warranty against fading. Clean surfaces quarterly using a gentle solution to eliminate contaminants that weaken fibers. Store spares in shaded areas to extend usability.
Conduct thorough inspections biannually to catch issues early. These steps minimize downtime and avoid expensive overhauls.
Essential Maintenance for Long-Lasting Shade Sails
Routine care preserves the integrity of solar shade sails, ensuring they provide reliable shade and withstand environmental stresses. Neglect shortens lifespan, while consistent upkeep supports performance for years.
Cleaning Procedures
Dirt, pollen, and urban pollutants reduce airflow and promote deterioration. Schedule cleanings every two to three months, or more often in high-pollen seasons.
Prepare a solution of mild detergent and warm water in a bucket. Apply it with a soft-bristled brush, working in circular motions to lift debris without abrading the fabric. Rinse with a garden hose using low pressure, then allow the sail to air dry fully before reapplying tension. This method restores breathability and prevents mildew.
Seasonal Inspections
Examine all components at the beginning and end of the warm season to identify wear. Focus on high-stress areas.
Check seams for fraying or separation, and test hardware for rust or looseness. Tighten loose fittings and replace any damaged grommets or cables immediately. Document findings in a maintenance log to track patterns and plan replacements.
Storage During Off-Seasons
Prolonged exposure to harsh winter elements can cause irreversible damage. Removal protects the investment.
Detach sails carefully to avoid tears, then fold them loosely over clean surfaces to prevent permanent creases. Store in a dry, ventilated space away from direct sunlight, using labeled bins for organization. Upon reinstallation, inspect for pests or moisture before mounting.
Following this maintenance schedule extends sail durability beyond five years, maximizing return on investment through reduced replacement needs.
Knowing When to Hire a Professional
While many installations suit DIY enthusiasts, complex rooftop configurations demand expert intervention. Professionals ensure structural safety and code adherence.
Engage a specialist if your roof lacks obvious anchor points or requires attachment to load-bearing beams. A certified roofer or structural engineer assesses capacity and recommends reinforcements.
Before committing, pose these key questions to potential hires:
- What type of fasteners do you recommend to safeguard the roof membrane from leaks or damage?
- What is the maximum tension each anchor can support under local wind conditions?
- What drainage strategies will you implement to eliminate water pooling risks?
Professional installation justifies the expense in scenarios involving height, irregular surfaces, or waterproofing concerns. A expertly mounted system delivers dependable service with basic ongoing care, often lasting a decade or more.
Steps to Implement Your Shade Sail Project
Solar shade sails offer a straightforward path to cooler rooftops and enhanced usability. Begin with targeted applications to build confidence.
Start by covering a lounge or dining area with a single sail, then expand to encompass garden plots or recreational zones. Benefits include immediate temperature relief, decreased cooling demands, and preserved roofing materials.
Practical Implementation Plan
- Assess your rooftop layout by measuring the target area and observing the sun's daily arc to optimize shade placement.
- Source a medium-weight HDPE shade sail, sized 10 to 20 percent larger than the space for proper tension, along with a kit of stainless steel hardware including turnbuckles and eye bolts.
- Allocate a full afternoon for setup: secure anchors first, drape and tension the fabric evenly, then test for stability by simulating wind with a fan.
Implementation yields swift improvements in comfort and ambiance. Surfaces stay cooler to the touch, breezes flow more freely, and your outdoor area invites extended enjoyment.


