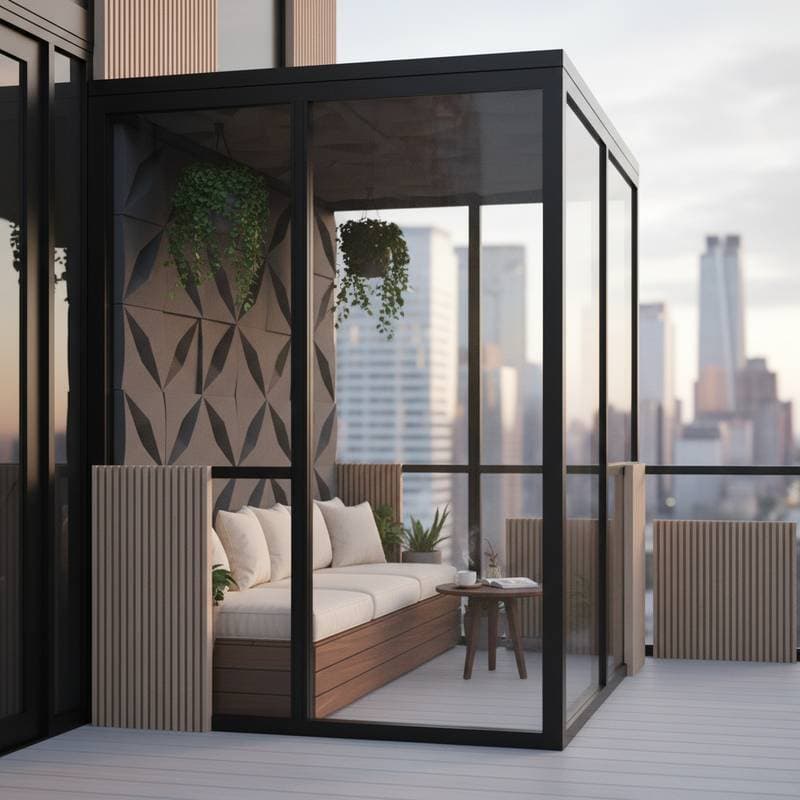
Soundproof Pods: Silence Your Balcony Oasis
City noise persists relentlessly. Traffic rumbles, neighbors converse, and sirens reverberate through urban canyons. Your balcony holds potential as a serene escape, yet persistent auditory disturbances hinder relaxation. A soundproof pod transforms this space into a secluded, quiet enclave ideal for reading, working, or unwinding. The following guide details the process of designing, constructing, and maintaining such a pod to suit your available area and financial constraints.
Tools and Materials
Most acoustic balcony pods require only standard household tools and moderately priced supplies. The list below applies to a pod measuring approximately 6 feet by 4 feet. Adjust quantities based on your specific dimensions.
Tools
- Power drill equipped with Phillips and masonry bits
- Level and measuring tape
- Utility knife
- Staple gun or heavy-duty adhesive applicator
- Safety goggles and work gloves
Materials
- Acoustic panels (12 to 20 units, each 2 inches thick)
- Mass loaded vinyl sheets for sound barriers (1 roll measuring 4 feet by 25 feet)
- Weatherstripping (25 linear feet)
- Acoustic sealant (2 tubes)
- Pressure-treated lumber for framing (8 to 10 pieces of 2x2-inch stock)
- Plywood sheets (3 to 4 panels, each ½ inch thick)
- Soundproof curtains or acoustic divider screens for adaptable walls
- Outdoor-rated fabric or UV-resistant paint for exterior finishing
Scale materials to match your balcony's size, local climate, and budget. For compact balconies, prioritize lightweight panels and hanging curtains over extensive wooden frameworks.
Safety Considerations
Verify your balcony's load-bearing capacity prior to installing substantial materials. Residential balconies typically support around 50 pounds per square foot. Select pressure-treated wood designed for exterior exposure to prevent decay or mildew growth.
Maintain a clearance of at least 3 feet around all access points to comply with fire safety regulations. Ensure that drainage holes and ventilation openings remain unobstructed. Refrain from employing extension cords or heating devices within the pod unless they carry explicit outdoor certifications.
Soundproof enclosures retain warmth and humidity, underscoring the importance of airflow. Position at least one panel to allow partial openness or incorporate a modest vent near the ceiling. When utilizing a compact fan, organize and fasten all wiring to eliminate hazards.
Budget and Timeline
A fundamental pod featuring panels and curtains ranges from $400 to $700 in materials, assuming access to basic tools. Versions with wooden framing, doors, and comprehensive enclosure may escalate to $1,200 to $1,800, influenced by selected finishes.
Primary Cost Factors
- Acoustic panels and mass loaded vinyl barriers
- Lumber framing and associated fasteners
- Weather-resistant fabrics or paints
Construction Duration
- Simple setup with curtains and panels: 6 to 8 hours, completable over a single weekend
- Comprehensive framed pod including roofing: 2 to 3 days, accounting for sealant and paint curing periods
Consider economical alternatives such as repurposed plywood or indoor-grade rugs, recognizing their potentially shorter outdoor lifespan. Prioritize investments in sealants and weatherproofing elements, as these safeguard the assembly and sustain acoustic performance.
Seasonal Maintenance
Spring
Inspect for signs of water damage or material deformation resulting from winter exposure. Ventilate the pod for several hours to dissipate accumulated moisture. Refresh any paint or fabric protectants as necessary.
Summer
Incorporate a compact fan or shaded vent to promote circulation. Examine curtains for color degradation; replace any that show excessive wear. Trim nearby plants to prevent contact with structural surfaces.
Fall
Clear balcony gutters and drains ahead of leaf accumulation. Relocate removable cushions to indoor storage when the pod stands idle. Reexamine all seals in preparation for declining temperatures.
Winter
In freezing climates, extract cushions and floor coverings to avert mold development. Evaluate fasteners for corrosion. Preserve minimal airflow by leaving a slight opening, even during periods of enclosure.
Professional Assistance
Engage a contractor if you detect structural issues, including fissures in the balcony floor or unstable railing attachments. A certified professional can assess load capacities and install enduring frameworks without compromising the underlying balcony.
In co-operative housing or rental properties, secure written permission before affixing elements to balcony surfaces. For intricate sound management requirements, consult an acoustic specialist to quantify ambient noise and specify optimal panel configurations. Such evaluations typically cost $200 to $400 and avert inefficient experimentation.
Delegate electrical installations for lighting or fans tied to building utilities to qualified electricians. Faulty outdoor wiring poses risks of electrical faults or ignition.
Implementing Your Pod
Commence with modest additions like acoustic curtains or mounted panels to gauge noise reduction. Expand to structural elements incrementally if initial results prove satisfactory. Numerous residents discover that enclosing a single side suffices to diminish disturbances adequately, bypassing extensive builds.
Follow this streamlined checklist:
- Identify primary noise sources and map your balcony's layout.
- Procure climate-appropriate materials.
- Assemble or install components during a dedicated weekend.
- Evaluate performance and refine as required.
Absolute silence proves elusive in urban settings, yet sufficient quietude fosters ease. A soundproof pod delivers this respite, rendering tranquility accessible on your balcony.