4. Attach the Panels
Position each acoustic panel firmly onto the mounted brackets or hook-and-eye system. For installations relying on adhesive, distribute the adhesive uniformly across the panel's rear surface, then press it against the balcony railing or wall and maintain pressure for at least 30 seconds to ensure a strong bond.
Maintain a narrow gap of about one-quarter inch between adjacent panels to accommodate natural expansion and contraction due to fluctuating temperatures and humidity levels. Apply a high-quality silicone caulk along all edges to create a watertight barrier that prevents moisture infiltration, which could compromise the panels' integrity over time.
Consider the balcony's exposure to elements when selecting attachment methods. In areas with high winds, opt for mechanical fasteners over adhesives alone to enhance stability and longevity.
5. Add a Decorative or Protective Layer
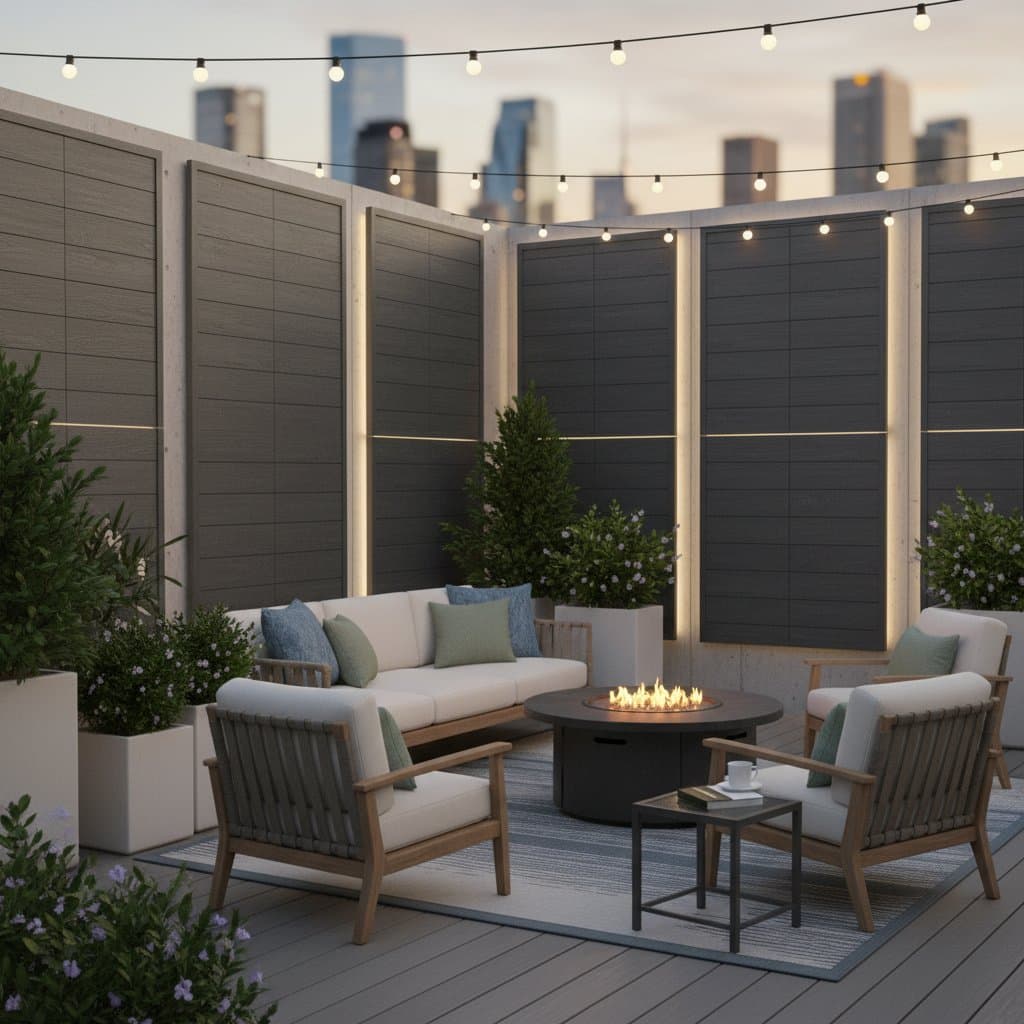
Enhance the visual appeal and durability of the panels by applying a weather-resistant fabric cover or a wooden lattice overlay. This additional layer not only elevates the balcony's design but also shields the sound-absorbing core from direct exposure to precipitation, intense sunlight, and airborne pollutants.
Secure the fabric using a heavy-duty staple gun or rust-resistant clips, ensuring even tension across the surface to prevent wrinkling or drooping after exposure to moisture. For wooden lattices, attach them with corrosion-proof screws spaced every six inches to distribute weight evenly and promote airflow.
Select materials that complement your balcony's style, such as neutral-toned fabrics for a modern look or natural wood finishes for a rustic vibe. Test samples in your local weather conditions to confirm they withstand fading and wear without altering acoustic performance.
6. Check Alignment and Secure Edges
Step back several feet from the installation to assess overall alignment and ensure all panels form straight, level lines. Adjust as necessary by tightening any loose screws or repositioning brackets until the setup appears uniform and professional.
Test the stability of each panel by applying gentle pressure; it should remain firmly in place without shifting. Run your fingers along the sealed edges to verify the caulk forms a smooth, continuous bead free of gaps or bubbles, which could allow water entry.
Perform this final inspection during dry weather to accurately identify issues. Document any adjustments made, as this record aids future maintenance and helps track the installation's performance over seasons.
Troubleshooting Common Installation Issues
Despite meticulous preparation, minor challenges may arise post-installation due to environmental factors or material settling. Addressing these promptly preserves the panels' effectiveness and extends their service life.
Panel Sagging:
Sagging often results from inadequate tension or material fatigue. Remove the decorative cover, inspect for and tighten loose screws or brackets, then reattach the fabric while pulling it firmly taut. For adhesive-based mounts showing signs of weakness, incorporate discreet screws along the perimeter for added reinforcement without compromising aesthetics.
Water Pooling at the Base:
Excessive moisture accumulation at the panels' lower edges can lead to deterioration. Ensure the panels are elevated at least one inch above the balcony floor using sturdy spacers. If pooling persists, install subtle drainage channels or tilted bases to direct water away efficiently.
Persistent Noise Leakage:
Sound penetration typically occurs through unsealed gaps or insufficient density. Reapply caulk to all joints and seams for a complete seal. On balconies with open railings, integrate a supplementary layer of high-density outdoor-rated foam behind the primary panels to boost sound absorption without obstructing views.
Mildew Growth on Fabric Covers:
Humid conditions foster mildew, which degrades both appearance and functionality. Prepare a cleaning solution of one part white vinegar to three parts water, apply it with a soft cloth, and allow thorough air drying in direct sunlight. Prevent recurrence by selecting mildew-resistant fabrics and ensuring proper ventilation around the panels.
Discoloration or Fading:
Prolonged UV exposure causes color loss in sensitive materials. Mitigate this by choosing UV-treated fabrics in deeper shades or intricate patterns that mask gradual wear. Plan to replace covers every two to three seasons, inspecting annually for early signs of degradation to maintain optimal protection.
Ongoing Maintenance for Peak Performance
Outdoor acoustic panels demand consistent attention to retain their noise-reduction capabilities, as accumulated dust, debris, and moisture can diminish sound absorption over time. A structured maintenance routine ensures reliability and prolongs the investment.
Monthly Maintenance Tasks:
- Gently wipe panel surfaces with a soft-bristled brush or microfiber cloth lightly dampened with water to remove surface dirt and pollen.
- Inspect all screws, brackets, and attachments for looseness, tightening them as needed to prevent vibrations that could amplify noise.
- Clear accumulated leaves, dirt, or urban debris from panel gaps and surrounding floor areas to avoid blockages that trap moisture.
Seasonal Maintenance Procedures:
- At the onset of rainy periods, reapply a specialized waterproofing spray to fabric covers, following product instructions for even coverage and full curing.
- Examine caulk lines for cracks or erosion, applying fresh sealant where necessary to restore waterproofing integrity.
- Address any emerging mildew spots immediately with a vinegar solution to halt spread and protect underlying materials.
Annual Deep Maintenance:
- Dismantle the panels for a thorough cleaning, vacuuming the acoustic cores to eliminate embedded particles that reduce efficacy.
- Allow panels to air dry completely in a shaded, well-ventilated area for 24 hours to prevent mold formation during storage or reinstallation.
- Evaluate each panel for signs of internal moisture damage, such as softening or off odors; replace compromised units promptly to avoid widespread issues.
Adhering to this schedule not only sustains up to 15 decibels of noise reduction but also can extend the panels' lifespan by five years or more, depending on local climate conditions.
Consulting Professionals for Complex Installations
Certain balcony configurations require expert evaluation to ensure safety and compliance with building codes. Engage a licensed contractor or structural engineer under these circumstances:
- Visible cracks, rust, or deterioration in the railing or supporting walls.
- Exposure to consistent high winds that could stress the installation.
- Rental properties where landlord approval is mandatory for structural modifications.
- Buildings featuring communal drainage or facade elements that panels might obstruct.
Professionals can assess load-bearing capacities, recommend site-specific fasteners, and implement advanced waterproofing techniques. A brief consultation, often lasting under an hour, minimizes risks and averts expensive future corrections.
For elevated or intricate balcony designs, acoustic installation specialists offer secure mounting with industrial rigging equipment. Fees typically range from $300 to $800, varying by access difficulty and project scale, providing peace of mind through certified workmanship.
Practical Actions to Begin Your Project
Achieving a balanced outdoor space involves strategic noise management rather than total elimination. Acoustic panels empower you to customize your balcony, fostering moments of relaxation amid urban energy.
Take these initial steps to move forward confidently:
-
Assess Noise Patterns: Dedicate five minutes to observing your balcony during peak noise hours, noting sources like traffic or neighbors. This analysis directs precise panel placement for maximum impact.
-
Evaluate Material Options: Visit a local supplier to handle samples of foam, fabric-wrapped, and composite panels. Select based on your climate's demands and desired aesthetic integration.
-
Design a Preliminary Layout: Sketch the balcony's dimensions on graph paper, plotting panel positions relative to noise entry points. This blueprint reduces on-site errors and streamlines the installation process.
With panels in place, settle into the enhanced serenity you have created. This thoughtful addition transforms everyday outdoor time into restorative experiences, tailored precisely to your needs.