How Acoustic Screens Reduce Balcony Noise by Up to 15 Decibels in 2025
Urban environments pulse with vitality, offering stunning vistas and dynamic energy. However, the incessant clamor from streets, vehicles, and adjacent residences often disrupts balcony serenity. Acoustic screens provide an effective solution by mitigating sound, enhancing seclusion, and restoring the balcony as a genuine outdoor extension of the home.
This guide details the nature of acoustic screens, their operational principles, selection criteria, and secure installation methods. Readers will discover techniques for assessing existing noise levels, mounting panels precisely, and preserving their condition across seasons.
Overview
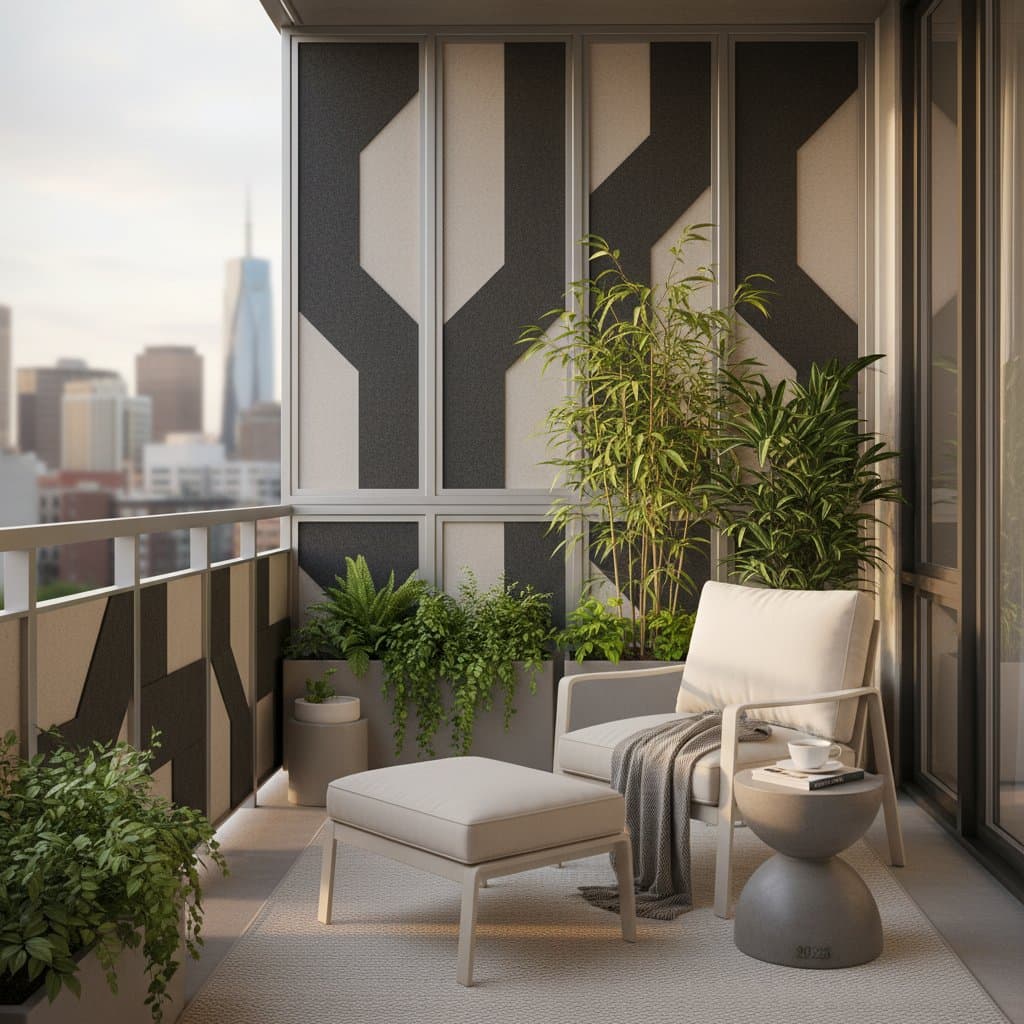
An acoustic screen consists of a specialized panel engineered to absorb or block sound waves, thereby diminishing noise intrusion on balconies. These panels employ dense, porous materials that trap auditory energy, converting it into minimal heat. Numerous designs incorporate privacy features, obstructing visual access while attenuating ambient sounds.
Effective screens can decrease audible noise by 5 to 15 decibels, contingent on factors such as panel dimensions, composition, and positioning. This reduction transforms disruptive urban din into a subdued murmur, fostering an environment conducive to relaxation, conversation, or contemplation.
Key Benefits
- Noise reduction: Attenuates vehicular traffic and interpersonal conversations from neighbors.
- Privacy enhancement: Obscures lines of sight from surrounding structures.
- Improved comfort: Moderates airflow and provides partial shading for extended use.
- Versatile integration: Compatible with diverse elements like metallic railings, container gardens, or timber accents.
For residents proximate to high-traffic avenues or communal areas, acoustic screens represent a straightforward enhancement to everyday tranquility.
Tools and Materials
For a compact balcony, allocate space for three to four panels, each measuring approximately 3 feet by 5 feet (0.9 by 1.5 meters). On expansive balconies, calculate the required quantity by dividing the railing perimeter by the individual panel width.
Essential items include:
- Acoustic panels certified for exterior applications
- Mounting clips or brackets fabricated from stainless steel or powder-coated alloys
- Rubber washers to minimize vibrational transfer
- Power drill and manual screwdriver
- Spirit level and retractable tape measure
- Protective gloves and safety goggles
When dealing with slender metallic or glass railings, opt for non-invasive clamp brackets to preserve structural integrity without perforation.
Installation Steps
Step 1: Measure and Plan
Determine the total length and height of the railing. Designate positions for each panel, incorporating a 1-inch (2.5-centimeter) gap between units to facilitate ventilation.
Step 2: Select Appropriate Screens
Prioritize panels rated for outdoor endurance with a Noise Reduction Coefficient (NRC) ranging from 0.6 to 0.9. Elevated NRC values indicate superior absorption capabilities. Durable options encompass polyester fibers, mass-loaded vinyl composites, and weather-resistant plastics.
Step 3: Surface Preparation
Wipe the railing using a solution of mild detergent and water. Allow complete drying to avert corrosion and ensure robust adhesion of mounting hardware.
Step 4: Secure the Brackets
Position brackets or clips at the corners of designated panel zones. Employ a level to verify alignment. On metallic railings, initially hand-tighten clamps, followed by gentle wrench adjustment. Excessive torque risks deformation of the railing.
Step 5: Affix the Panels
Insert screens into brackets or suspend via integrated hooks. Incorporate rubber washers at contact points to dampen vibrations. Verify uniform seating and stability against breezes.
Step 6: Enhance Edge Sealing
To address potential sound infiltration at joints, apply weatherproof acoustic tape or foam strips. Such measures can further diminish leakage by as much as 3 decibels.
Step 7: Evaluate and Refine
Conduct a listening assessment from typical seating positions during peak noise periods. Should persistent sounds emanate from specific directions, reposition affected panels or affix supplementary acoustic fabric layers.
Safety Considerations
Wear gloves and eye protection during any drilling or trimming activities. Refrain from perforating communal walls or load-bearing elements absent explicit authorization. Exclusively utilize materials rated for outdoor exposure to mitigate risks of mold proliferation or combustion.
Common Issues and Resolutions
Issue: Panels vibrate during gusts.
Resolution: Insert rubber spacers or reinforce bracket tension.
Rationale: This intervention halts the transmission of vibrational noise.
Issue: Overhead noise remains elevated.
Resolution: Incorporate an overhead panel or suspended barrier.
Rationale: Auditory waves propagate angularly, rendering upper coverage essential for comprehensive blocking.
Issue: Panels appear cumbersome.
Resolution: Overlay with aesthetic elements such as bamboo slats or permeable mesh.
Rationale: This preserves acoustic efficacy while introducing visual appeal and chromatic variety.
Upkeep and Storage Practices
Inspect attachment points bimonthly, adjusting any loosened fasteners. Clean surfaces with a moistened cloth to eliminate particulates and residues. Steer clear of abrasive chemicals that may compromise protective finishes.
For seasonal removal, particularly in winter, store panels horizontally in a moisture-free environment. Place protective cloths between layers to prevent abrasions. Tag each unit by its original position to streamline future assembly.
Cost and Timeline Estimates
A comprehensive balcony acoustic array typically ranges from $200 to $600, influenced by scale and material quality. Polyester fiber variants strike an optimal equilibrium between efficacy and affordability. Assembly demands 2 to 4 hours for standard compact spaces.
Premium selections, including composite or veneered wood panels, may elevate expenses twofold yet deliver extended durability and resistance to environmental degradation.
Seasonal Maintenance Protocols
- Spring: Degrease brackets, detect rust formation, and secure all screws.
- Summer: Post-rainfall, cleanse panels and confirm adequate rear ventilation.
- Fall: Examine for fissures or discoloration; substitute deteriorated seals.
- Winter: Dismantle lightweight installations in areas prone to severe winds.
Consistent attention sustains acoustic performance and structural reliability.
Professional Assistance Indicators
Engage certified experts for installations involving concrete surfaces, glass enclosures, or elevated frameworks exceeding 8 feet (2.4 meters). Professionals evaluate load capacities and deploy appropriate anchoring systems.
Inquire about:
- Railing weight tolerances
- Climate-suited material recommendations
- Customized upkeep regimens for sustained functionality
Implementing Your Balcony Upgrade
Commence with basic measurements of your space today. Procure one or two panels to gauge the transformative impact.
Strategic placement of acoustic screens not only tempers urban acoustics but also safeguards personal space, rendering your balcony an inviting refuge. Secure these enhancements to reclaim moments of repose directly beyond your threshold.