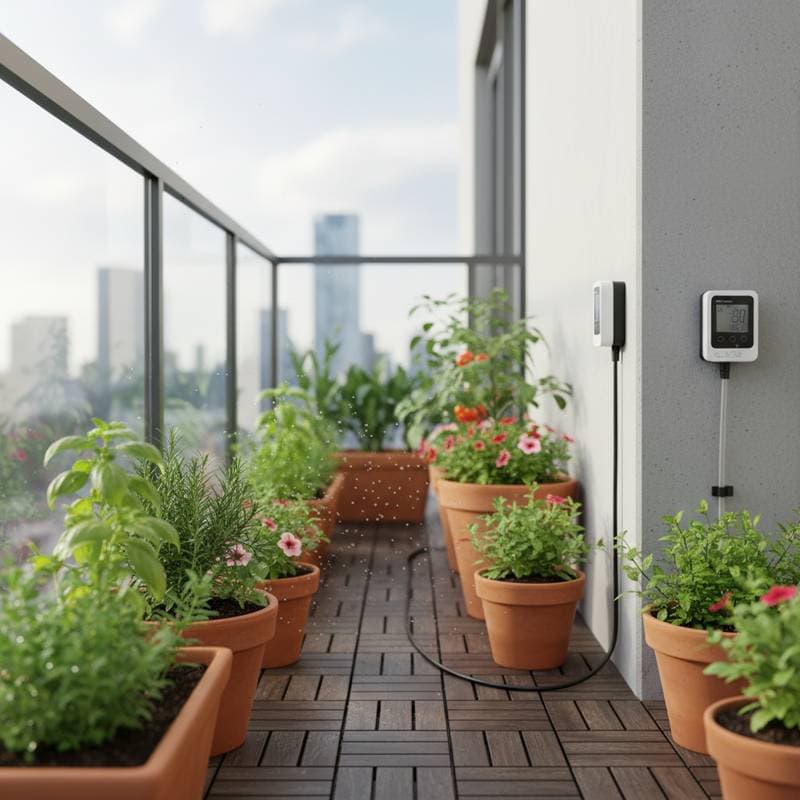
Balcony gardening offers urban dwellers a connection to nature, but travel can disrupt consistent care. A drip tape irrigation system addresses this challenge by delivering precise water amounts directly to plant roots. This method conserves water, prevents overwatering, and ensures plants receive steady moisture even when owners are away.
Drip tape consists of flexible tubing with small emitters that release water slowly. For balcony setups, it adapts easily to pots, raised beds, or linear planters. Installation requires basic tools and takes approximately one hour for beginners. The result allows travelers to focus on their journeys while their green spaces flourish.
Understanding Drip Tape Systems
Drip tape systems operate on low pressure, making them ideal for small-scale urban applications. Water flows from a source through the tape, where emitters spaced every 6 to 12 inches dispense droplets. This targeted approach minimizes waste compared to overhead sprinklers, which can lead to evaporation and uneven coverage.
Key components include the tape itself, connectors, a pressure regulator, and a timer. Select tape with a wall thickness suited to your water pressure; 8 mil thickness works well for most balconies. Timers automate the process, typically running for 10 to 30 minutes daily, depending on plant needs and climate.
Before installation, evaluate your balcony's layout. Note sun exposure, wind patterns, and plant groupings. These factors influence water requirements and tape placement. For example, sun-loving herbs may need more frequent cycles than shade-tolerant ferns.
Step-by-Step Installation Guide
Begin by gathering materials: 50 feet of drip tape, elbow fittings, tees, a battery-operated timer, and a pressure-compensating regulator. Connect the system to an outdoor faucet or a hose bib with a quick-connect adapter.
-
Measure the perimeter of your planters or the distance between pots. Add 10 percent extra length for adjustments.
-
Lay the tape along the base of plants, ensuring emitters face downward toward the soil. Secure with landscape staples every 2 feet to prevent shifting.
-
Attach the inlet end to the water source. Install the regulator inline to maintain 10 to 25 PSI, avoiding bursts.
-
Connect the timer between the faucet and regulator. Program it for short intervals, such as two 15-minute sessions per day.
-
Run a test cycle without plants to check for leaks. Adjust fittings as needed and flush the line to remove debris.
This process creates a closed-loop system that recycles water efficiently. For multi-level balconies, use elevated headers to distribute flow evenly.
When to Consult a Professional
While most balcony installations remain straightforward, certain scenarios benefit from expert input. Professionals ensure compliance with building codes and optimize performance.
Consider hiring if:
- The water source involves an indoor faucet or communal tap, requiring adapters and backflow preventers.
- Planters feature intricate designs, such as integrated drainage or varying elevations that demand custom routing.
- Advanced features like nutrient injectors or soil moisture sensors integrate into the setup.
Contact a licensed plumber or irrigation specialist to assess pressure limits and regulatory adherence. They verify safe connections and recommend upgrades for longevity.
Testing and Maintenance Essentials
After installation, monitor the system for several days. Observe soil moisture levels and adjust timer durations accordingly. In hot weather, increase frequency; during rain, pause the timer to avoid saturation.
Regular upkeep prevents common issues. Inspect for clogs monthly by running a vinegar solution through the lines. Store spare parts, including connectors and tape segments, in a waterproof container for prompt fixes.
Group plants by hydration needs during layout. For instance, route separate lines for drought-tolerant succulents and water-hungry vegetables. This customization enhances efficiency and plant health.
Pro Tips for Optimal Performance
Enhance your setup with these strategies:
- Apply a layer of mulch or gravel over the tape to retain soil moisture and suppress weeds.
- Use waterproof labels on lines to identify plant types and schedules.
- Integrate rain sensors if available to halt watering during wet periods.
- Flush the system annually with a diluted bleach solution to eliminate algae and minerals.
- Scale up gradually; start with one zone and expand as confidence builds.
These practices extend system life and promote sustainable gardening.
Preparing for Your Trip
Finalize preparations with a pre-travel checklist:
-
Confirm all connections and run a full cycle test.
-
Adjust the timer based on weather forecasts for your absence.
-
Inform neighbors or building management about the setup for any oversight.
-
Document the layout with photos for reference upon return.
With these steps complete, depart with peace of mind. Your balcony garden will sustain itself, greeting you with vibrant foliage and continued growth.
Long-Term Benefits and Expansion
Beyond travel, drip tape systems support year-round balcony cultivation. They reduce manual labor, lower water bills, and foster healthier roots by avoiding foliar wetting, which discourages diseases.
As your garden evolves, incorporate expansions like vertical drippers for hanging baskets or solar-powered timers for eco-friendly operation. This investment yields a resilient urban oasis, adaptable to seasons and lifestyles.