
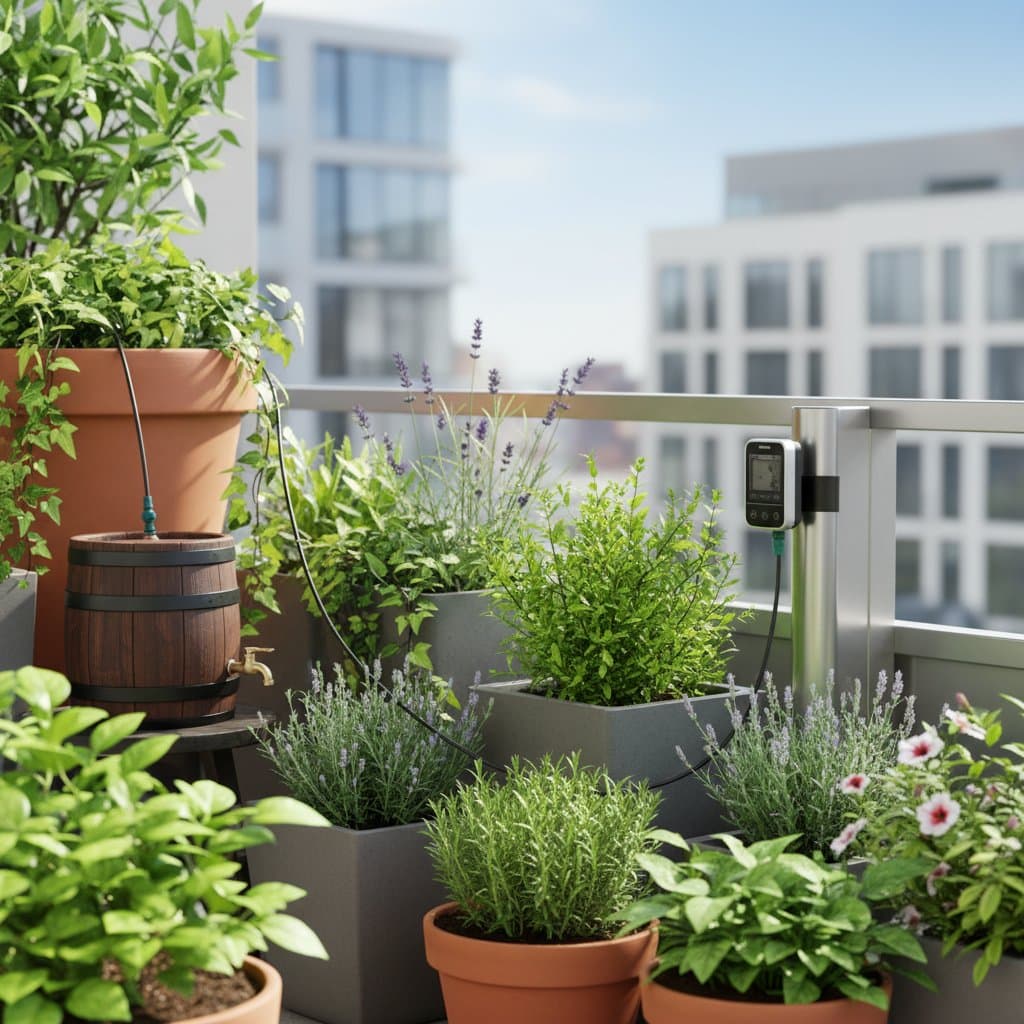
Getting Started with Micro Drip Irrigation
A micro drip system delivers water directly to the root zone of each container plant. This approach reduces waste and eliminates daily hand watering on balconies. The following sections explain how to install, maintain, and optimize such a system for consistent results.
Lay Out the Tubing
Position the main tubing along the balcony edge or beneath rail planters. Secure it with clips or cable ties spaced every 12 to 18 inches. Allow extra length at corners to prevent kinks during temperature changes. Cut the tubing cleanly with scissors and insert connectors or tees at points where branches are required.
Add Emitters
Create holes in the tubing near each container with a drip punch tool. Insert emitters so that water reaches the soil surface at the plant base. Larger containers benefit from two emitters placed about 4 inches apart. This spacing promotes even moisture distribution throughout the root area.
Test the System
Activate the water supply and observe flow from every emitter. Steady drips indicate correct installation while sprays suggest adjustments are needed. Run the system for 10 minutes to verify uniform coverage across all containers. Seal the open end of the main line with an end plug once testing is complete.
Program the Timer
Schedule watering sessions for early morning or late evening to minimize evaporation. Begin with cycles of 10 to 15 minutes two or three times each week. Monitor plant response and adjust duration according to container size, plant species, and current weather conditions.
Secure and Hide Lines
Fasten tubing behind containers or along railings with discreet clips. Prevent sharp bends that could restrict flow. Keep the primary line reachable for periodic inspection while maintaining an orderly appearance.
Safety Tips
- Install a pressure reducer on every faucet connection to protect tubing from bursts.
- Mount timers above floor level and away from direct water exposure.
- Route all lines along edges rather than across walkways.
- Inspect connections monthly to avoid stains or slip hazards on concrete surfaces.
Troubleshooting
Problem: Uneven watering across pots
Long tubing runs or pressure loss often cause this issue. Install a second parallel line or select higher flow emitters to restore balance.
Problem: Clogged emitters
Mineral deposits or debris block water passage. Soak affected parts in vinegar for 30 minutes, rinse thoroughly, and add an inline filter at the source.
Problem: Timer not running
Battery failure or loose wiring prevents operation. Replace batteries and confirm manual activation produces a click. Verify signal strength for any wireless models.
Problem: Leaking joints
Improper seating or material fatigue leads to drips. Trim the tubing end and fit a fresh connector for a secure seal.
Budget and Time
A starter kit ranges from 40 to 120 dollars. Adding a smart controller increases the total by 30 to 60 dollars. Most users complete installation in two to three hours. Allocate time for layout, testing, and final adjustments. Invest in quality pressure reducers and filters to limit future replacements.
Maintenance
Examine emitters every two weeks and clear blockages promptly. Flush the main line monthly by removing the end plug and running water for one minute. Drain all components before freezing temperatures arrive. Clean reservoirs regularly to discourage algae growth. Replace brittle tubing at the start of each new season and keep spare fittings available.
Seasonal Reminders
Spring: Reattach lines, verify all fittings, and replace damaged emitters before new growth begins.
Summer: Check for leaks weekly during hot periods and extend watering intervals as needed.
Fall: Shorten run times gradually and store unused components indoors.
Winter: Empty lines completely and protect exposed faucets with insulated covers.
Smart Storage Moves
Keep extra parts in a labeled plastic bin near the balcony entrance. Coil tubing with elastic bands to avoid knots. Mark individual bags of fittings by size for quick retrieval. Color code separate zones with tape when multiple lines are present.
When to Call a Pro
Complex multi zone layouts or persistent pressure problems may require professional assessment. A specialist can integrate the system with existing building plumbing or recommend custom components.
Making It Happen
Measure the balcony space and note plant locations. Purchase a kit that includes tubing, emitters, and a timer. Dedicate an afternoon to assembly and initial testing for reliable performance throughout the growing season.