
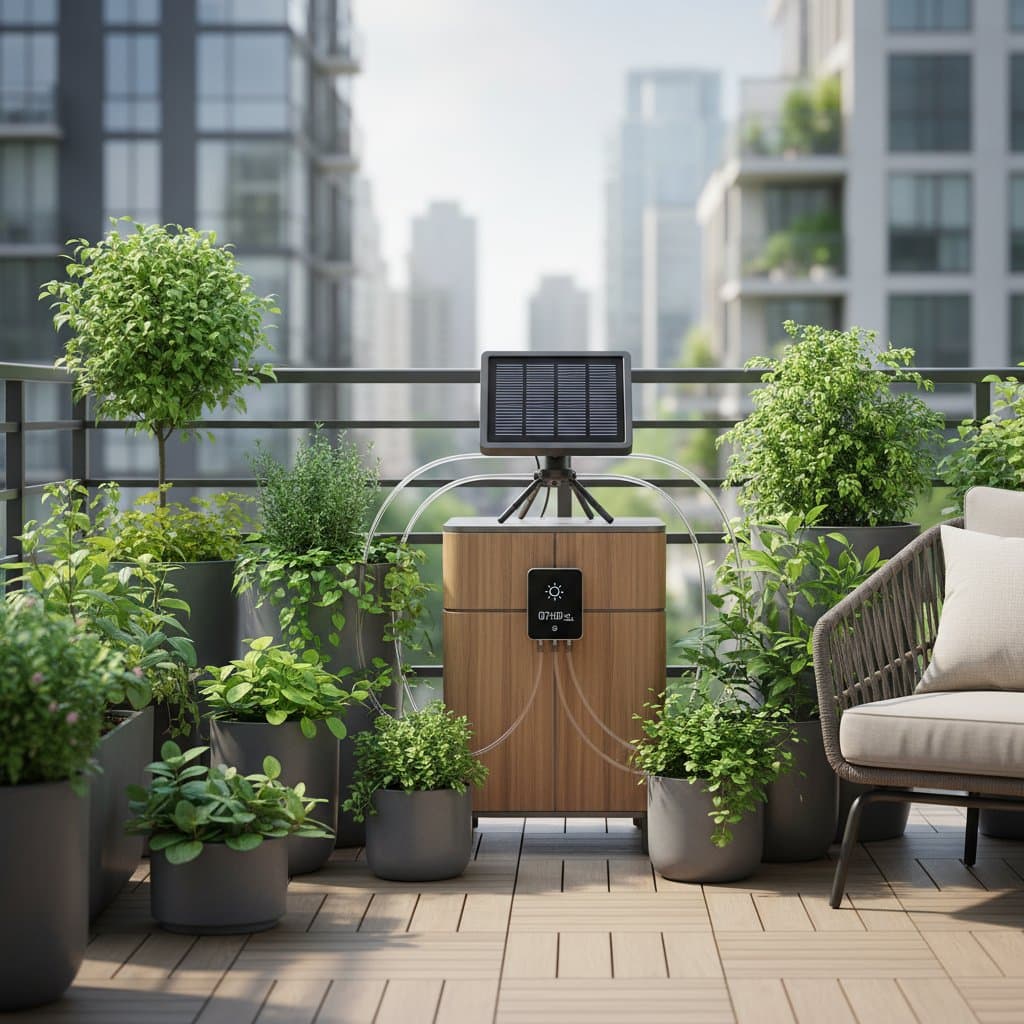
Automate Your Balcony Garden Watering with Solar Power
You love your balcony garden, but watering it can feel like a daily chore. Miss a few days and your plants wilt in protest. The good news is that you can automate this job with a small solar-powered system that keeps the plants hydrated even when you are busy or away. The goal is simple. Let sunlight do the work for you.
This guide explains how solar irrigation works, what you need to set it up, and how to keep it running smoothly. Match your balcony layout to the right pump size. Store enough water for dry spells. Keep everything safe and efficient.
Overview
A solar-powered watering system uses sunlight to power a small pump that moves water from a container or tap to your plants through drip lines or tiny sprinklers. It runs only when there is light. This timing fits the plants needs because they drink most during warm, bright hours.
The main benefits include hands-free watering that saves time and stress, energy savings since it runs on free sunlight, healthier plants through consistent moisture levels, and a compact design that fits balconies, patios, and small decks.
When tuned well, a solar irrigation system can deliver around 0.5 to 1 gallon (about 2 to 4 liters) per plant each week, depending on species and weather.
Tools and Materials
You can build a simple system with about six main parts. Most kits fit in a small box and weigh less than 5 pounds (about 2.3 kilograms).
- Solar panel rated between 5 and 10 watts.
- Water pump rated for low pressure, around 1 to 2 gallons per minute.
- Tubing and drippers with a diameter of 0.25 inch (6 millimeters).
- Water reservoir such as a 5 to 10 gallon (19 to 38 liter) container.
- Filter to catch debris before it enters the tubing.
- Timer or moisture sensor for added control.
You will also need a pair of shears for cutting tubing, cable ties to secure lines, and a small screwdriver to adjust flow settings.
Steps
Step 1: Plan Your Layout
Sketch your balcony space. Mark where each plant sits and where you can place the water container. The solar panel should face the strongest direct light for at least four hours each day. Keep tubing runs under 15 feet (4.5 meters) when possible to avoid pressure loss.
Step 2: Mount the Solar Panel
Attach the panel to a railing, wall, or shelf using the bracket included. Check that it tilts slightly so rainwater drains off. Run its wire safely along the wall toward the pump. Avoid pinching the cable under pots or furniture.
Step 3: Position the Reservoir and Pump
Place your water container on a stable surface near the plants. Set the pump inside or connect it with a short suction tube. Keep the pump intake at least 2 inches (5 centimeters) above the container bottom to avoid drawing sediment.
Step 4: Connect Tubing and Drippers
Cut tubing to reach each plant. Push the drippers into the ends and secure them near the soil. Insert a filter between the reservoir and main line. Test the flow by filling the container and letting the pump run under sunlight. Adjust drippers until each plant gets an even trickle.
Step 5: Add a Timer or Moisture Sensor
If your system includes a control unit, set it to water for 10 to 15 minutes twice a day. For moisture sensors, place one probe in the soil near a mid-sized pot and let it trigger watering automatically.
Step 6: Test and Adjust
Observe how much water each pot receives after a full cycle. If the soil stays soggy, shorten watering time. If it dries out quickly, extend it slightly or increase dripper flow.
Safety Tips
Keep all electrical connectors dry and away from puddles. Use only low-voltage pumps designed for outdoor use. Secure tubing so no one trips over it. Do not lift full water containers alone if they weigh more than 40 pounds (18 kilograms).
Troubleshooting
Low flow or no water. Check the filter for clogs or kinks in the tube. Clean the filter weekly.
Uneven watering. Raise the reservoir slightly higher or shorten long tubing runs.
Pump stops in partial shade. Move the solar panel to a brighter spot or use a small rechargeable battery pack rated for 12 volts.
Maintenance
Clean your drippers once a month by soaking them in a mild vinegar solution to remove mineral buildup. Wipe the solar panel glass with a damp cloth to keep light absorption strong. Replace tubing every two to three seasons or when it turns brittle.
Storage
If you expect frost or extended absence, drain the reservoir and tubing completely. Disconnect the panel and store it indoors in a dry place. Coil tubing neatly to prevent cracking. Keep small parts in a labeled box or bag.
Budget and Time
A basic solar irrigation kit costs between $40 and $80. Add $10 to $20 for extra tubing or fittings. You can install it in about two hours once you plan the layout. Maintenance costs are minimal, mainly occasional filter cleaning and small part replacement.
Seasonal Reminders
In warm seasons, increase watering duration slightly since evaporation rises. In cooler months, shorten watering time or even turn off the system if rainfall is steady. Keep checking that the panel stays clean after storms or dusty days.
If you grow herbs or vegetables, use adjustable drippers to match each plant needs. Tomatoes, for example, like deeper watering every two days, while succulents prefer short bursts less often.
When Professional Help Makes Sense
Complex balcony structures or shared building systems may require an electrician or irrigation specialist. Persistent pump failures after basic troubleshooting also point to the need for expert review.
Getting Started Today
With sunlight powering your watering routine, you save time, reduce electricity use, and keep your garden green through every busy week. Clean the panel, refill the reservoir, and let the system handle the rest.