Unlocking Balcony Microclimates: How Smart Apps Reveal Hidden Weather Zones
Have you noticed variations in conditions across your balcony, such as one area feeling noticeably warmer than another? These differences arise from microclimates, localized weather patterns that deviate from general forecasts. In balcony gardening, microclimates influence plant success profoundly; for instance, they determine if herbs flourish or succumb to stress. Smart apps enable precise mapping of these microclimates, allowing informed planting decisions that maximize growth in confined urban settings.
This guide explains microclimate mapping, highlights essential tools, and provides step-by-step instructions for applying data to achieve superior balcony gardening outcomes.
Understanding Microclimate Mapping
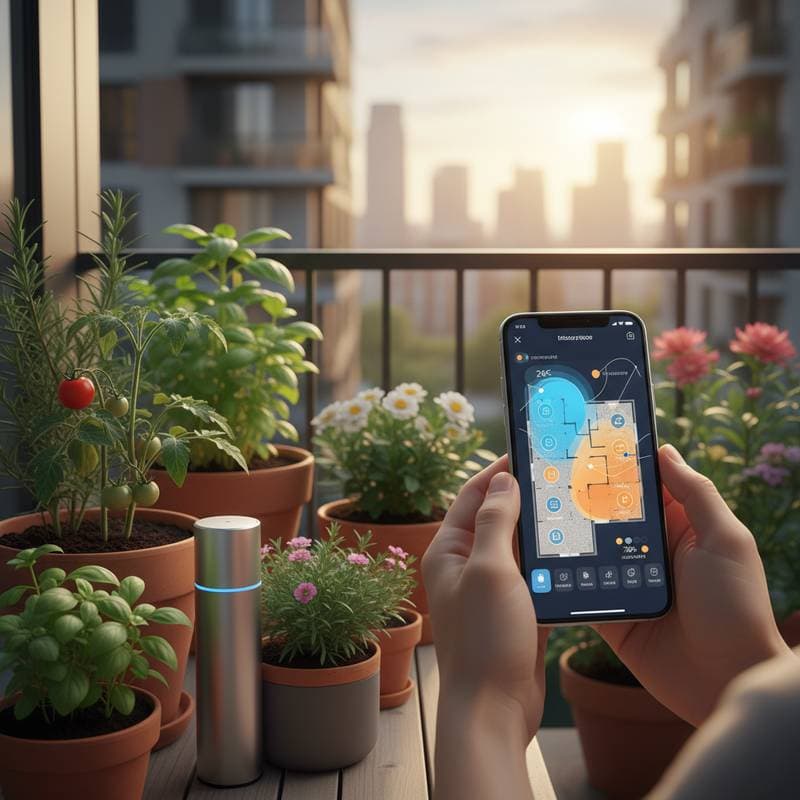
Microclimate mapping involves apps that integrate sensors, real-time weather data, and GPS to visualize variations in temperature, sunlight exposure, humidity, and wind within small areas. Balcony gardeners benefit by identifying precise locations for specific plants, such as positioning sun-tolerant tomatoes in bright spots or placing moisture-retaining ferns in sheltered corners.
Balconies present distinct challenges due to urban elements: concrete surfaces absorb and radiate heat, glass panels amplify sunlight intensity, and adjacent structures alter airflow patterns. By mapping these factors, individuals reduce watering frequency, mitigate environmental stresses on plants, and optimize yields from limited spaces. Such insights transform routine maintenance into strategic cultivation.
Essential Tools and Materials
To begin mapping your balcony microclimate, assemble the following items:
- A smartphone or tablet equipped with GPS and camera capabilities for app functionality.
- A dedicated microclimate app, such as Plantin, GrowHub, or BloomSky, which provide location-based tracking.
- A compact digital thermometer or wireless sensor for verifying app readings in specific spots.
- A notebook or digital note-taking application to document observations like daily light duration or wind direction.
Combining app-generated data with manual records creates a comprehensive profile of your balcony's conditions. For enhanced accuracy, select apps that support custom zone definitions and historical data trends.
Step-by-Step Mapping Process
Step 1: Select and Install the App
Choose an app focused on environmental tracking for small-scale gardens, emphasizing features for light intensity, temperature fluctuations, and humidity levels. Most platforms offer free tiers with core mapping tools; download from your device's app store and grant necessary permissions during setup.
Step 2: Configure Location Settings
Activate location services within the app to ensure it captures data specific to your balcony's elevation and orientation. Verify that the app accounts for urban variables, such as building shadows or multi-story positioning, by inputting details like floor level or compass direction.
Step 3: Record Daily Conditions Over One Week
Launch the app at consistent times each day, ideally morning, midday, and evening, to capture peak variations. Log metrics including total sunlight hours, temperature ranges from minimum to maximum, and relative humidity percentages. Consistent entries reveal patterns, such as afternoon heat buildup near walls.
Step 4: Analyze Differences Across Zones
Designate at least three distinct zones on your balcony: the sun-exposed perimeter, the central area with moderate exposure, and the shaded region adjacent to walls or railings. Monitor each for a full day, noting discrepancies; even a five-degree Fahrenheit difference, equivalent to about three degrees Celsius, significantly affects plant viability and requires zone-specific selections.
Step 5: Assign Plants to Suitable Zones
Leverage the app's built-in recommendations or cross-reference with gardening knowledge to match species to conditions. Drought-resistant rosemary thrives in warmer perimeter zones, while cool-season lettuce performs best in shaded, humid areas. Consider companion planting to further stabilize microclimates, such as grouping ferns to retain moisture.
Step 6: Implement Adjustments and Ongoing Monitoring
Reposition planters or install shade cloths and windbreaks based on findings. Continue logging data for an additional week to evaluate changes, tracking indicators like leaf color or growth rates. Iterative refinements ensure long-term adaptability to seasonal shifts.
Practical Safety Considerations
When collecting data, maintain a secure distance from balcony edges to prevent accidents. Protect electronic devices from moisture and direct sunlight during hot periods by using protective cases. For accessing elevated planters, employ sturdy ladders or stable platforms, and enlist assistance if necessary.
Resolving Common Issues
In cases of erratic app readings, recalibrate by resetting location parameters and testing sensors in open areas. Urban interferences, including Wi-Fi signals or metallic railings, may disrupt accuracy; cross-validate with a separate thermometer. If discrepancies persist, update the app or switch to an alternative platform with stronger signal processing.
Upkeep and Seasonal Preparation
Wipe sensors clean monthly using a soft, dry cloth to remove dust accumulation. During off-seasons, store devices indoors in a cool, dry environment. Regularly export and archive app data to monitor year-over-year trends, facilitating proactive adjustments for changing weather patterns.
Cost and Time Investment
Entry-level apps remain free, with premium features available for under fifteen dollars annually. Initial setup requires approximately thirty minutes, while daily entries demand only five minutes. A reliable digital thermometer typically costs around ten dollars, offering a worthwhile investment for precise verification.
Seeking Professional Guidance
Persistent plant failures, even after microclimate optimization, may indicate underlying issues like poor soil quality or inadequate drainage. Consult a local nursery expert or landscape professional for tailored advice on amendments, such as adding reflective mulches or improving container ventilation.
Advancing Your Balcony Garden
Start by installing a microclimate app and conducting your initial week of observations. Clearly mark and label the three zones, then select and place appropriate plants accordingly. Through these adjustments, witness tangible improvements in vitality and productivity, turning your balcony into a resilient urban oasis.
By harnessing smart apps, balcony gardeners gain visibility into subtle environmental dynamics. This knowledge empowers every planting decision, fostering abundant harvests and sustainable growth in compact spaces.